


True Facts About the Lincolnshire Chair

The Lincolnshire chair we built for issue No. 3 of the Stick Chair Journal is one of three book projects I’m working on this summer, and it is the one where I could use the most help.
Last week a group of chairmakers1 and I built six of these Lincolnshire chairs in our Willard Street workshop. We took 960 photos of every process (including a “Total Eclipse of the Heart” sing-along). And now I’m making the final templates and drawings for the chair.
As soon as I have those templates ready, I’ll share them here so y’all can look them over for snakebites and brain farts. But until then, I thought I’d talk about the parts of the chair and the tools we used to build the chairs. That way, if you are determined to build one of these chairs, you can start the gathering materials and tools before the Journal is published.
Let’s start with the cutting list.
1 Seat 2" x 16-5/8" x 23-1/2"
The seat of the original I measured was ash, but I couldn’t get any ash suitable for seats. So we used some other common woods instead: American sycamore and honey locust. I’d also be happy using elm for the seat, a traditional material for seats.
4 Legs 1-5/8" x 1-5/8" x 19" (overlong for trimming)
We used dead-straight fast-growth red oak for the legs. We turned the legs on the lathe and formed the 1-1/8” x 2-1/2” tenons on the ends with a parting tool married to a bedan sizing tool from Robert Sorby. The bedan tool is outstanding for making exact and repeatable tenons. The legs finish out at 1-1/2” in diameter.
6 Short sticks 5/8" x 5/8" x 13"
8 Long sticks 5/8" x 5/8" x 29"
The sticks for this chair end up at 1/2" in diameter (except for a little entasis below the arms). Plus, four of the long sticks get bent something fierce during assembly. So the sticks have to be tough and flexible. I used some red oak that grew so fast that each stick had only one annular ring. And the grain was perfectly straight. Don’t skimp on the sticks. We made them round with this Lee Valley gizmo. You can shave them round easily with a spokeshave or block plane.
2 Blades 1/2" x 3/4" x 13"
These are the front sticks below the arm. The blades have 1/2"- diameter tenons on both ends that we cut freehand with a plug cutter. Again, I used red oak for these parts.
1 Arm 1-1/8" x 1-1/2" x 50" (slightly overlong for trimming)
I used air-dried red oak because that’s what I could get. The arms are interesting because it narrows to 1” wide for the back of the chair. The hands are 1-1/2" wide. This makes the arm easy to bend, but it’s tricky to drill the 1/2"-diameter mortises through the arm at a 20° angle. There is no room for error. My steambox fell apart a couple years ago, so we steamed/soaked the arms in a shallow metal vat I use for bending the sides of Shaker boxes.2 The vat is from The Home Shop in Charlotte, Michigan. Unfortunately, the website there is fairly empty. I need to investigate the world of shallow vats – something like 2" deep, 6" wide and 48" long will do. If anyone has suggestions, please speak up in the comments. We bent the oak using the help of a bending strap. The one from Lee Valley is versatile and can be used for different chairs.
1 Comb 2" x 5" x 24-3/4"
The comb of the chair I measured was cut from solid material – not bent. So that’s what we did as well. Again, red oak, because that’s what was available.
Tools We Used
In addition to the tools mentioned in the cutting list, here are the tools we used to make the chairs. I’ll also offer some alternatives that I’m familiar with.
Wood Owl 1-1/8" auger bit . This chair used 1-1/8" mortise-and-tenon joints, so we had to get a larger auger bit to make the mortises in the seat.
We used the 1/2" Lee Valley power tenon cutter to make the 1/2"-diameter tenons, but I wasn’t happy with the surface finish it left. So I shaved all my tenons (except the ones on the blades). For that we used the 1/2" CMT plug cutter freehand in a drill. It takes some practice, but once you get it down, it makes fantastic tenons.
For saddling the seat, I used a chairmaker’s adze from Jason Lonon. You need an adze. The saddle is 1-1/2" deep. Then I followed up with a scorp and a travisher. It was handy to have a tight-radius (3") travisher (such as this one from Allan Williams) to fair some of the curves in the bowl. But it wasn’t absolutely necessary.
The underside of the seat was shaped with saws, hatchets, drawknives, chisels and sweat. Basically the seat is a bowl with legs.
To drill the mortises in the seat, we used 12mm Star M F-type bits. You can use any drill bit you like. This is what we had on hand.
The profile on the comb was made with a homemade scratch stock. Basically a piece of scraper steel fixed into a marking gauge. Nothing to buy here….
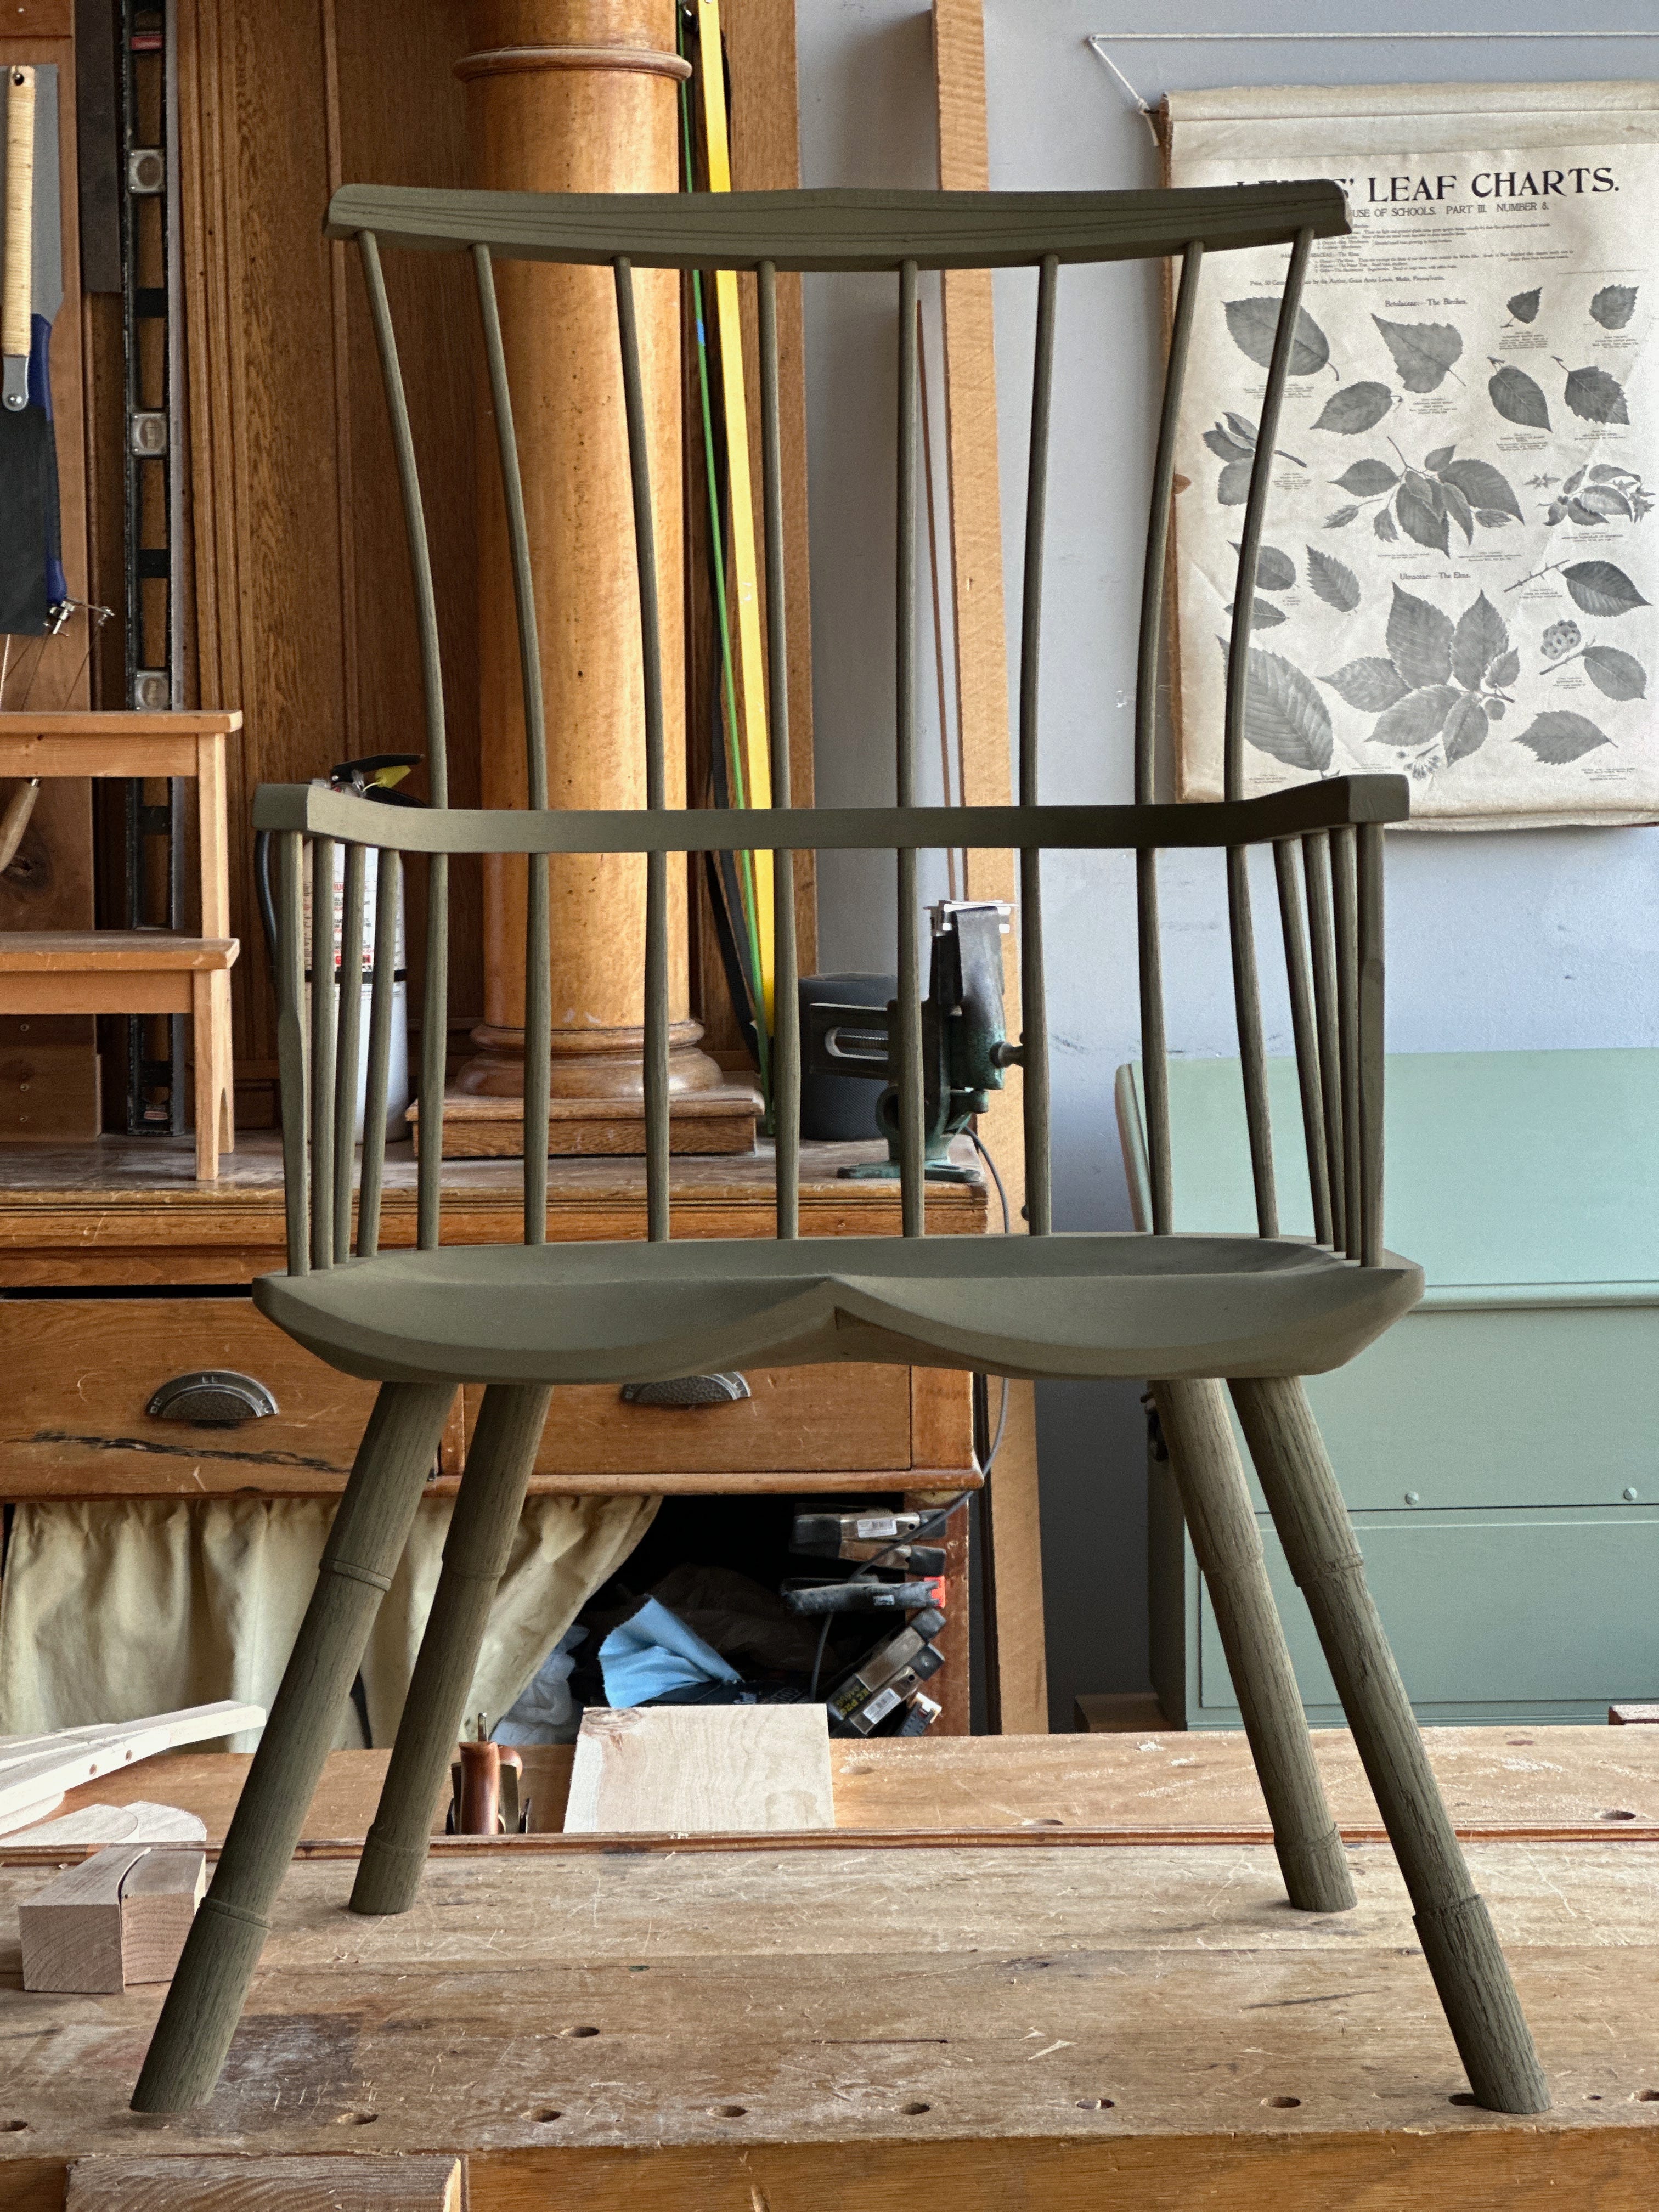
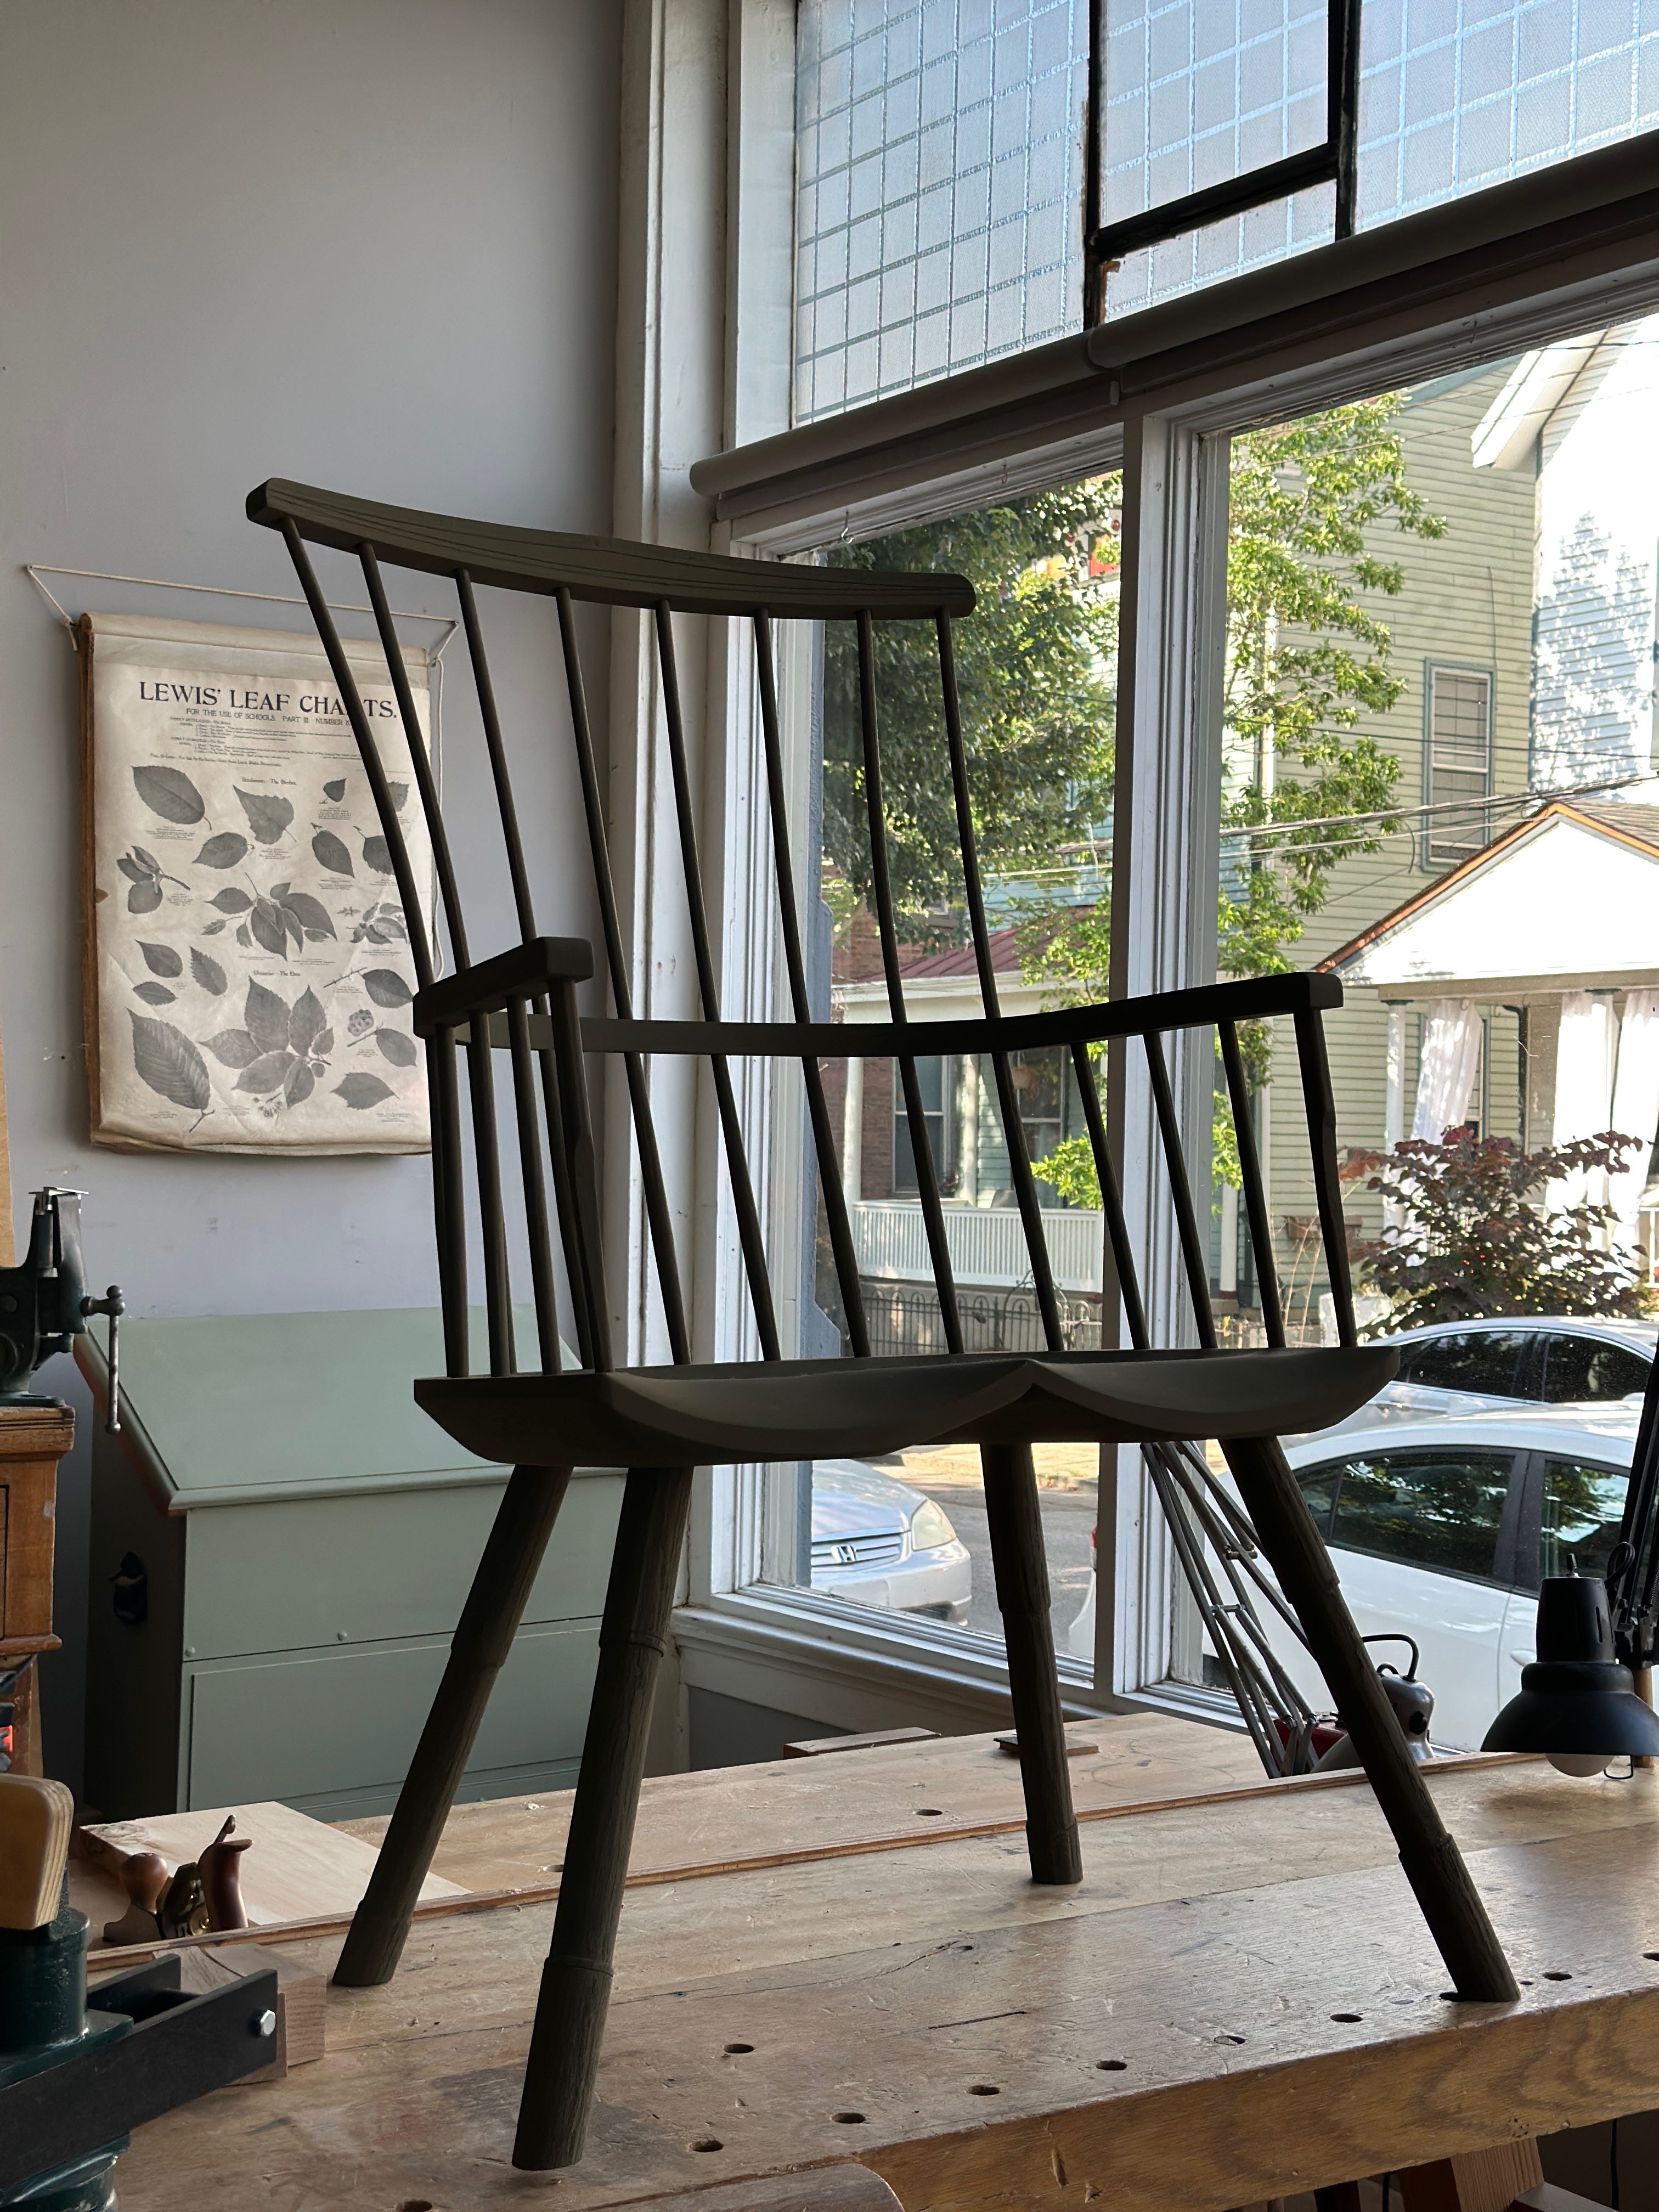
The finish is Real Milk Paint Tree Bark. As shown in the photos, the milk paint has no topcoat. I am waiting for the paint to harden up before I add a topcoat (I haven’t decided what topcoat yet – but probably shellac).
The chair sits beautifully, and it is surprisingly roomy and lightweight. (It was originally designed to be used in the garden, so it had to accommodate people with layers of clothing on).
In a couple week, I travel to Lincolnshire to examine several more of these chairs so I can understand some small variations and answer some questions about the form. But mostly, I get to talk about this chair with other people who are as passionate about it as I am.
We call ourselves the Laika Project. But this time the dog lives.
We heated the vat with an inexpensive induction cooktop. Very powerful and fast.
Regarding metal vats for soaking/steaming, I'm using a tabletop restaurant serving food warmer for bending guitar sides... works great.
https://www.webstaurantstore.com/avantco-bmfw4-46-electric-bain-marie-buffet-countertop-food-warmer-with-4-half-size-wells-1750w-120v/177BMFW4.html
They run about $350 new but can be found used fairly easily.
Do you heat the water to boiling in the vat? Does heating the wood this way require a longer time in the heat than steaming?