


Revising ‘The Stick Chair Book’ – Again

In my spare time between brushing my teeth at night and plucking my eyebrows, I’ve started revising “The Stick Chair Book” again.
I’m reluctant to revise my books. I try to get them right the first time and let them stand. Some of my previous book revisions were at the request of the publisher, such as “Workbenches: From Design & Theory to Construction & Use” and “Handplane Essentials.”
But chair books are different. I first read Mike Dunbar’s book “Windsor Chairmaking” in the early 2000s. When I took a class with Mike, however, the class was nothing like his book. That’s because, with the help of his assistants and students, Mike had developed simpler and easier techniques.1
Thomas Moser’s book “Windsor Chairmaking” showed some absolute balls-over-ankles techniques (saddling the seat with a chainsaw – no lie). I can assure you they don’t use chainsaws now when saddling a Moser Newport Chair.
So I’ve decided to get over my problem with revising my books. It’s not a money grab for me – I give the revised books away on pdf for free so everyone can keep up (if they want to).
So what’s going to change in Version III?
The biggest change will be shrinking the section on tapered joints. I’m now convinced that y’all should just use cylindrical tenons and mortises. That’s how I teach it. I’ve found it’s so much easier than learning the tapered joints. And – most important – every stick chair I’ve ever seen was built that way.
The second big change is adding more information on shaping the armbow. I kept that information to a minimum because I thought it was obvious (shape the arms as much or as little as you like). But teaching the process has proved to me that I need to do a better job of the steps involved.
The rest of the changes are little (but important) tricks that make everything easier. Or ways to reduce the number of tools you need.
And that’s why I’m writing this piece today.
As I revise the book, I will dump the tricks here as a first draft. Putting them here will also remind me not to forget them during the revision process. Here are two quick ones.
Scraping the Back of the Bowl
One of the trickiest parts of saddling the seat is getting the back of the bowl crisp and clean. The grain changes direction dramatically back there, so a travisher sometimes has trouble.
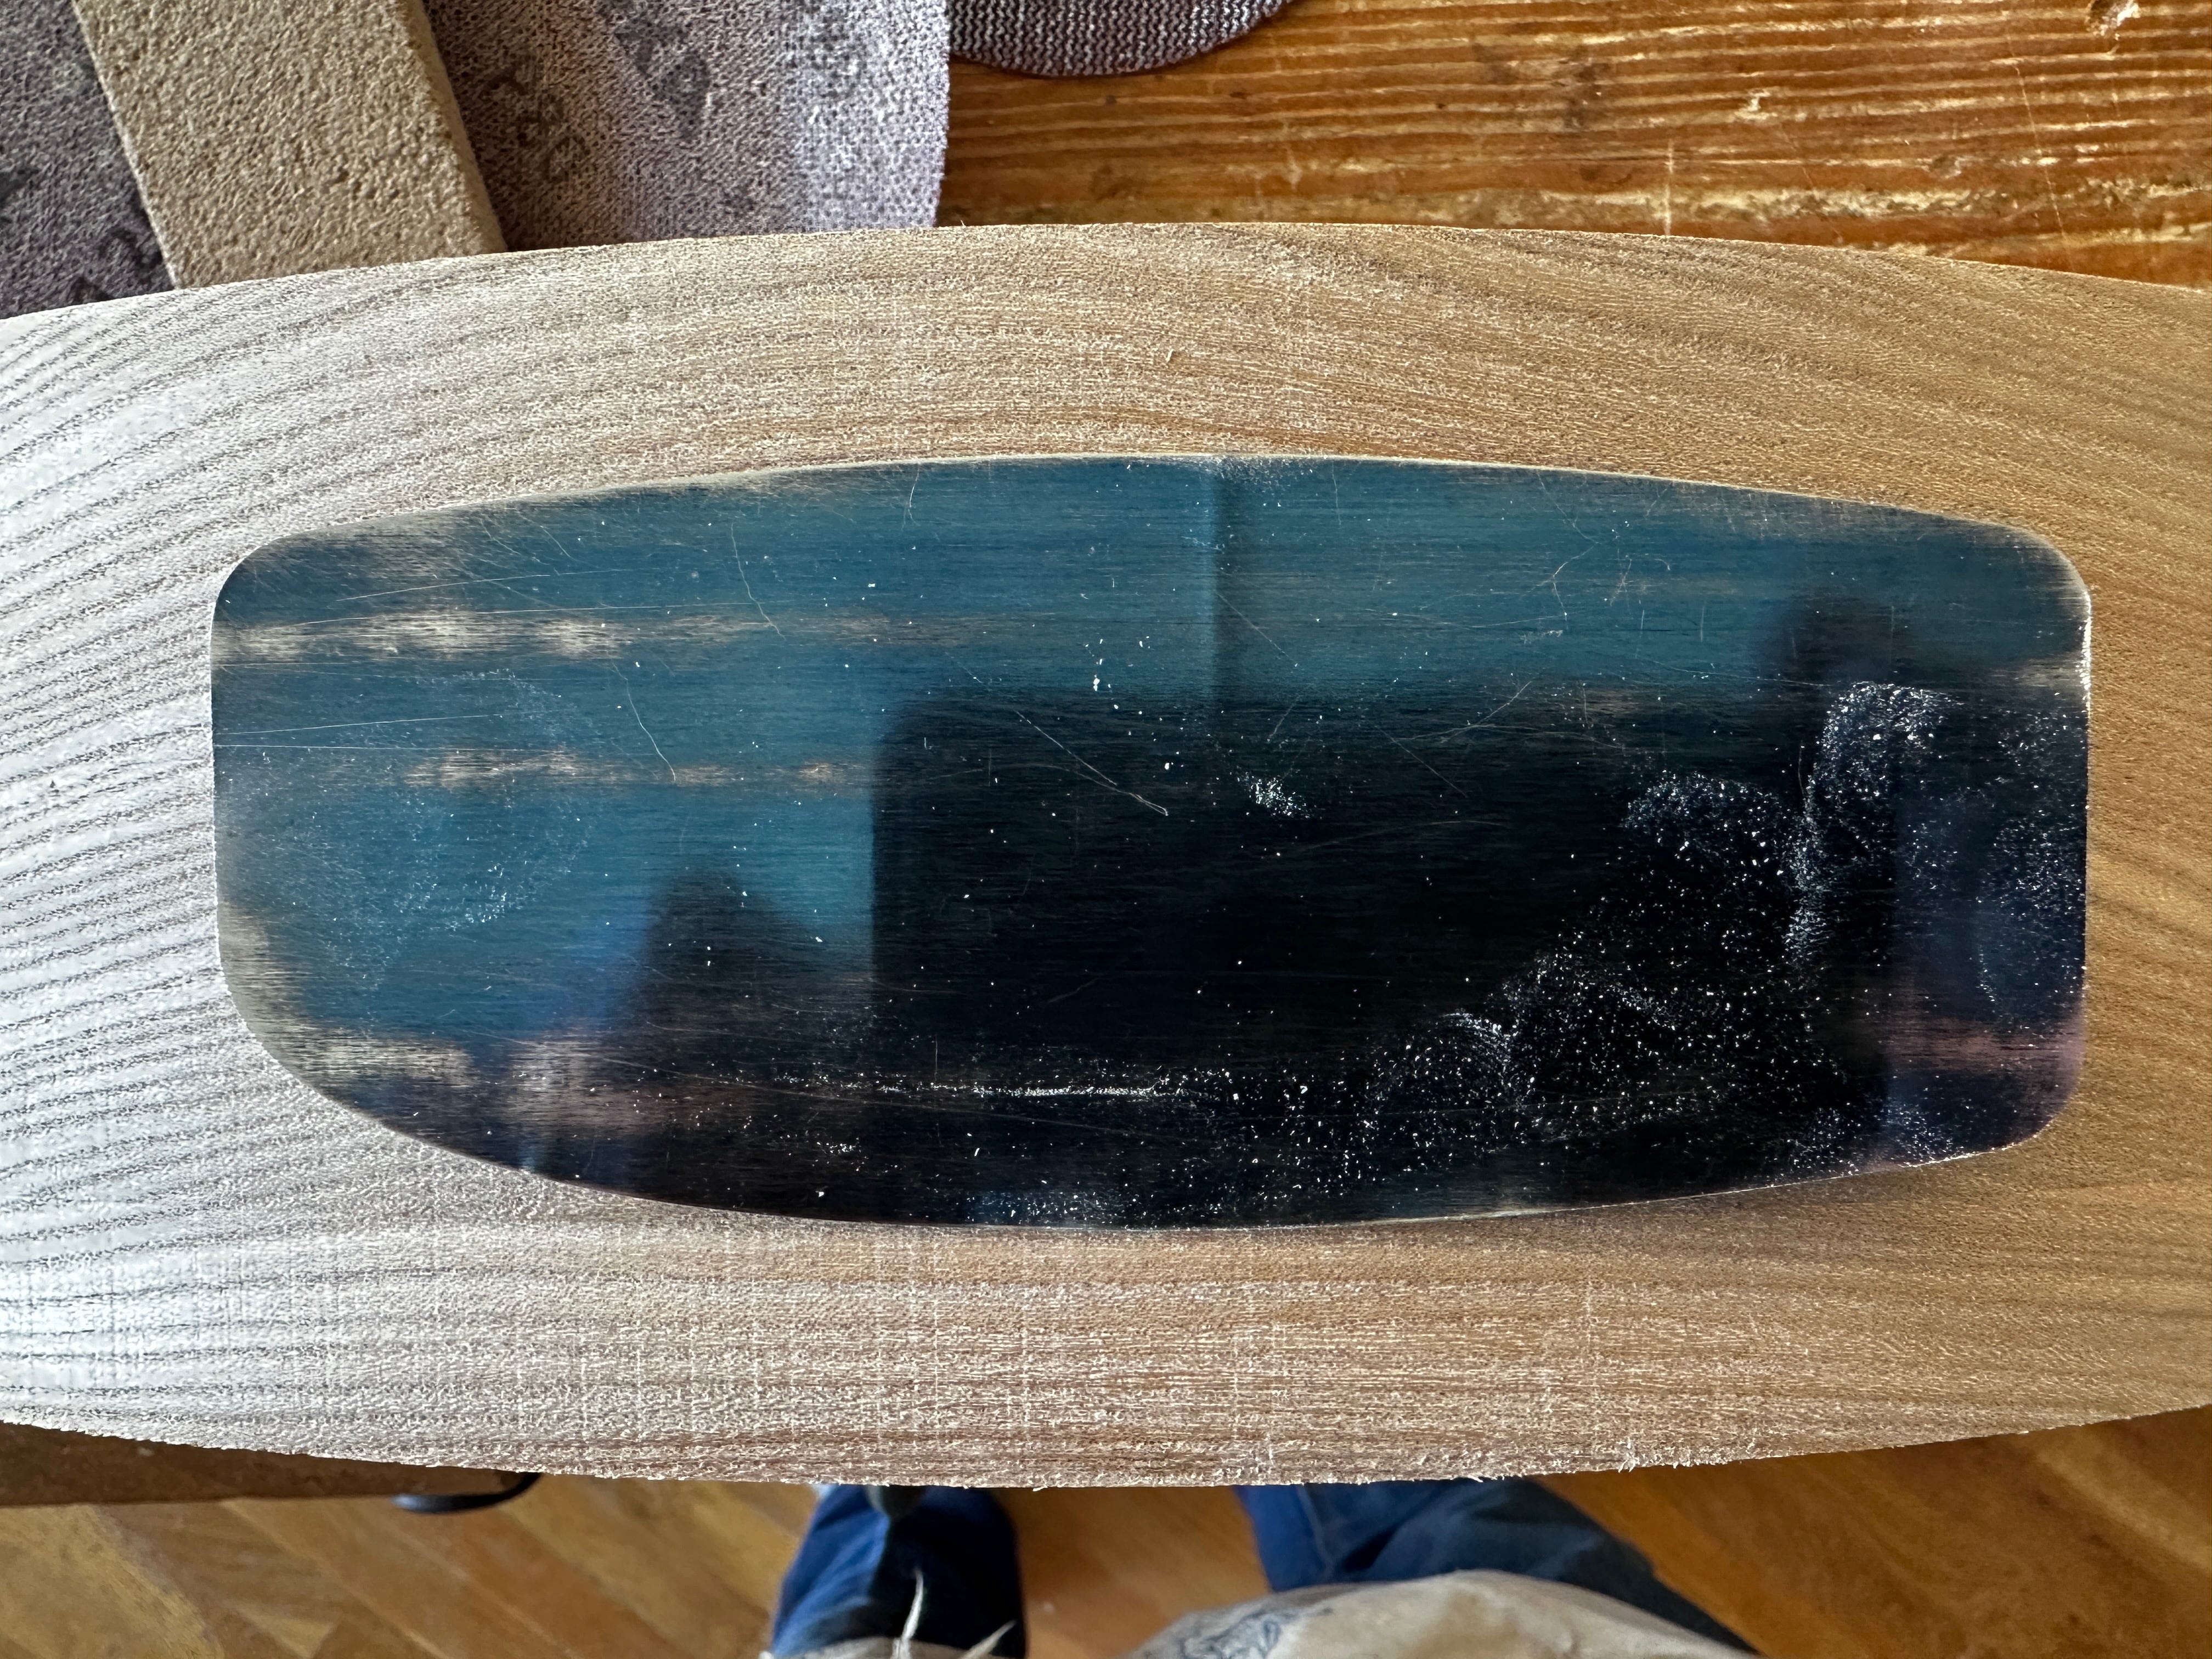
To clean up that area, I’ve modified a card scraper to match the shape of the bowl I desire. The photo shows the modification to one corner of the scraper. You can print out the photo at full size and use it as a template if you like.
I shape my scrapers on a disc sander with #80-grit paper. Draw a line. Sand to it slowly, cooling the scraper in water if it gets too hot to touch.
When it is the correct shape, first remove any burr from the grinding process with a burnisher. Burnish the flat faces with your burnisher. Then sharpen the scraper in your usual manner and turn its hook.
The bowl-shaped scraper allows you to follow the curve of the spindle deck and remove tool marks at the rear of the seat’s saddle.
Polishing Through-tenons
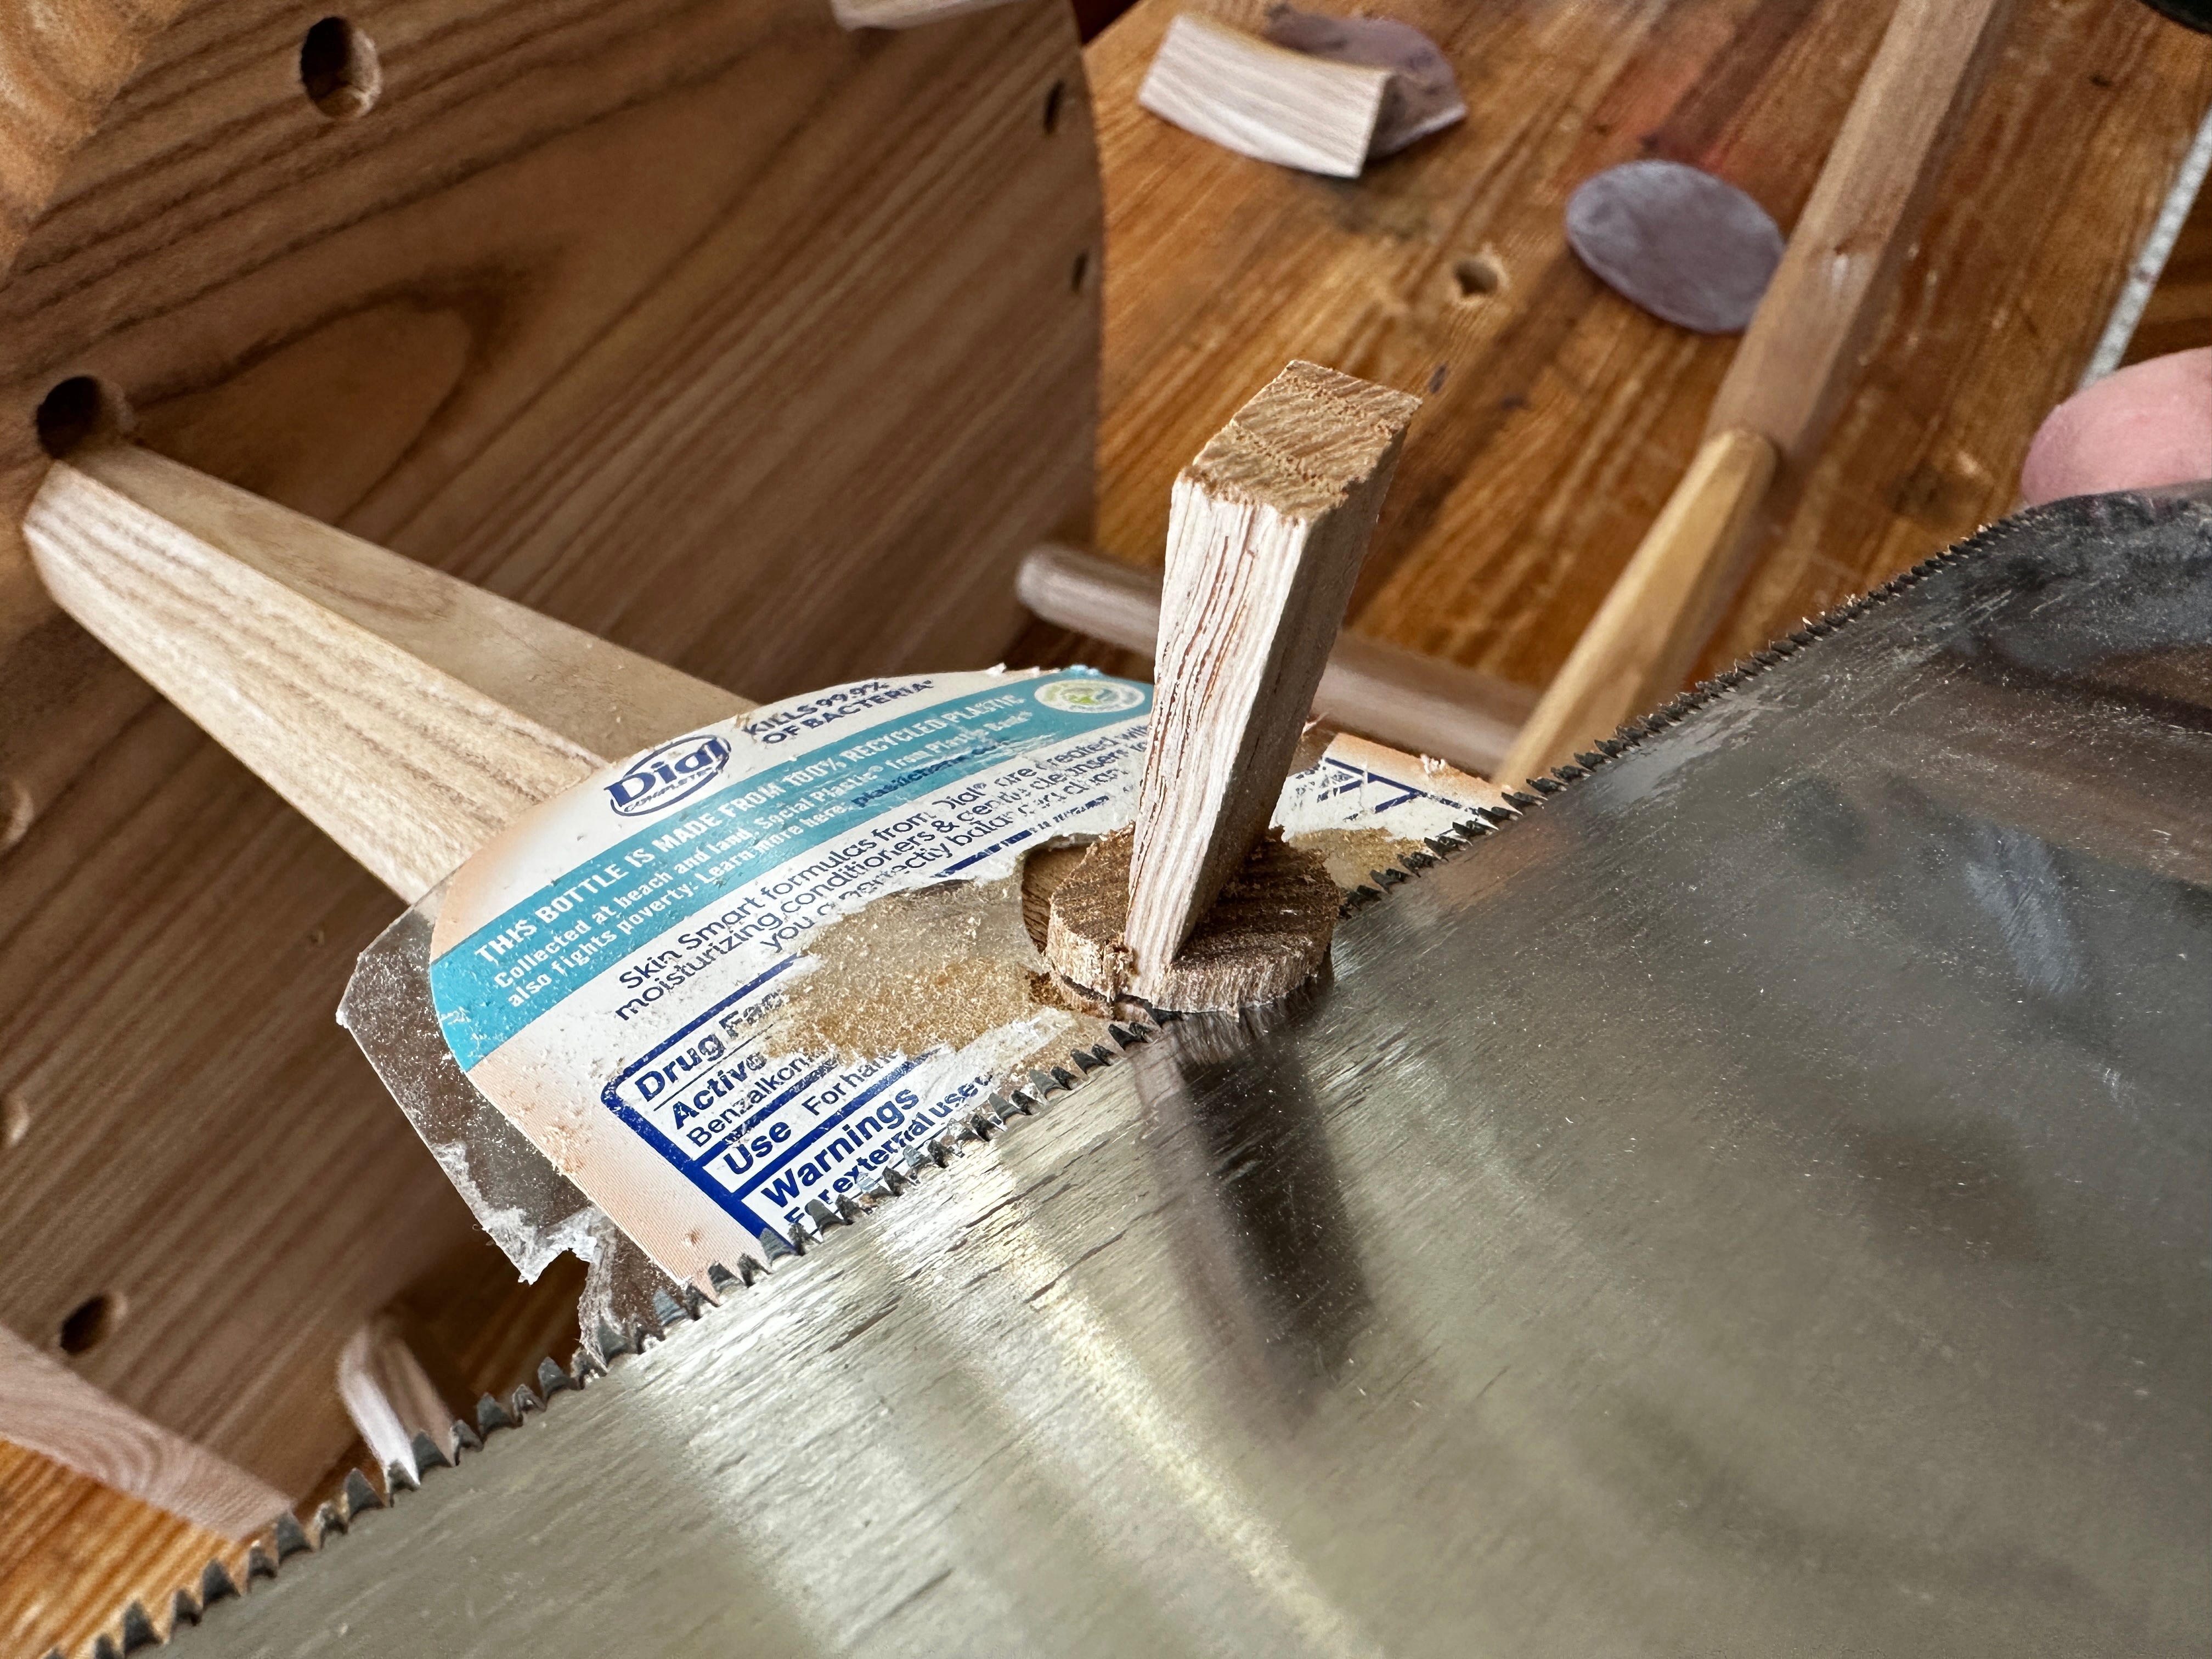
If you want to leave your tenons a little proud, here’s the easiest way I’ve found to saw them, sand them and polish them so they feel nice.
You don’t want them too proud. So I use a bit of hard plastic to hold my flush-cut saw slightly above the leg or arm or wherever the tenon is poking out from. The plastic comes from the recycling bin. I dig out empty soap containers or plastic presentation binders and cut out a flat part. Then I cut a hole in the middle of the plastic to allow the tenon to poke through.
Keep reading with a 7-day free trial
Subscribe to The American Peasant to keep reading this post and get 7 days of free access to the full post archives.