

Refinements to Piggly No Wiggly Glue
Refinements to Piggly No Wiggly Glue


We’ve made almost 500 bottles of Piggly No Wiggly Glue and, thanks to Megan’s baking experience, we have refined the recipe to where the glue-making process creates less foam and the glue has a thinner consistency, which makes it easier to pour and brush out without adding water.1
Soon we will be switching to a new bottle shape and label (our mock-up of the new bottle is shown above).
Below are Megan’s update to the recipe and process.
Piggly No Wiggly November 2023 (Megan's Version)
When baking, it’s important to not only get the ingredients right, but to mix them properly, and in the proper order. We’ve been experimenting with both, and I have settled on the following tweaks to our old Piggly No Wiggly formula. The old formula works just fine; this approach simply results in a less foamy, slightly more runny glue (when heated), which we prefer. Note that the recipe below will fill around 10 to 12 8-ounce bottles…depending on how well you mixed it to eliminate lumps and foam…and how much you spill.
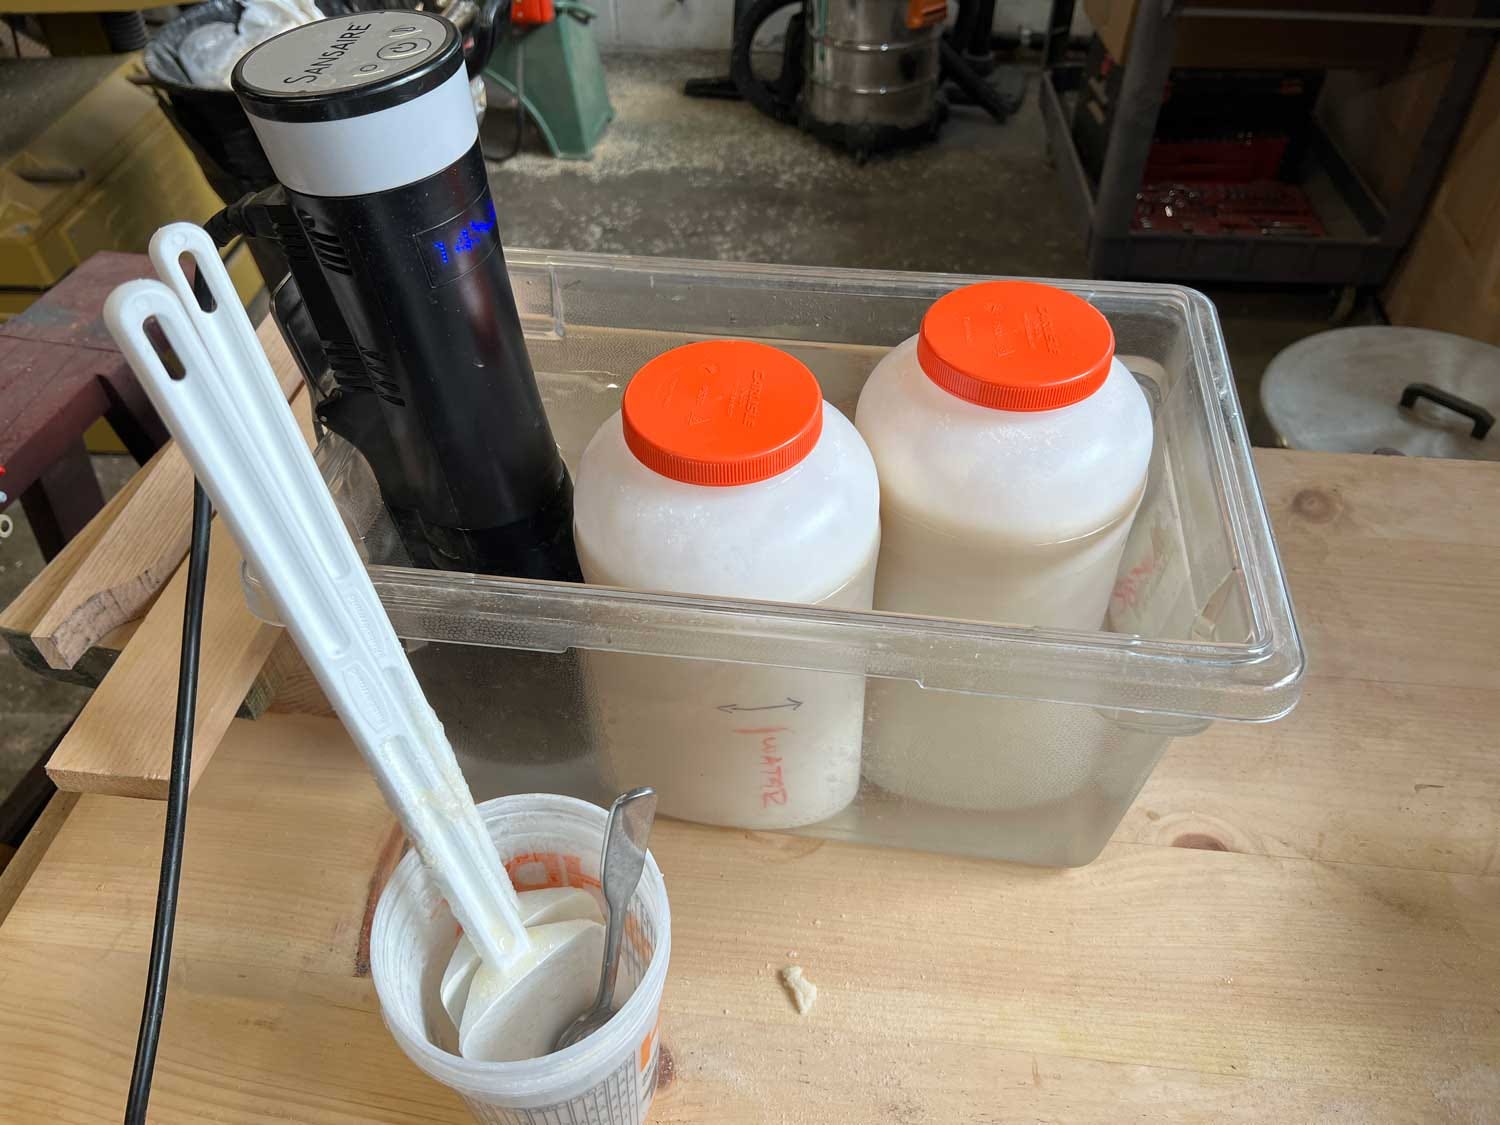
We use food service 1-gallon “store and pour” containers for mixing and dispensing. They are dishwasher safe.
Piggly No Wiggly2
65 ounces hot water*
14.2 ounces non-iodized table salt**
57 ounces 250 bloom strength gelatin powder
*mark the fill line on the container to make it easier the second and subsequent times
**the non-fancy stuff is best; sea salt works, but it produces more foam (we have no idea why)
First, run your water until it is hot (whatever your faucet produces at top temperature will be hot enough). Then add the requisite amount of water to the container.
Add the salt while stirring. Let the mixture sit for a minute or so until the salt dissolves completely. Stir again.
Add the gelatin slowly, stirring constantly. I add it in three scoops; two of 24 ounces (that’s how much our measuring cup holds) and one of 9 ounces. The more slowly you add it and the better your stirring, the less likely you are to have lumps in your finished glue. The more lumps you have, the more they will tumble out the top while you’re dispensing it, and cause you to spill the glue all over the sides of your bottles and onto your table.
Are you done stirring? Are you sure? Maybe stir it a little more. Then scrape down any bits stuck to the sides and around the top of the container and stir once more.
Now put a lid on the container and place the container in a 145°F water bath for two hours, agitating the mixture once or twice during cooking. (I simply roll it vigorously on the table; make sure the lid is on tightly if you choose this method.)
After two hours (though it’s OK if it cooks a bit longer), put the container in the refrigerator overnight. Or longer. Then cook again in a 145°F water bath until the glue is runny.
Once it’s fully melted, do your best to skim any foam off the top (we use a wide spoon). Then dispense into bottles of a usable size (we like 8-ounce bottles with a lidded spout). The finished glue is shelf stable at this point, though it doesn’t hurt to keep it in the fridge until needed.
There is nothing wrong with a thicker glue. In fact, one nice thing about it is that you get more “glue” in an 8-ounce bottle. It’s like concentrated cleaning fluid or condensed soup. Add water until you get what you like.
Salt and gelatin are consistent granular products. As a result, using volume for this recipe is fast and consistent.
In his Good Eats episode on homemade chicken stock, Alton Brown says the foam in that process has something to do with protein coagulation. I don't know how thoroughly sea salt is cleaned when it's harvested but I'd guess there's residual protein from fish, etc.
Alternatively, sea salt has lots of minerals in it besides sodium chloride that could be culprits. The mineral makeup is region-specific which is why, for example, English salt tastes different from Italian.
Cooking up a batch of this tonight. I’ll give it a test with some scrap after reheating tomorrow night. Aiming to glue up some parts throughout Thanksgiving break, will be a fun test. Only difference, is I’m weighing out all the ingredients in metric, this exact recipe in grams, seems a perfect amount to start with for a stick chair glue-up. And using recycled Bonne Maman jars, we always save them, seems a great use. I’ll report back results soon~