


Be a Better Engraver

We interrupt your regular Sunday-morning shitpost with some actual woodworking instruction.
When I wrote “American Peasant,” I was happy with my engraving skills – but not with the way I was teaching them. I’ve since taught a couple classes in engraving, which helped me become a better instructor with this tool.
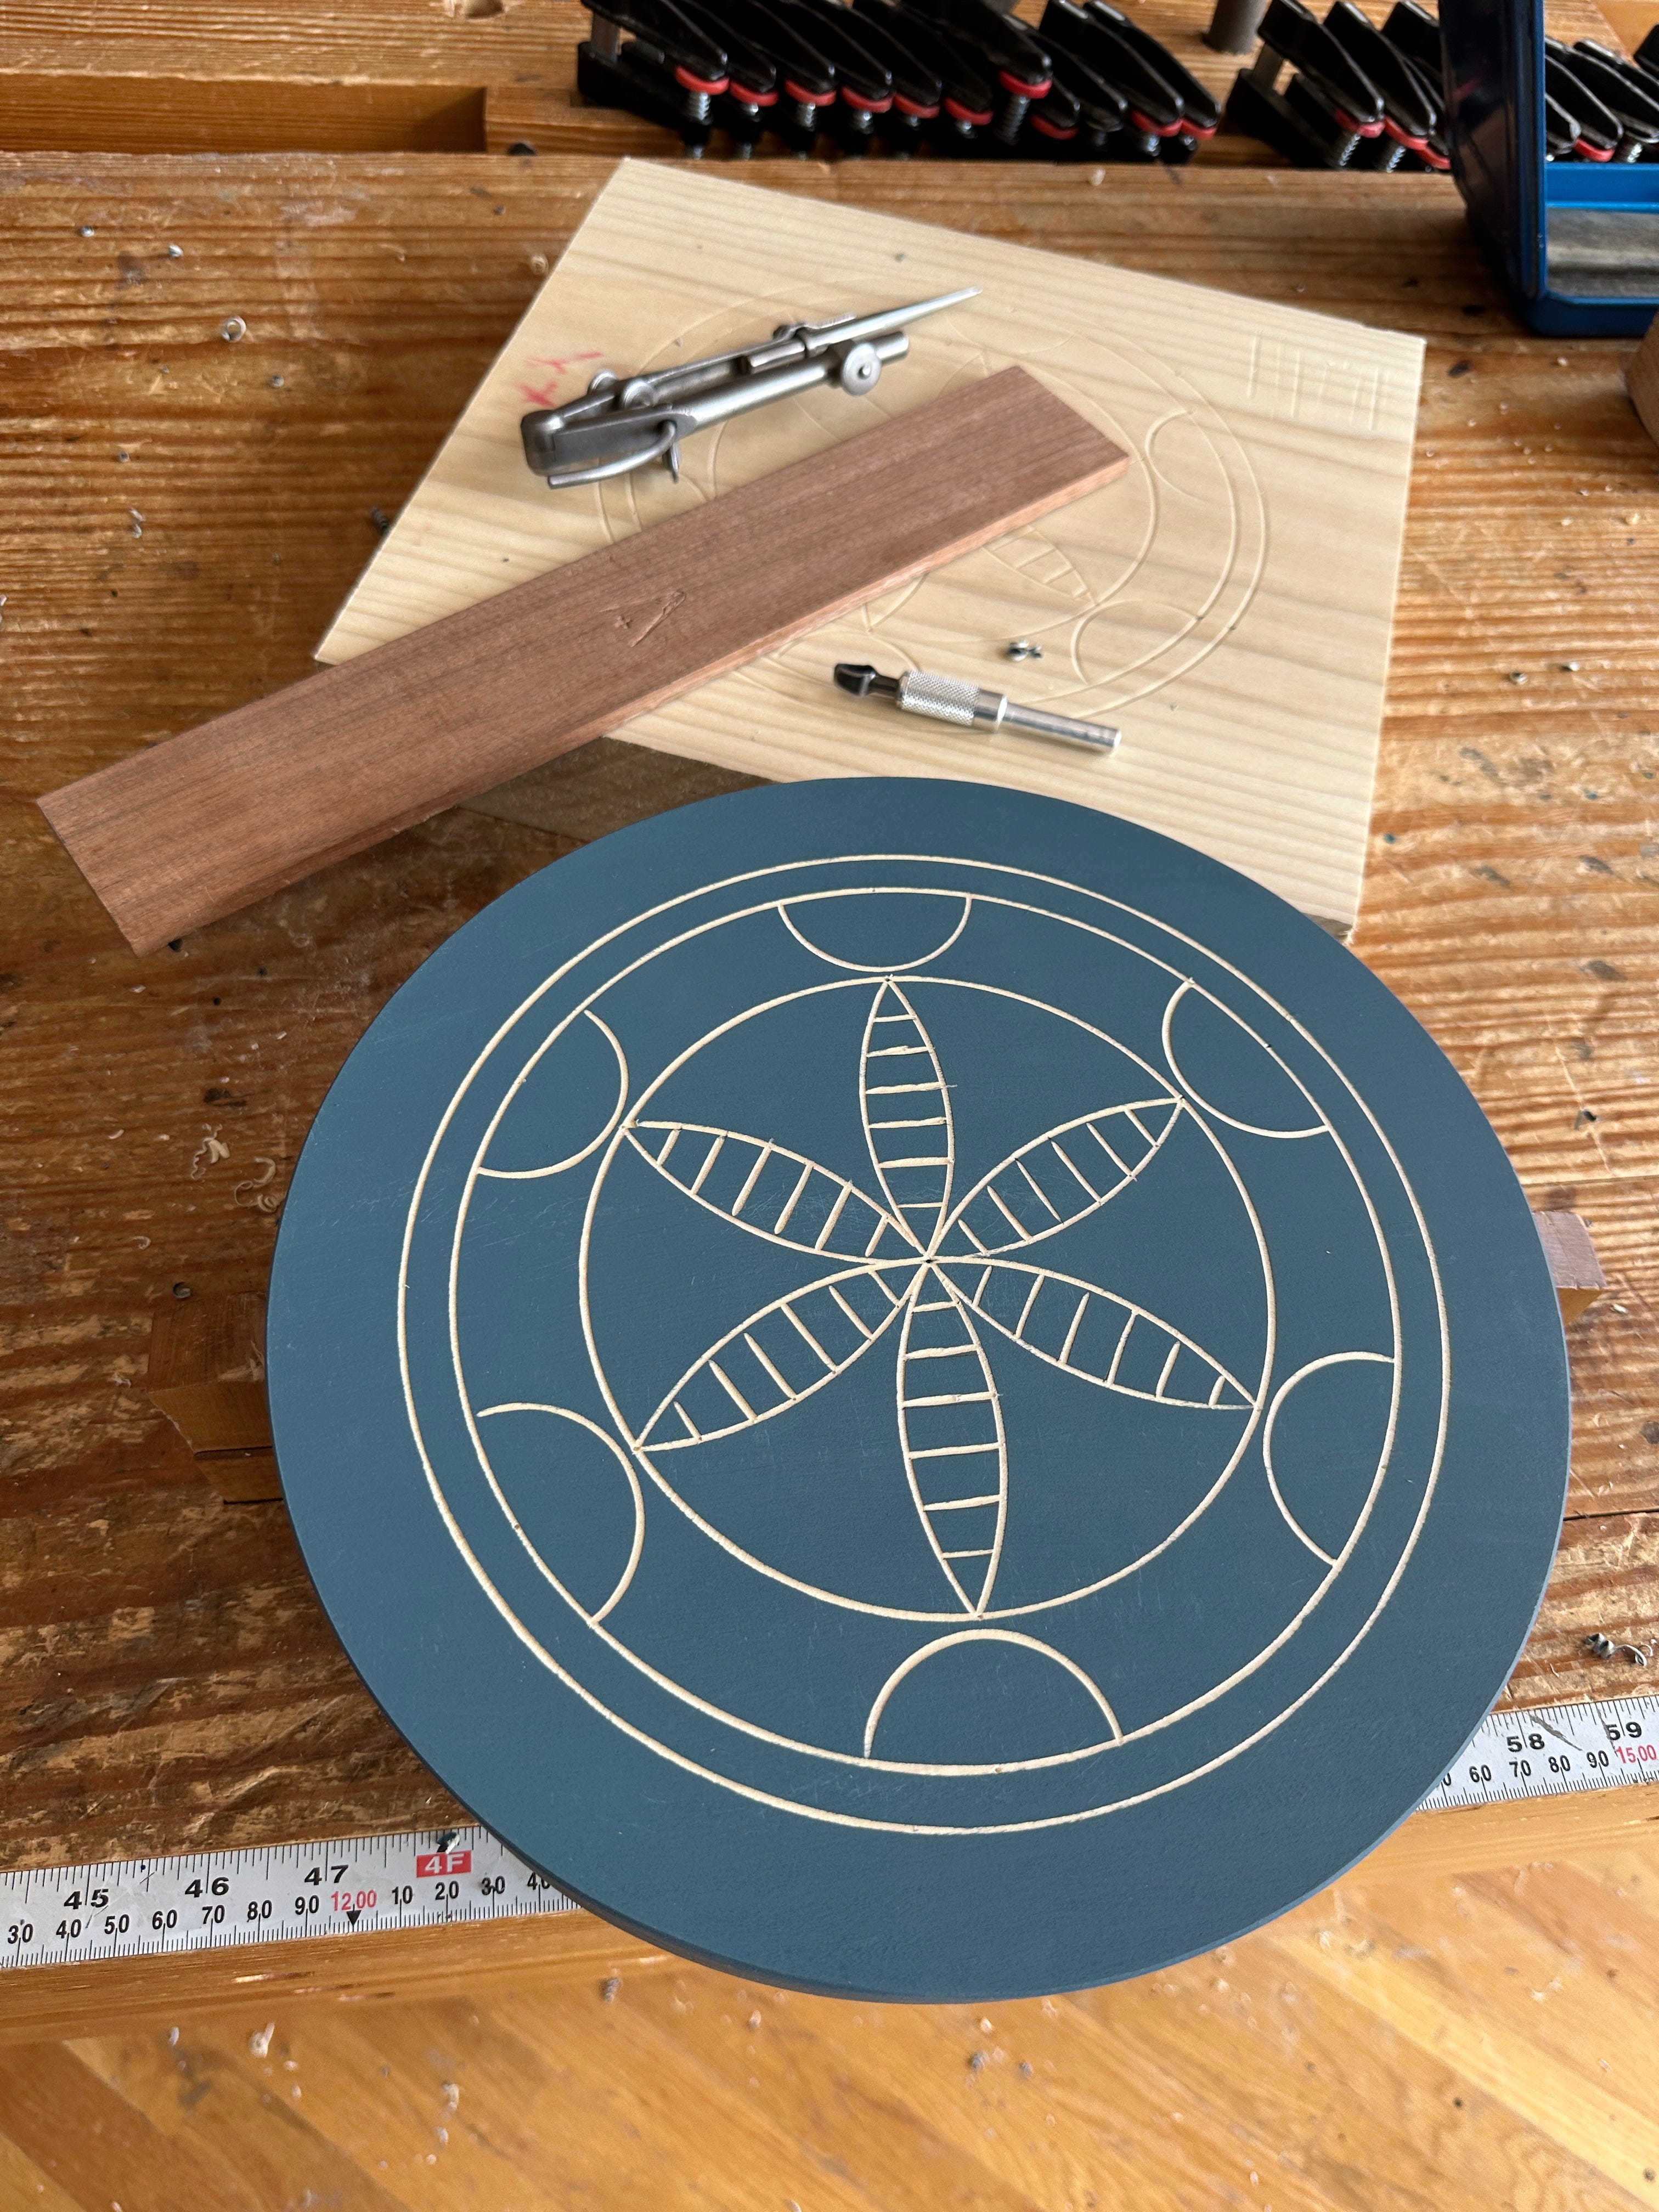
So here are some tips on making a simple engraving that has both arcs and straight lines.1
During the last couple years, I’ve decided my favorite wood for engraving is straight-grained tulip poplar. It is inexpensive, takes paint beautifully and has a fine grain that accepts engraving quite well.


Tip No. 1: Warm Up
I always warm up before I saw dovetails or other high-wire joints. Just a few minutes of practice ensures that my first cuts on my good material won’t be my worst. The same is true with engraving. I fetch a piece of scrap that is the same species that I’m engraving.
Then I practice the individual elements of the design I’ll be making: full circles, partial arc and straight lines. If I have the time, I’ll execute the entire engraving full-size in scrap to make sure I’m happy with it. Then I use the test engraving to set my compass while making the real thing.


Tip. No. 2: Start with Arcs
If your design allows it, begin by making the arcs and circles in your design. Arcs are easier than straight lines (weird but true). When starting an arc, always begin the part of the cut that traverses the grain. Don’t start the cutter in-line or parallel with the grain. You are much more likely to get a clean cut if you start cutting across the grain.
After cutting the cross-grain parts of the circle or arc, join them with any with-the-grain cuts.
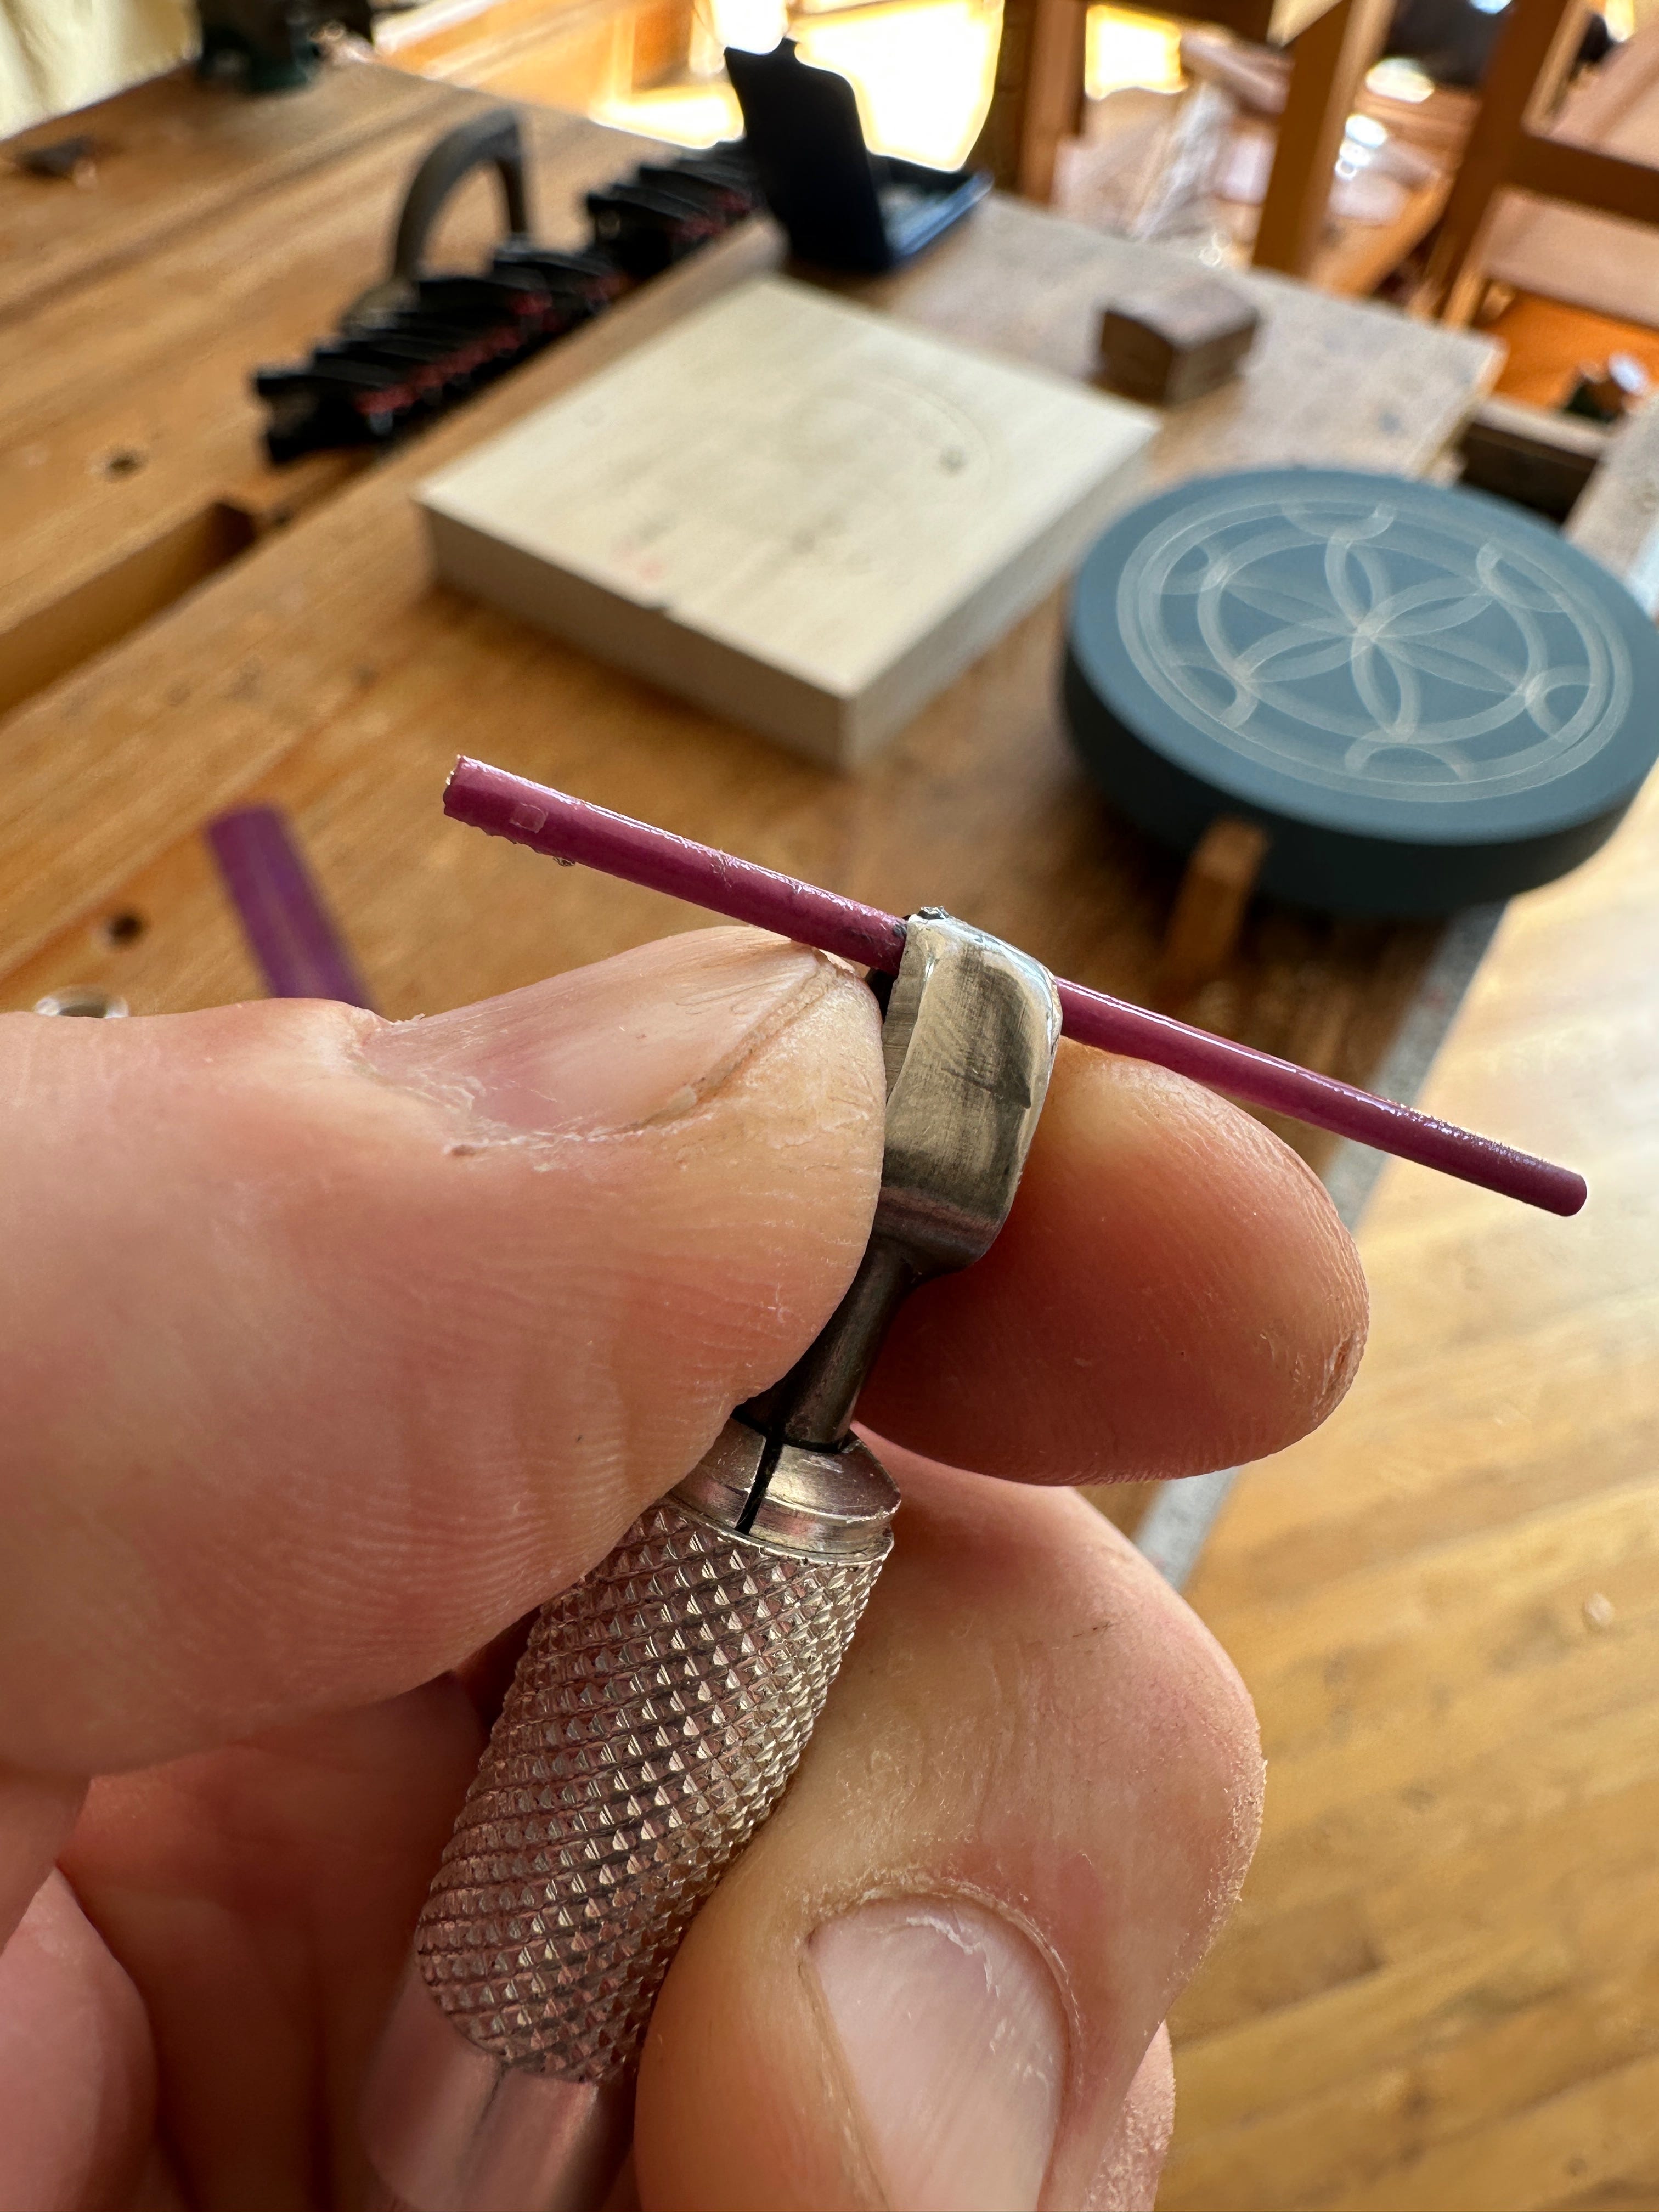
Tip No. 3: Stop & Sharpen After 5 minutes of Engraving
You don’t want the edge of the engraving cutter to ever get really dull. So stop and touch up the edge every five minutes. Polish both the inside and the outside of the cutter. (Note: The honing rod shown in the photo can be purchased here. Shown is the 2mm rod.)
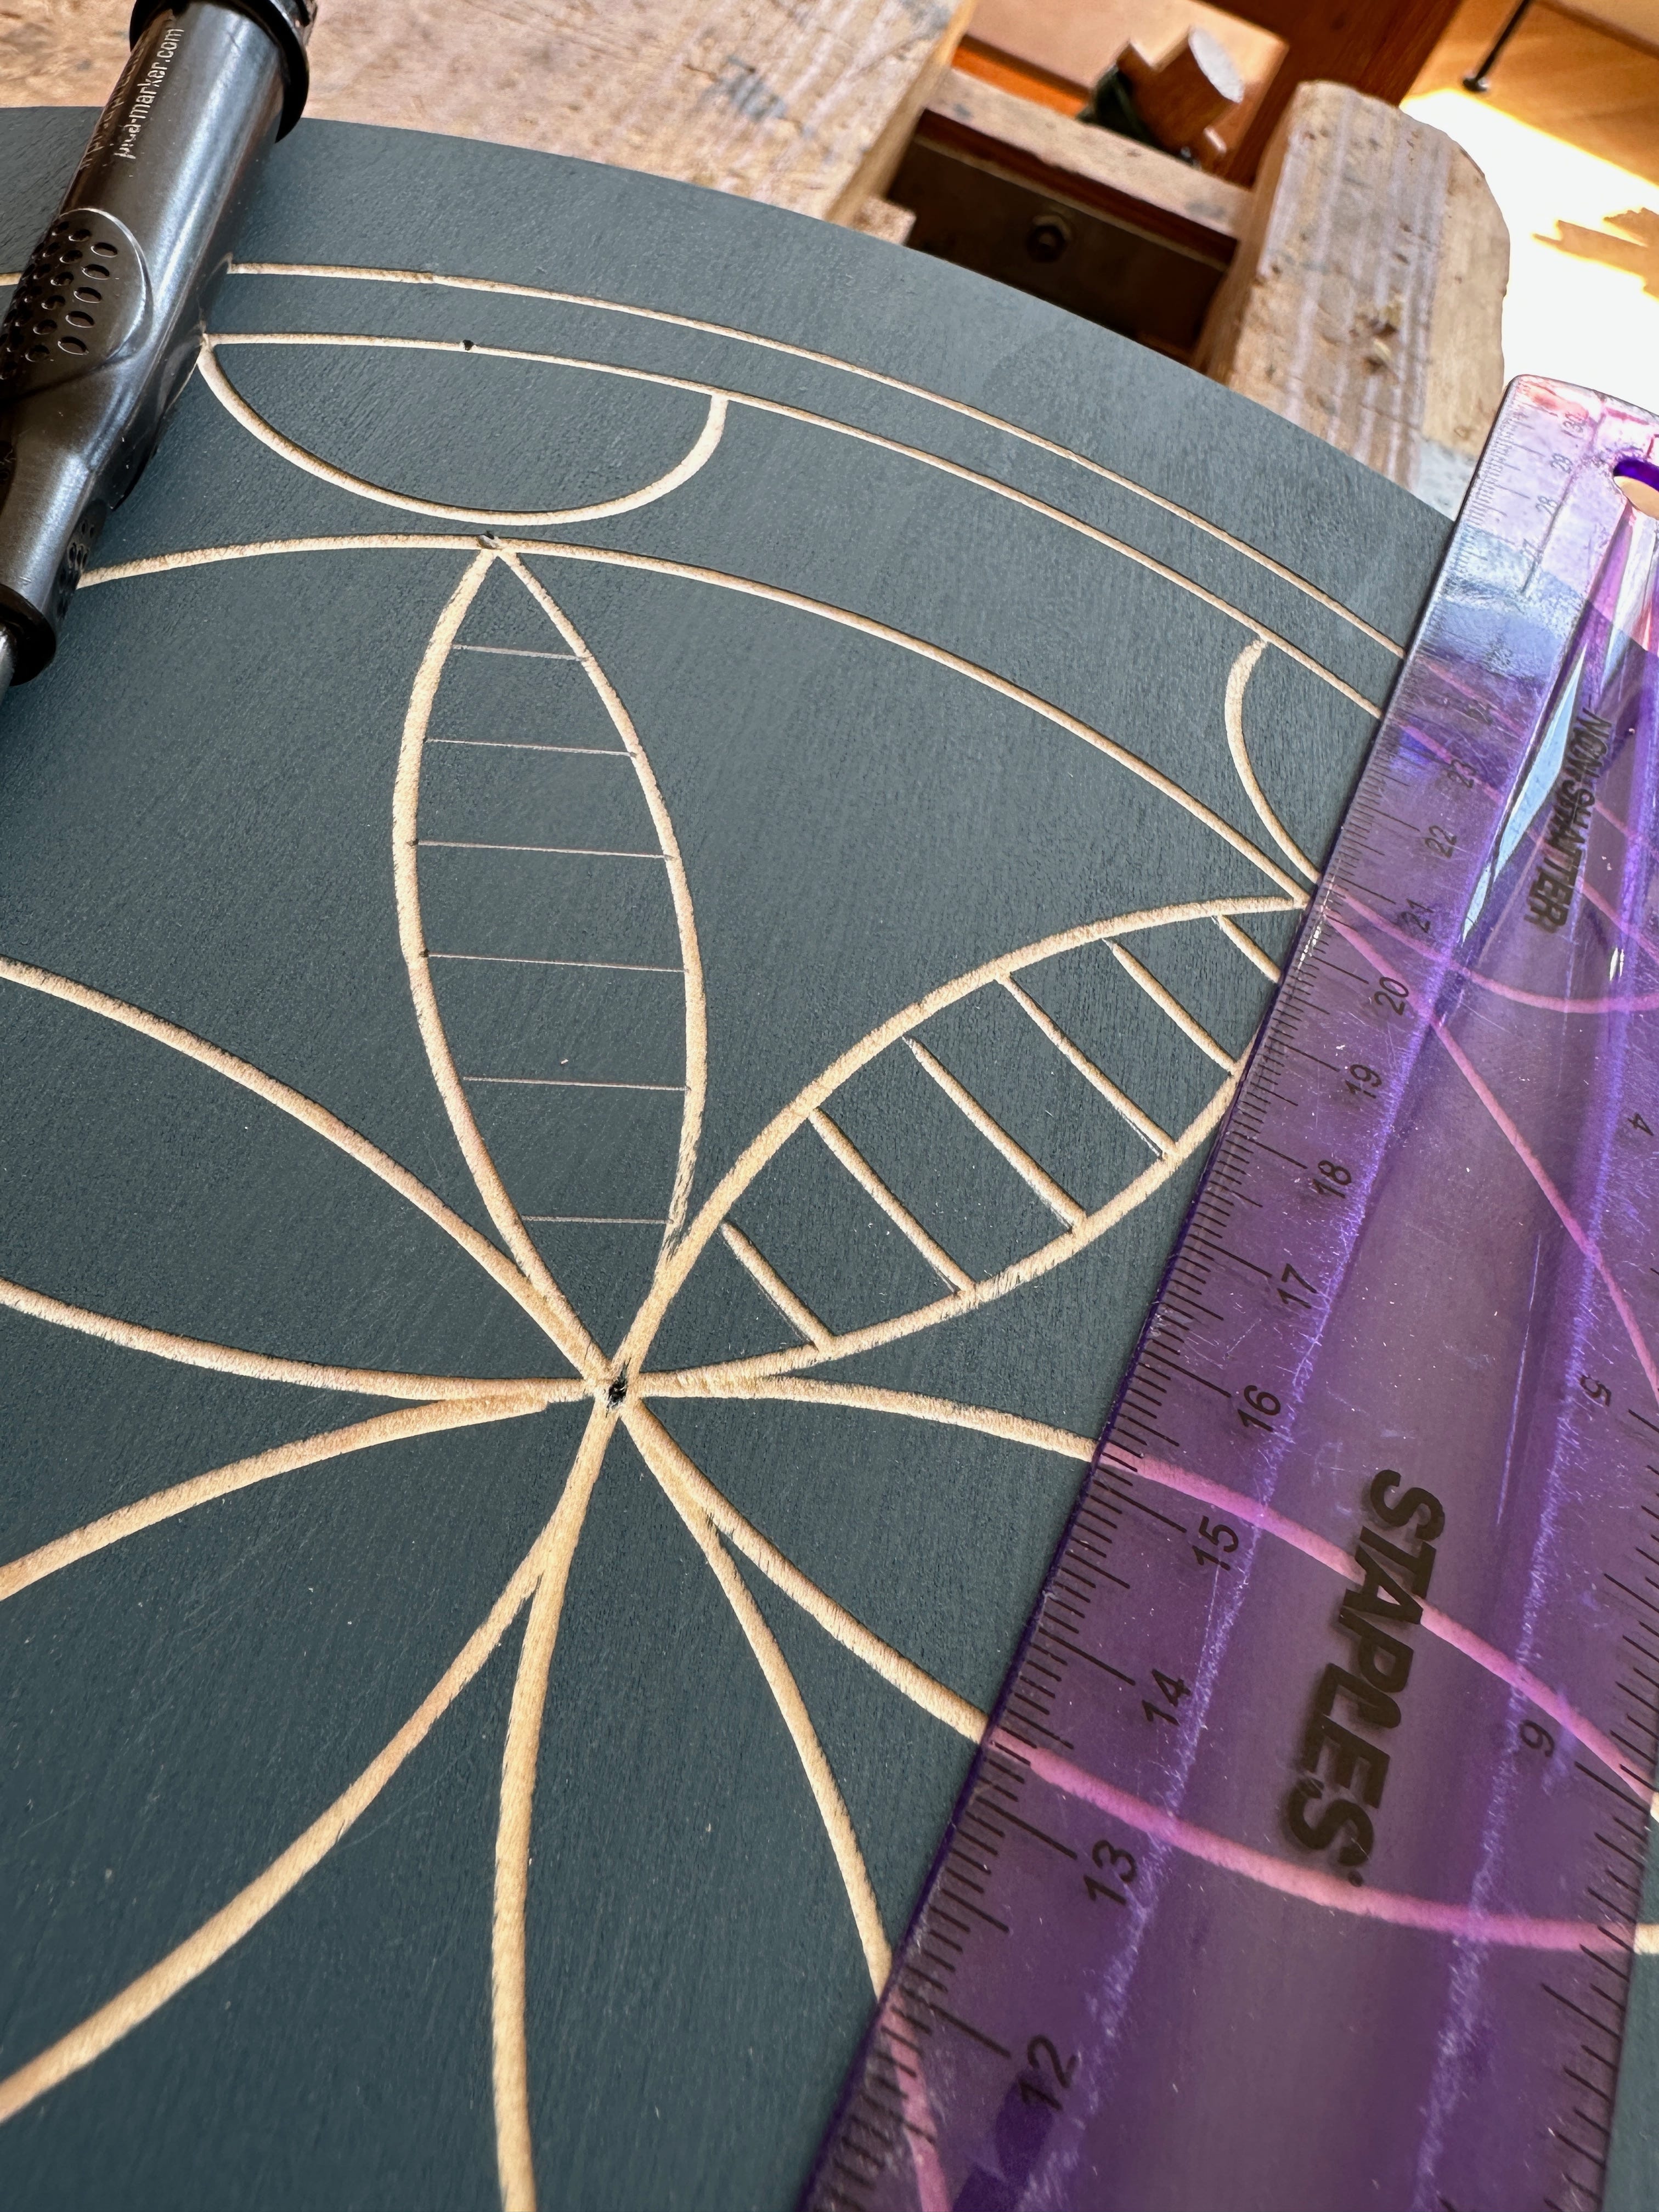
Tip No. 4: Lay Out Parallel Straight Lines in Pencil
Oddly, the straight lines are the most difficult to make. And the lines that are parallel to the board’s grain are worse. I use a translucent/transparent rule to lay out all my straight lines in pencil before I pick up the engraver. I’ve botched too many engravings to skip this step ever again.
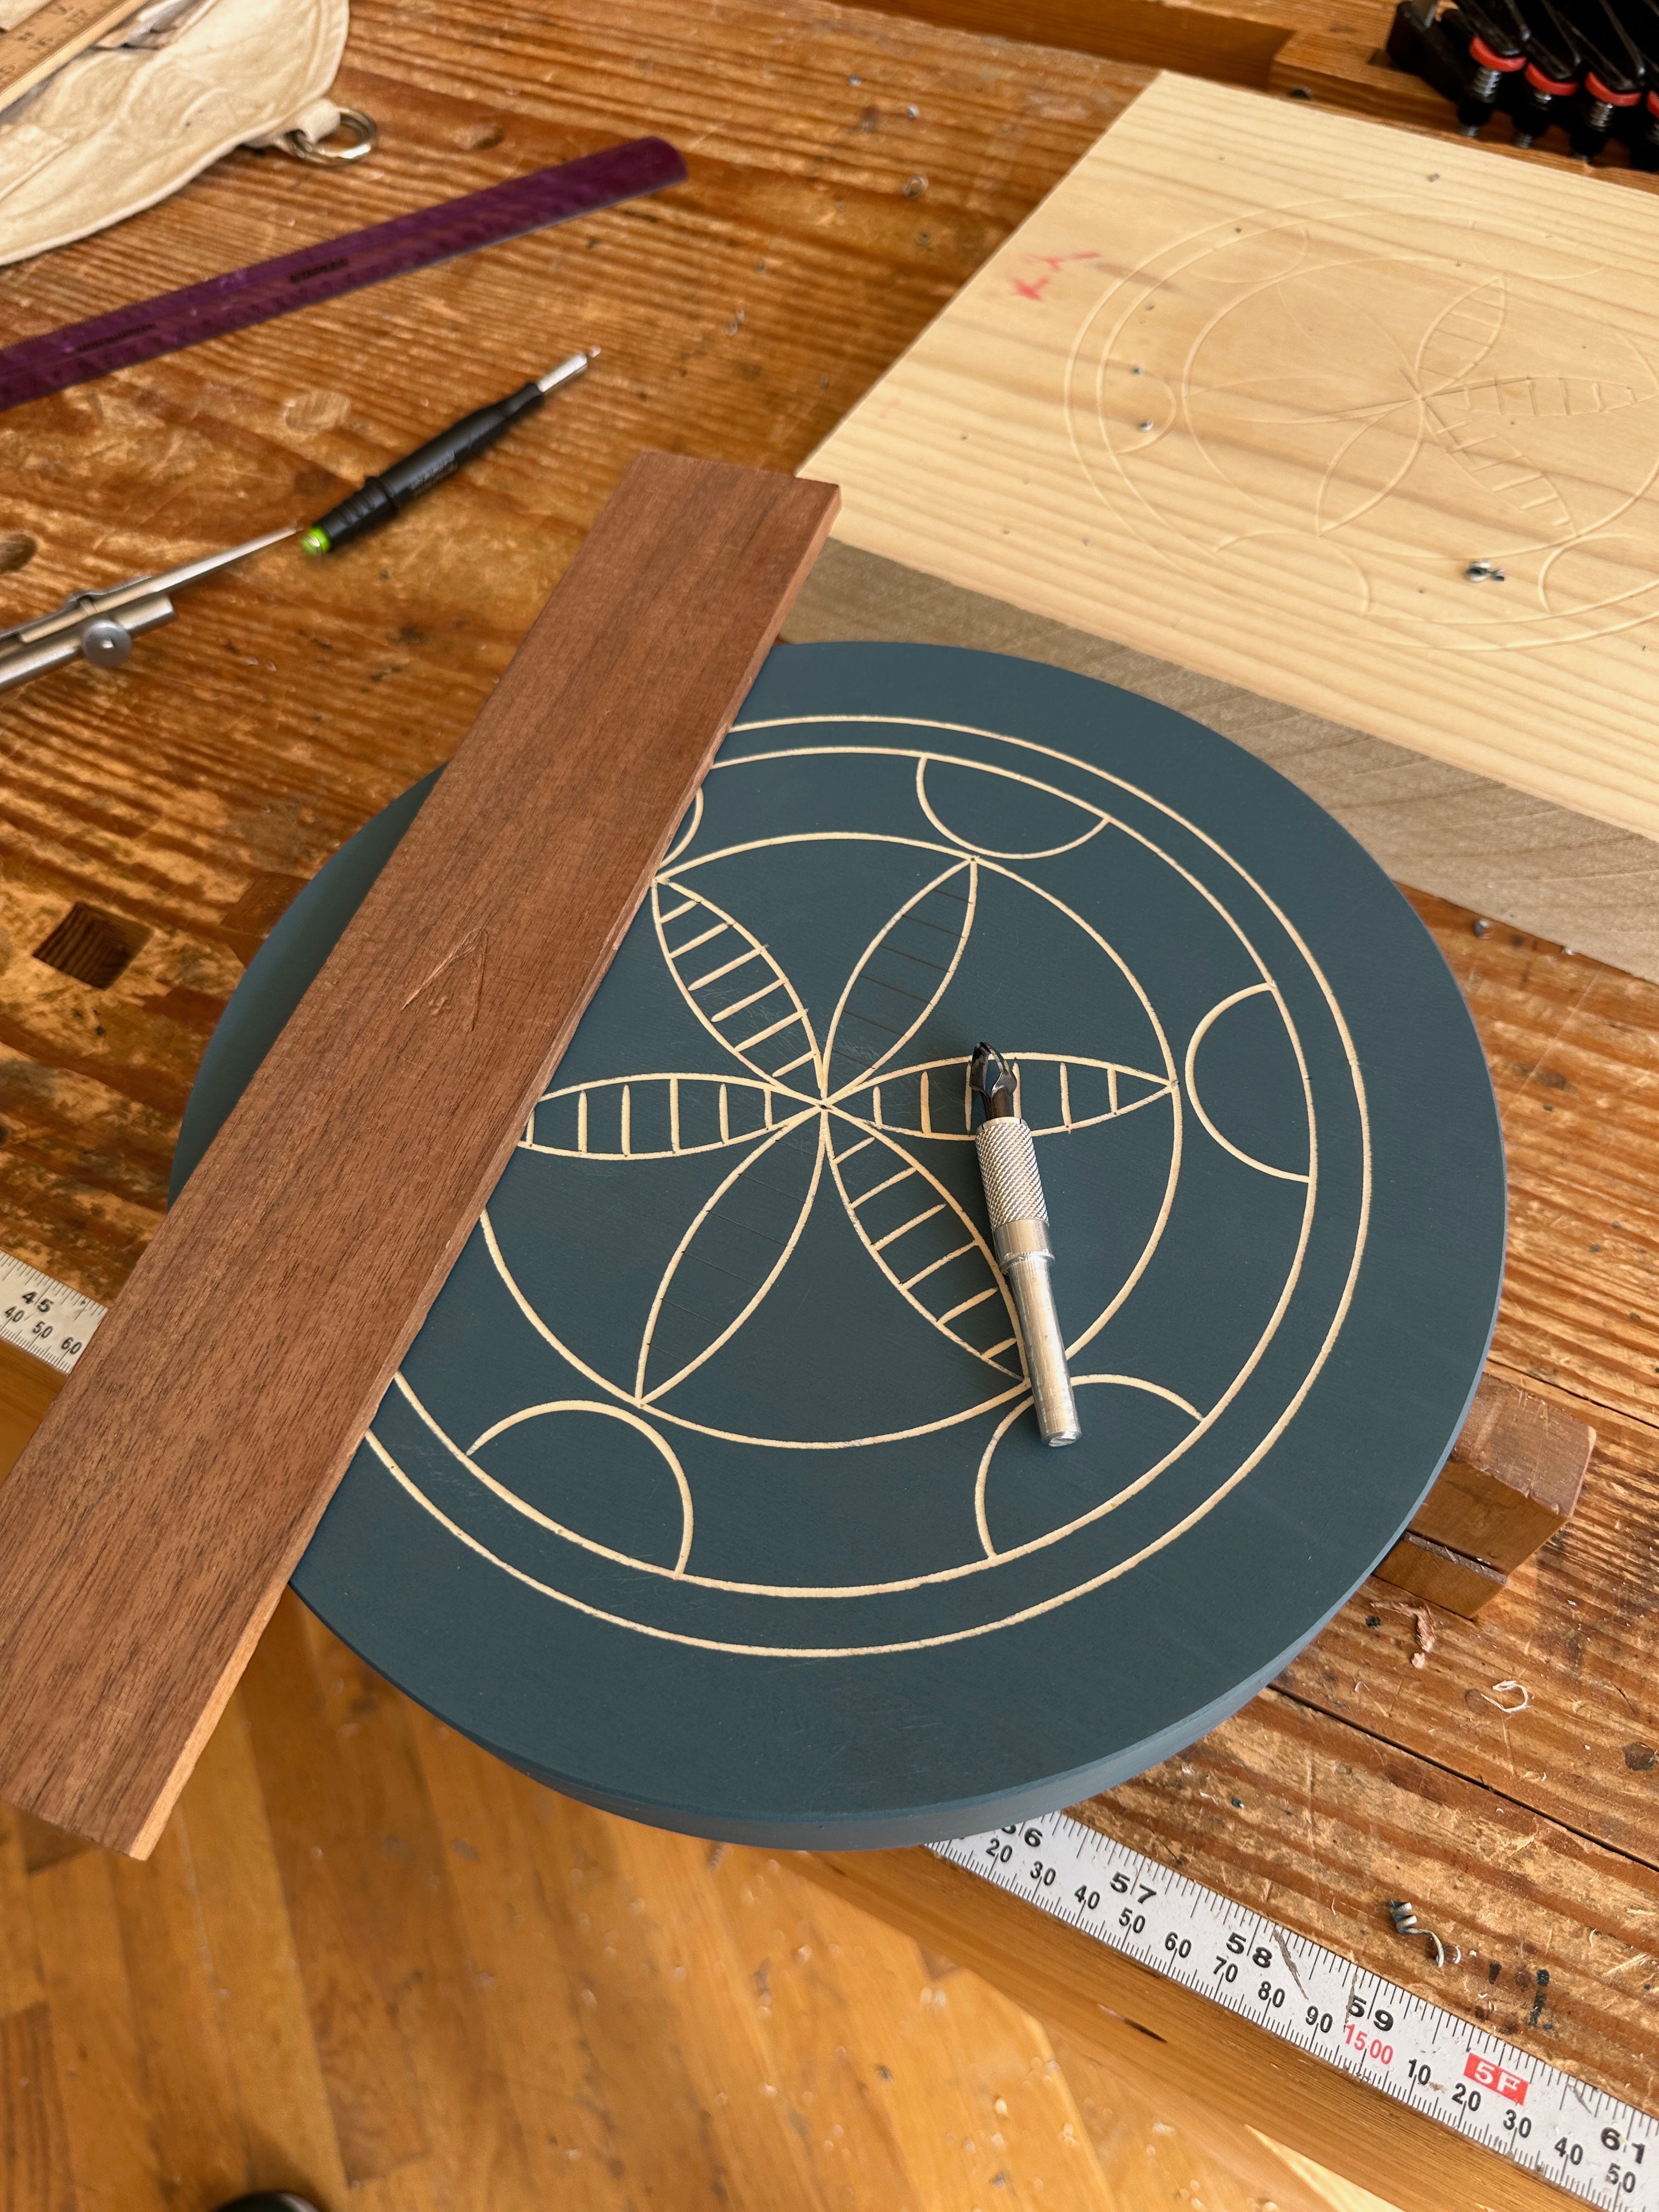
Tip. No. 5: Use a Sandpaper-backed Straightedge for Straight Lines
My wooden straightedges are 1/4"-thick hardwood. The working edge is shot with a handplane. The underside of the straightedge has adhesive-backed stair tread grippy stuff. This keeps the straightedge from sliding while you engrave.
And OK, how about a little shitposting? Just for a special treat.
Keep reading with a 7-day free trial
Subscribe to The American Peasant to keep reading this post and get 7 days of free access to the full post archives.