

Saddling the Seat v10.4
Saddling the Seat v10.4
Part 6 of the chair-building series.

I am always experimenting with different methods to saddle the seats of my stick chairs. And for the first 15 years of my chairmaking, that was butt-tacular. It didn’t matter how I saddled the seat because it always came out fine in the end.
When I started to teach chairmaking, however, I had to stop that experimental nonsense and come up with a way to explain it to others that made sense and wasn’t just: Fart around with the tools until it looks like a bowl with a pointy tumor at the front.
What follows is how I teach it these days.
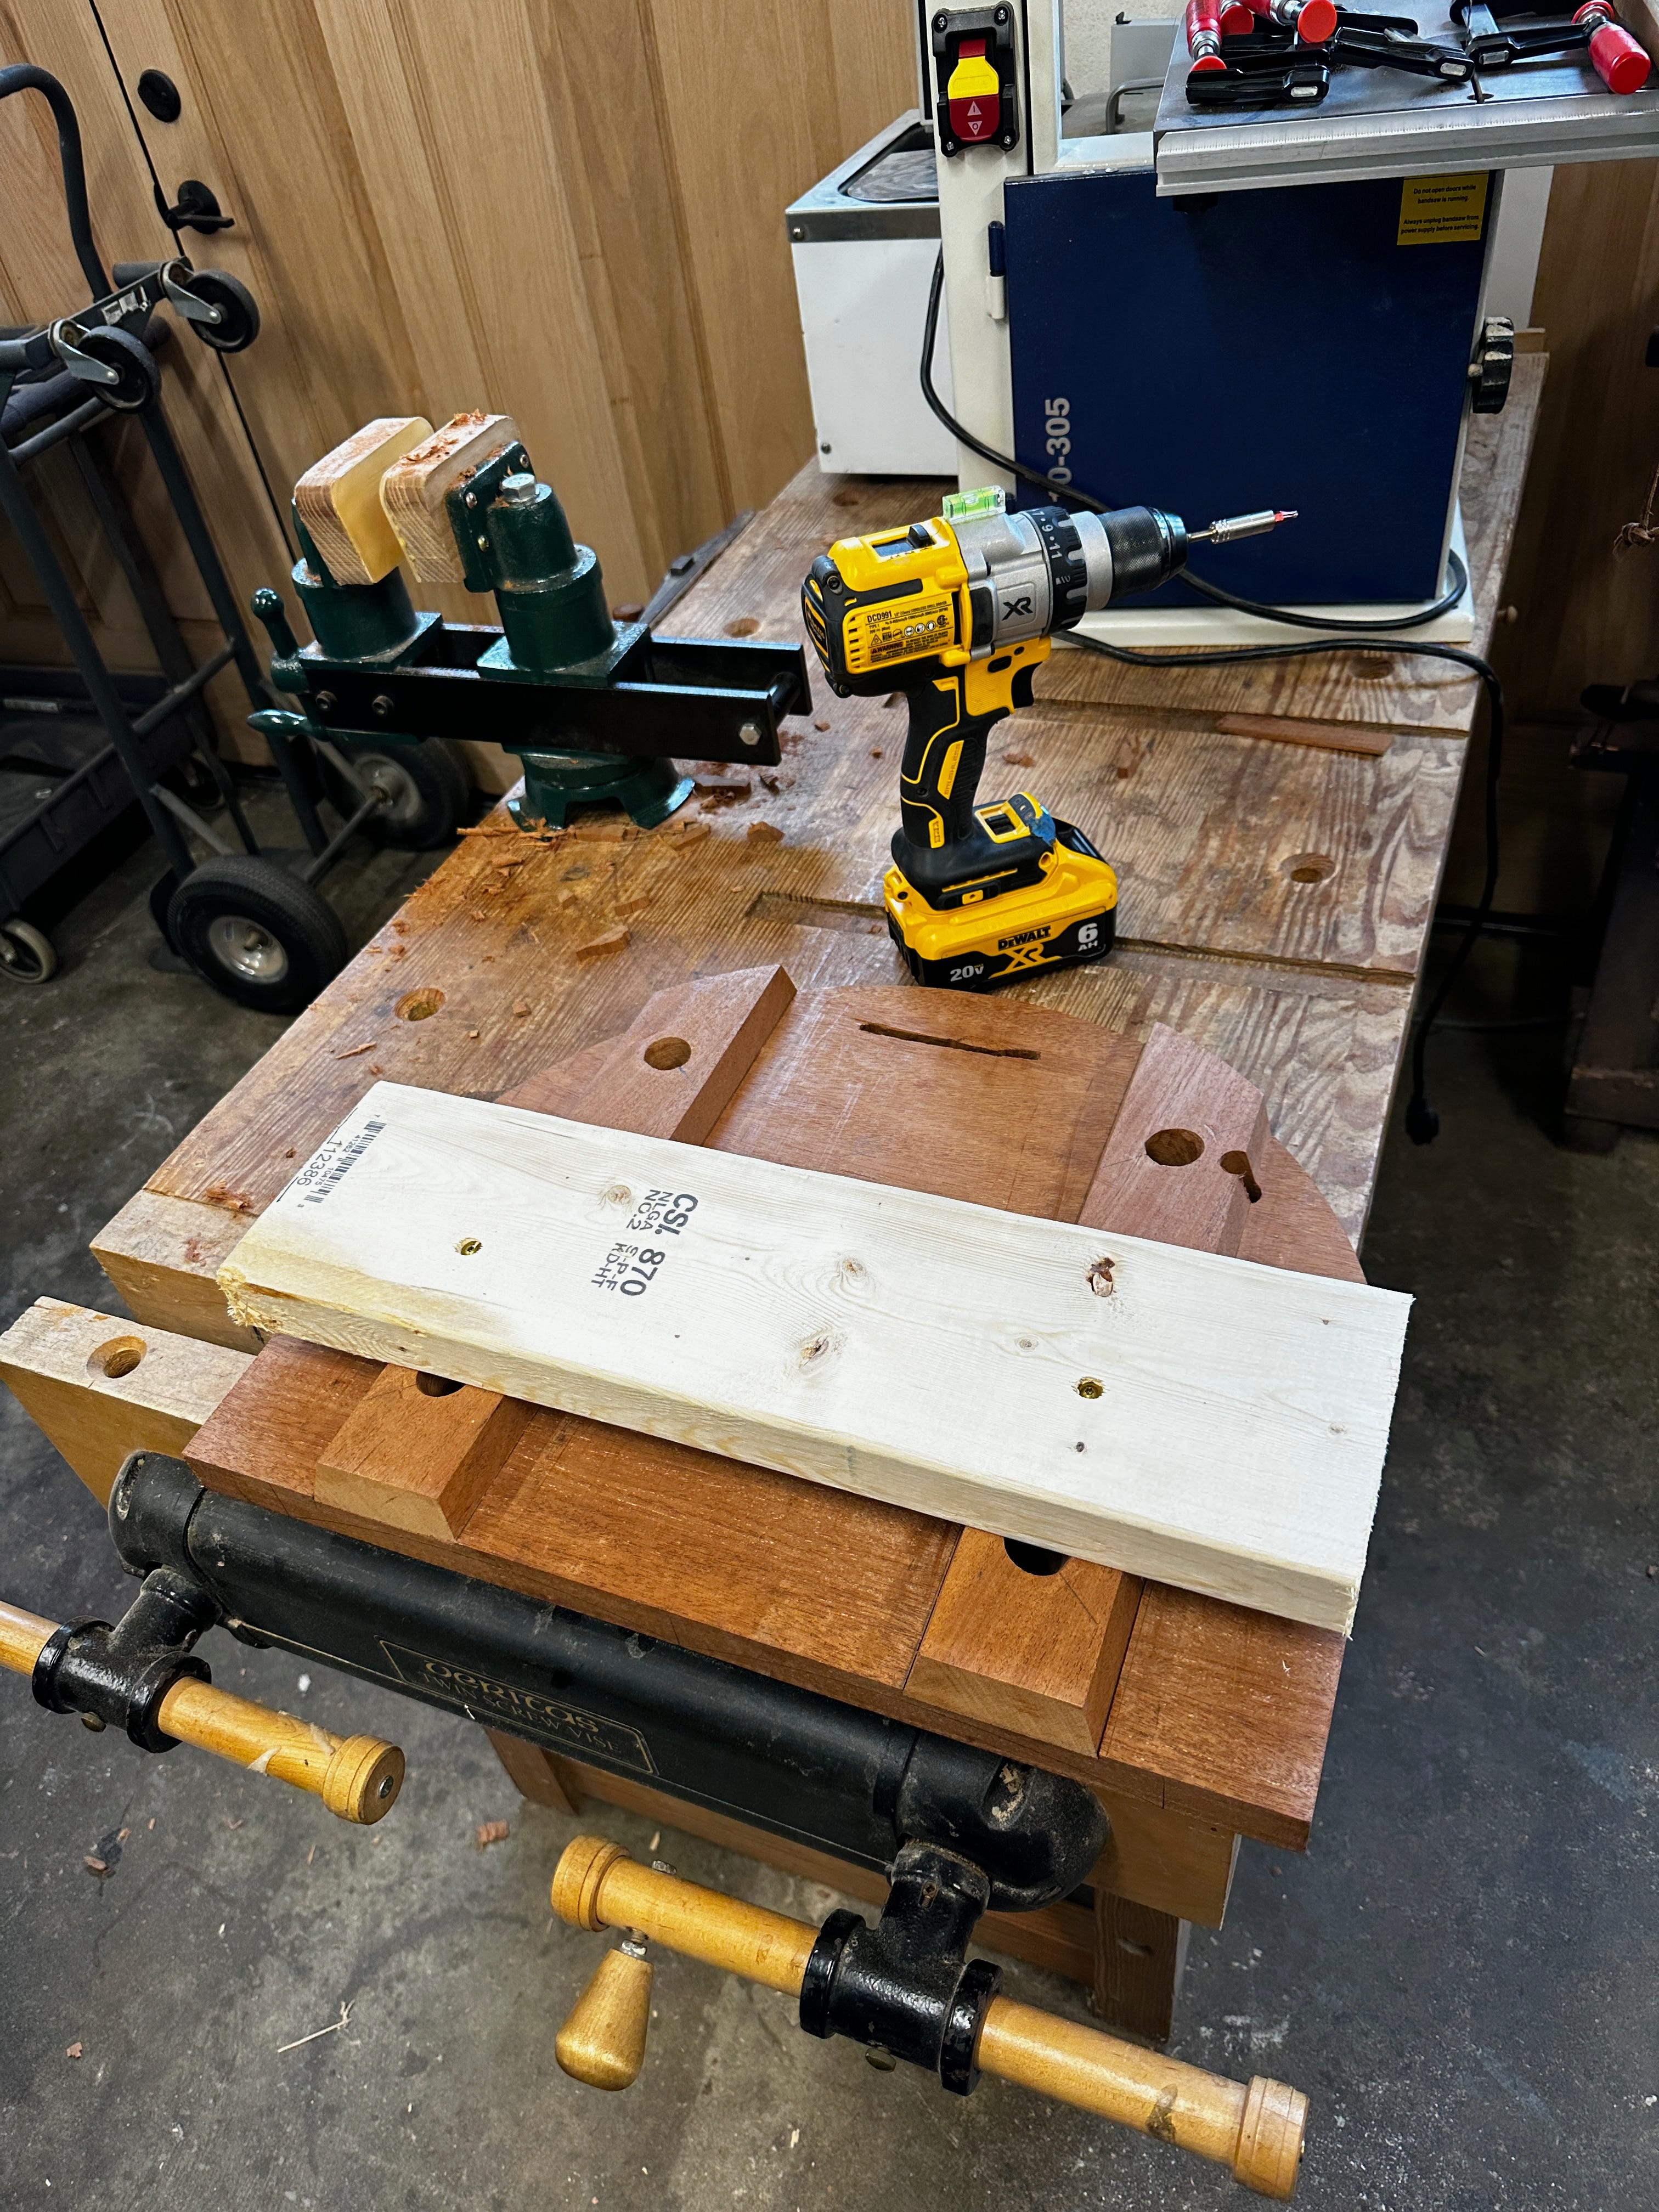
First, I write on the whiteboard these words: Be a Farmer Not a Mole.
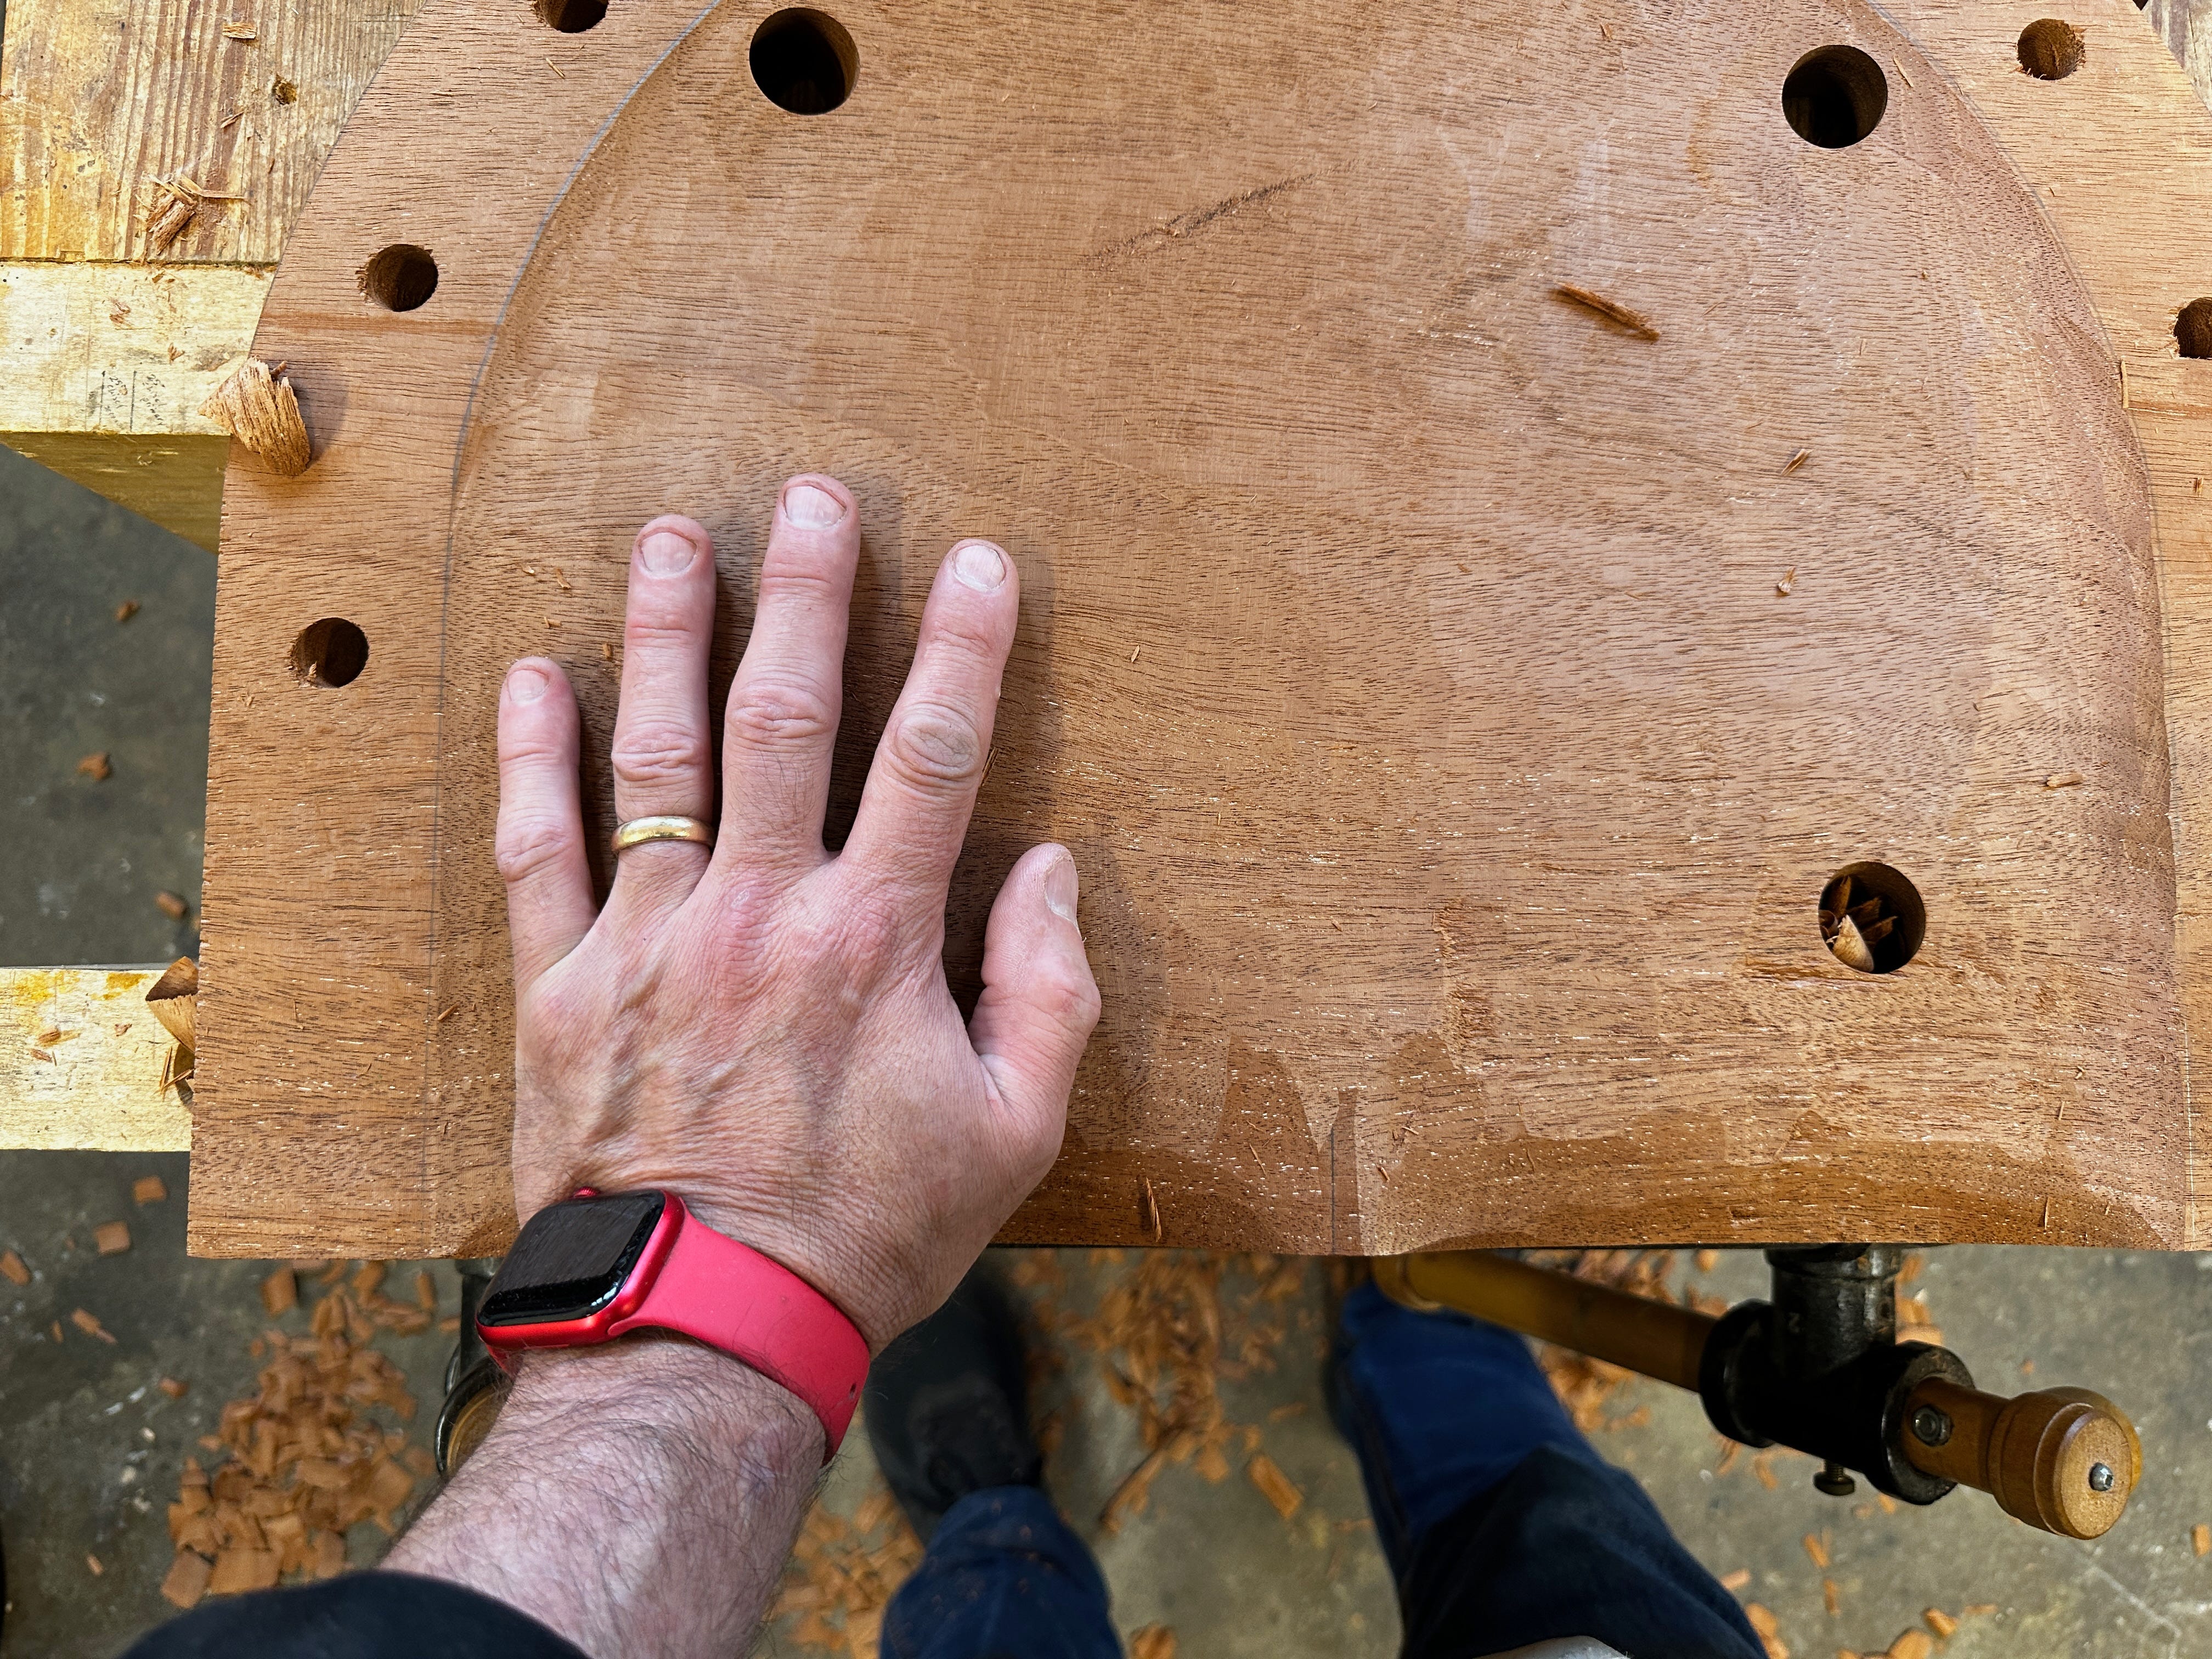
What does that mean? Many beginning chairmakers get fixated on one area of the seat, then dig for the earth’s core at that location. That’s not good. To create the “bowl” of the seat – the shallow recess for your cheeks – you need to plow the seat like a farmer planting corn.
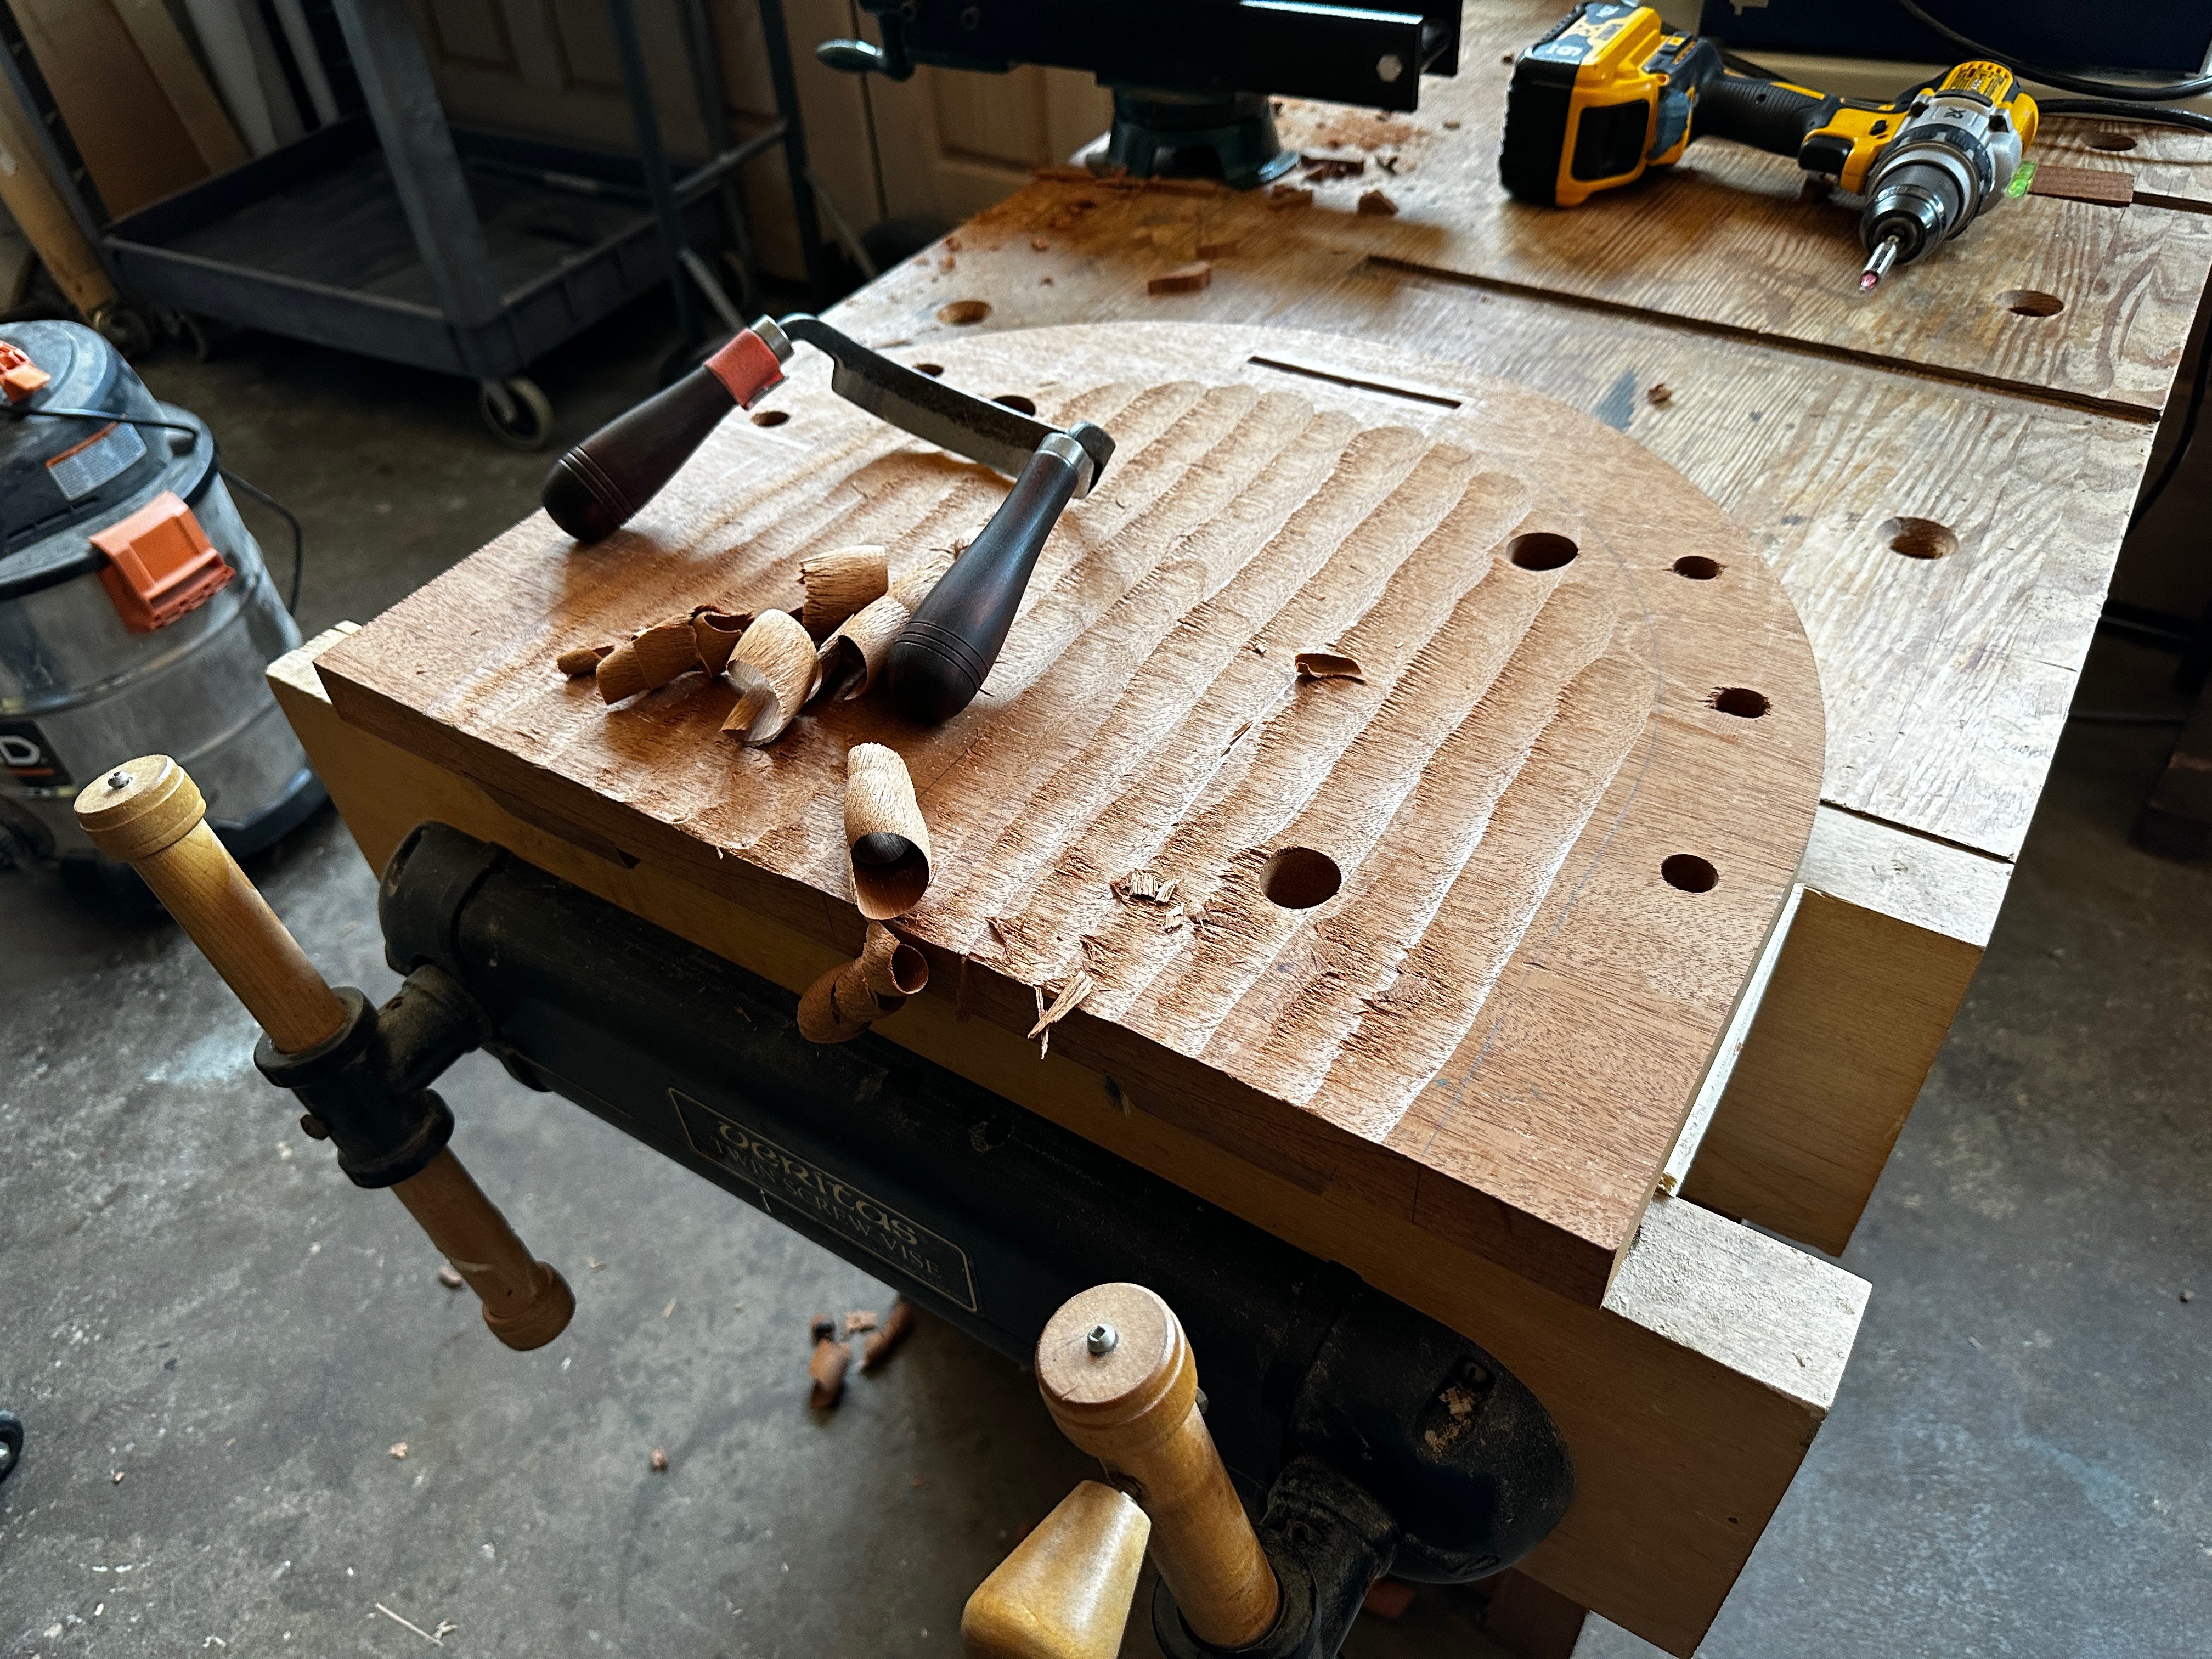
That means: 1) Cut regular rows all the way across the seat with the curved part of your scorp/inshave. These cuts are made across the grain of the seat. One row next to the other. Don’t deviate from row next to row next to row. And don’t stop until you have made it from one side of the seat to the other.
2) Now repeat. But this time, use the curved area of your scorp/inshave to trim the high spots between each furrow. Again, don’t deviate and don’t stop.
3) When that’s complete, flatten the bowl. Use the flat part of your inshave/scorp to trim any high spots. Row and row. Don’t deviate. Don’t stop.
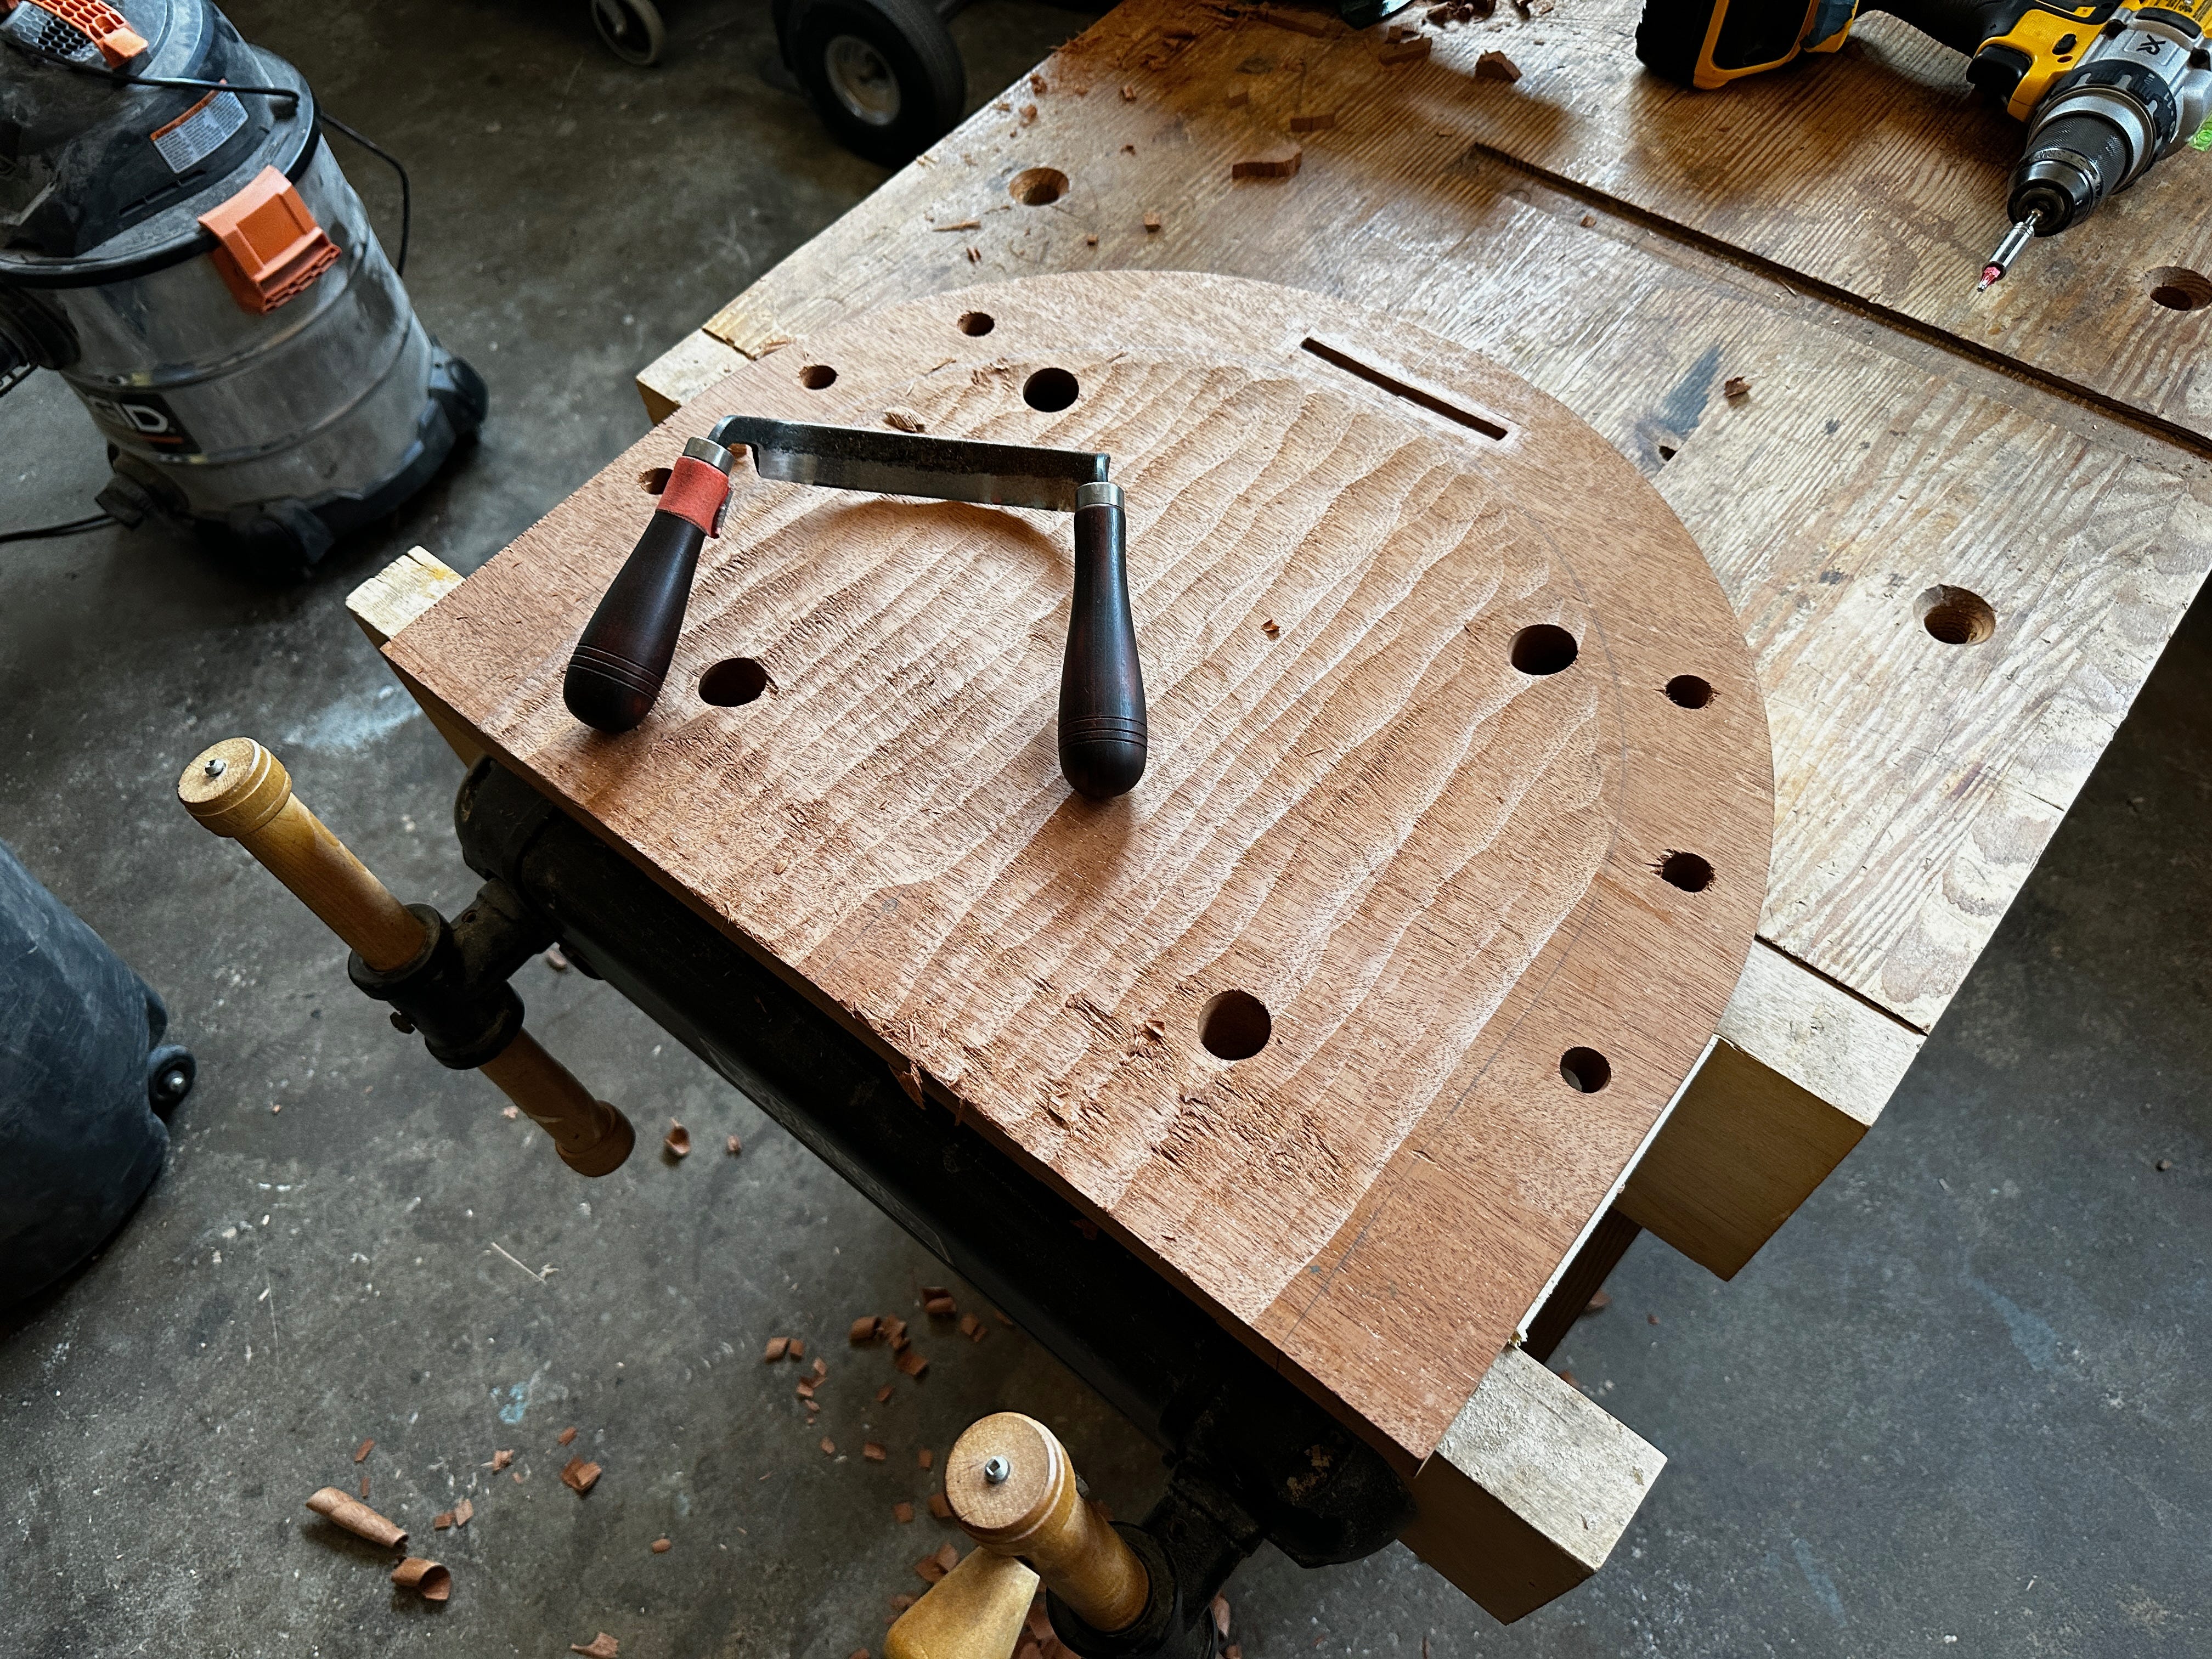
Now go back and repeat the process at No. 1.
Keep repeating the process. With each cycle, nibble up closer to the line of the spindle deck. When you get to 1/4" deep in the middle of the bowl, you are done.


Scoop Out the Cups
The cups are the swoopy bits at the front of the seat. The cups are a segment of a 10"-radius circle (the same radius as the outside of the seat). Mark the cups with a pommel in the middle.
Rough out the cups using with-the-grain cuts. Come in from one side of the cup and try to scoop to the bottom. Then cut in from the other way. The second series of cuts will remove the chunk of waste from the first series of cuts.
Cut as close to the lines as you can. Then clean up the cuts using light cuts across the grain.
Blend the Cups & the Bowl
This process leaves a dramatic transition between the bowl and the cups. To blend the bowl with the cups, make tapering cuts (again, across the grain) with the scorp/inshave. The transition area is about as long as your hand. Remember to be a farmer – not a mole. Make regular cuts right next to each other. Row next to row.
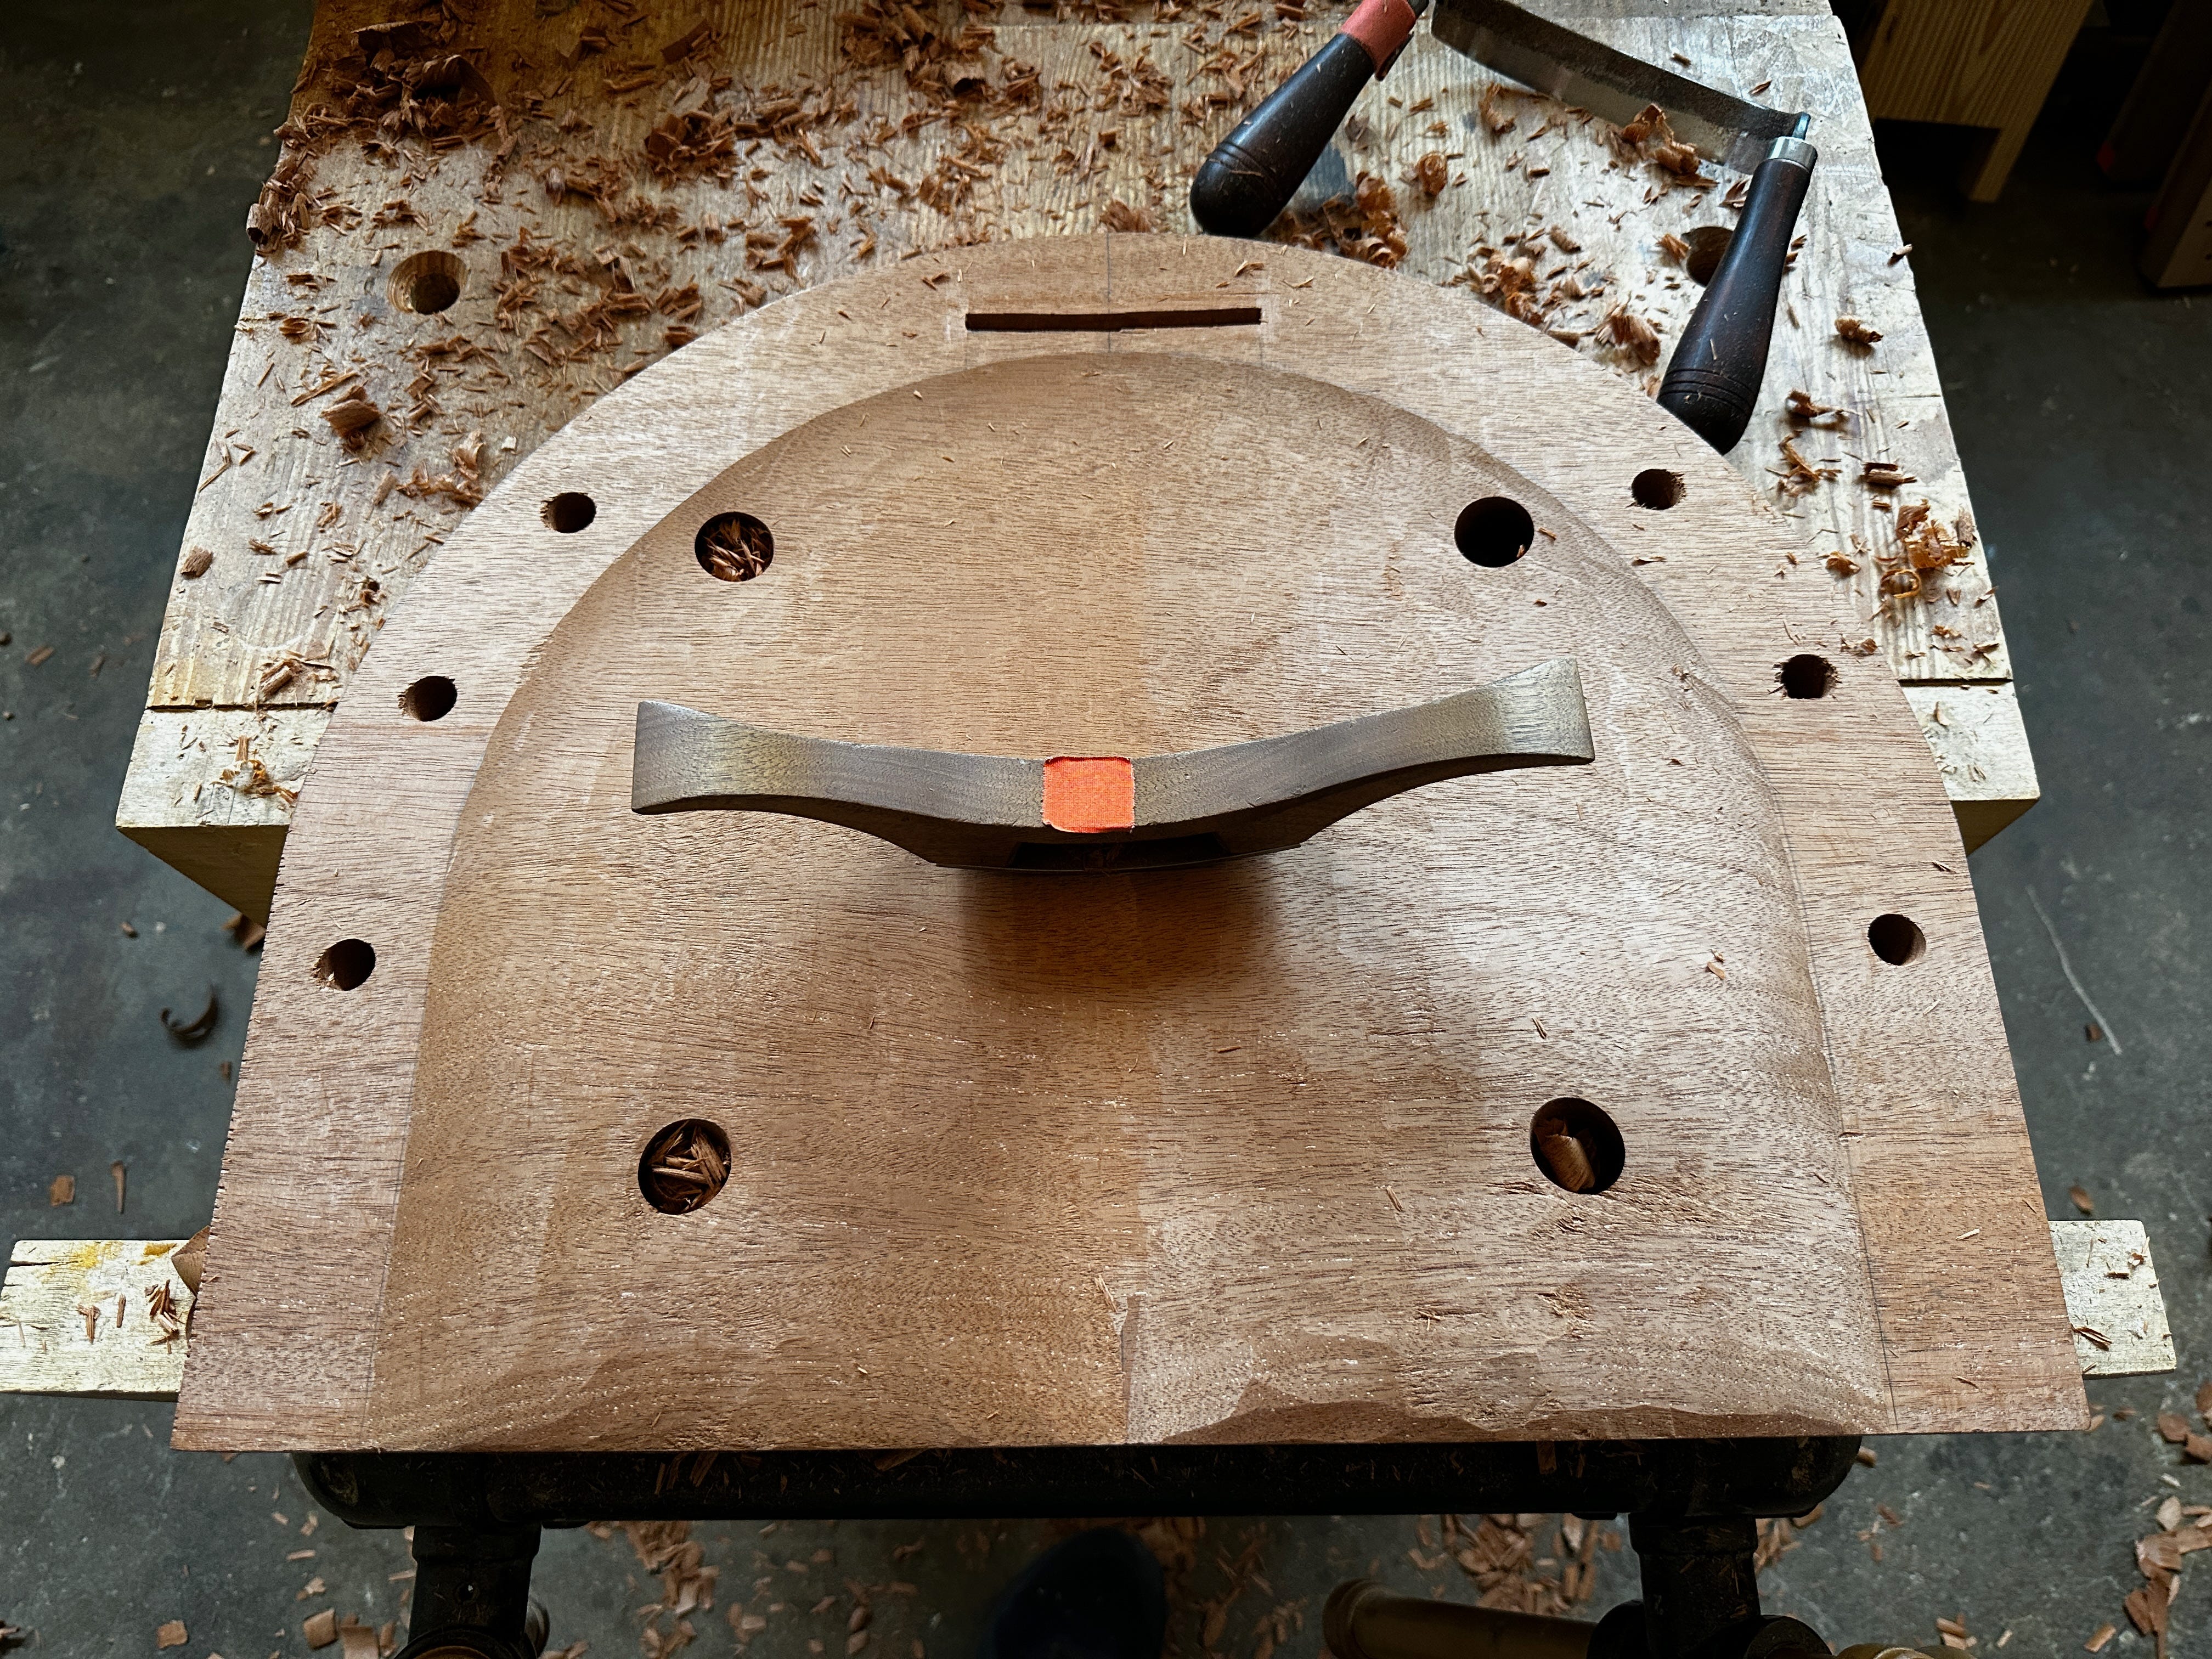
The Travisher
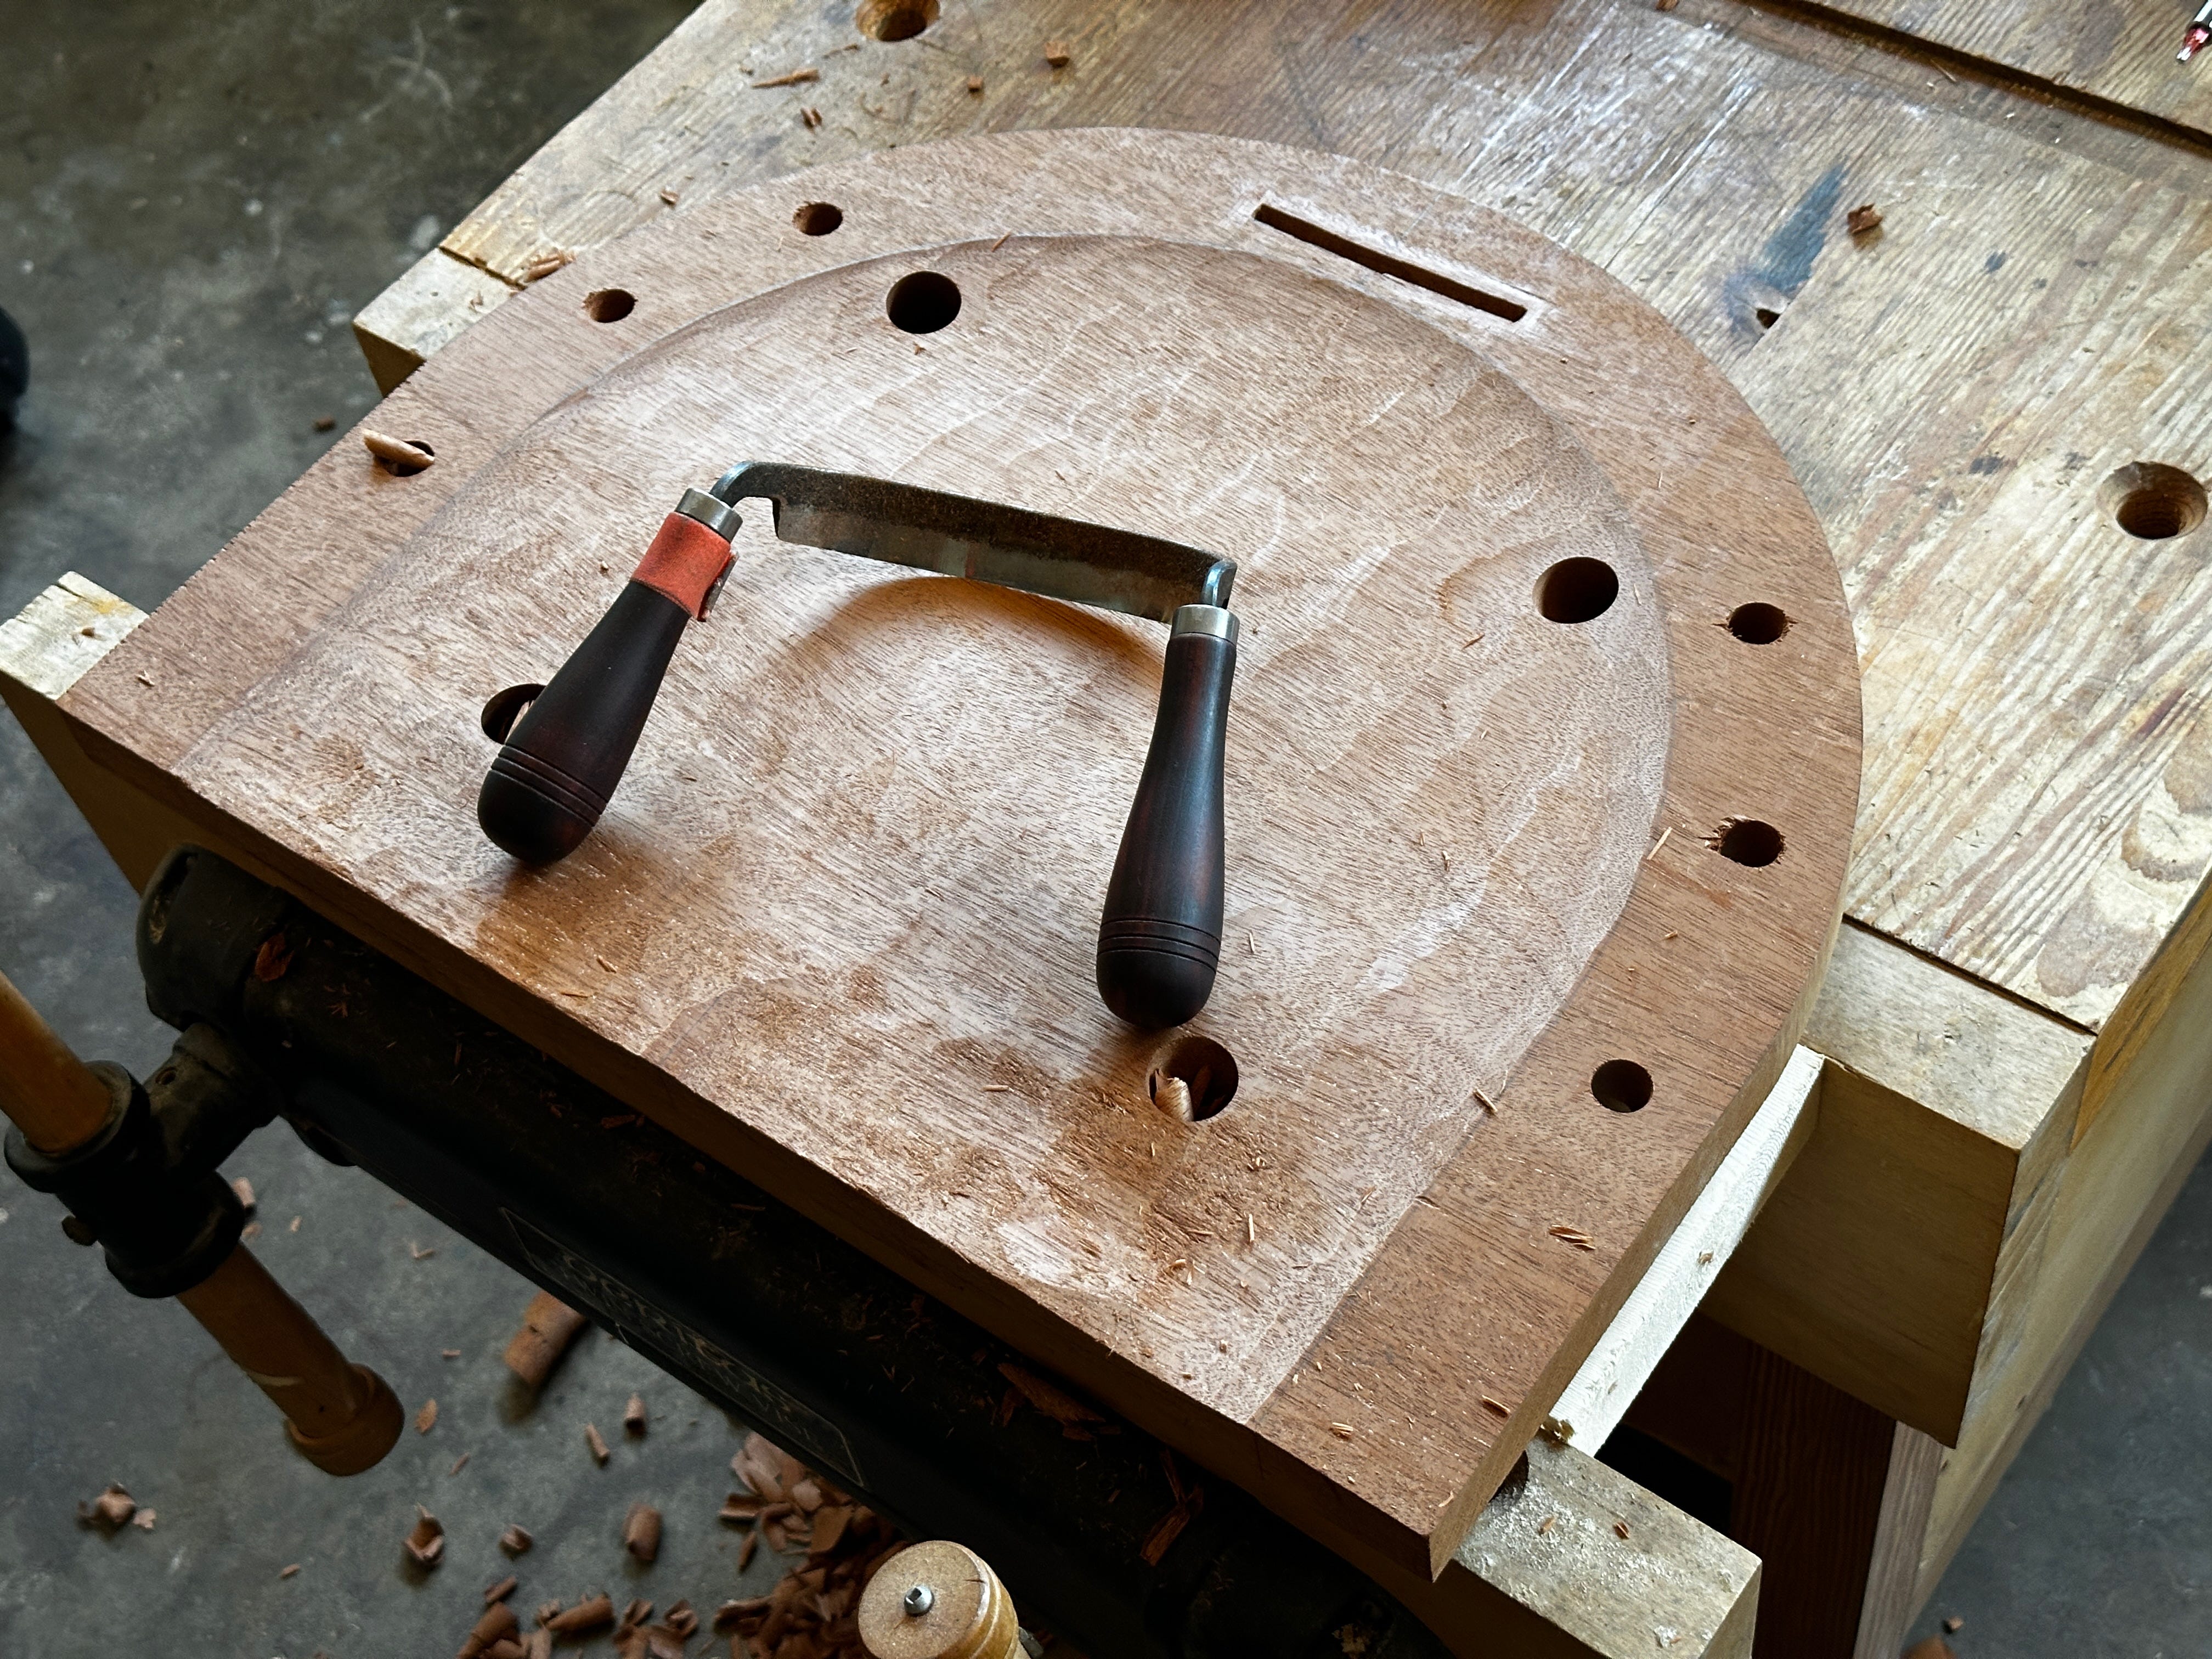
The hard work is over. Use the travisher to remove the tool marks left by the scorp. First clean up the cups and bowl (work across the grain). Then work the lip of the saddle all around the spindle deck. These cuts should follow the spindle deck. So you will variously cut across the grain and with the grain at different locations.
Sand & Scrape
Refine the seat as much as the travisher and wood will allow. Then use a random-orbit sander loaded with #80-grit sandpaper to level off all the tool marks – this should take about 5 minutes. Then scrape the seat with a curved card scraper to reveal any low spots.
Don’t go too far – the seat might get a little beat up during assembly.
Next: Assemble the undercarriage
I use it like a spokeshave, like cleaning up some shallow coves
Have you moved to 1/4" saddle depth on all of your chairs or just for this one? I'm working up the courage to make my own design decisions on chairs and I'd be curious if theres any rationale behind the depth. Either way, can't wait to make this one!