The American Peasant

Share this post

Tongue and Groove the World

christopherschwarz.substack.com

Tongue and Groove the World

A tutorial. (Plus an update on pins.)

Christopher Schwarz
Feb 26
56
13
Share this post

Tongue and Groove the World

christopherschwarz.substack.com
The thick curls form the grooving process.

Nearly every piece of wood in this cupboard (and the other Eastern European pieces I’m building) uses tongue-and-groove joinery.

All the side pieces of the cupboard, the back, the bottom, the shelf and the piece’s top are all made up of narrow boards that are tongued and/or grooved. And sometimes on both long edges plus the board’s ends.

As I got into the (won’t say groove, won’t say groove) swing of things, I realized I should write a standalone chapter on the nuances of the process. It’s easy to get (literally) turned around and create a wonky surface. Or you don’t keep the tongue-and-grove plane adjusted well, and the groove or tongue wander.

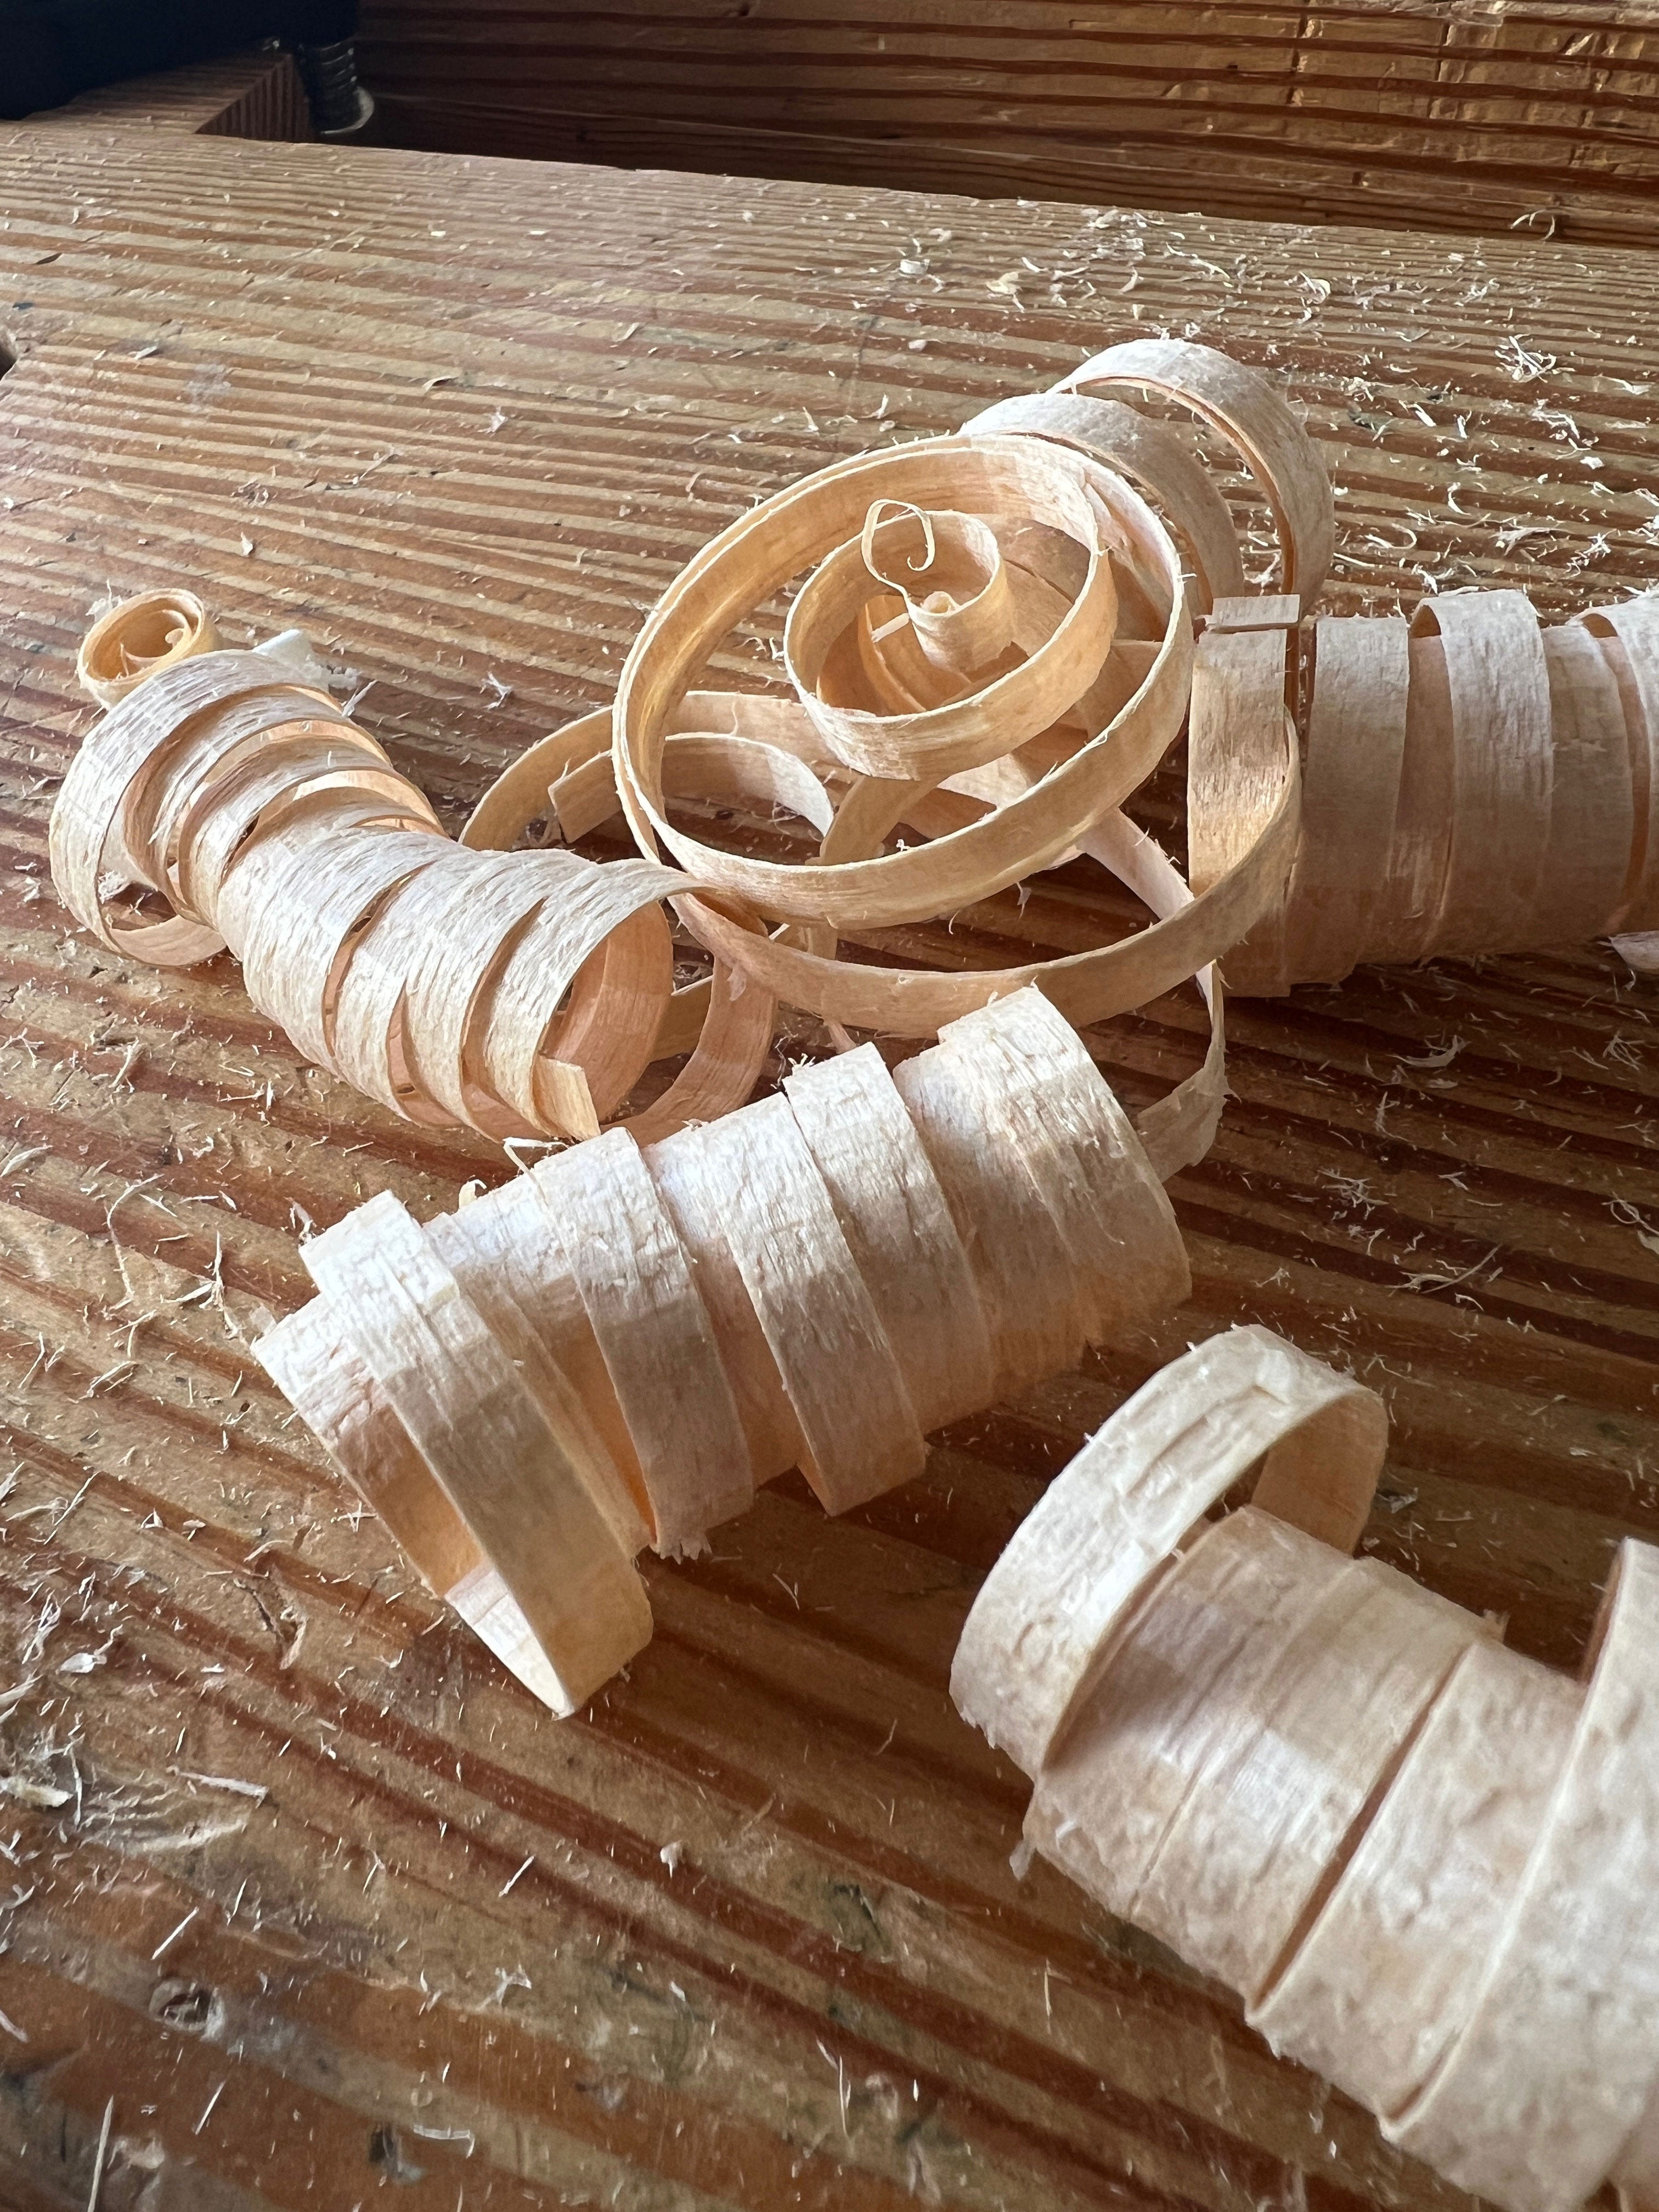
So here is a detailed tutorial on creating the tongue-and-groove joint with a No. 48 plane, which was designed for this operation.

All the grain in these boards runs from right to left. A key tip in making the process easy.

Lay Out the Panel

Arrange the pieces on your workbench to create the desired panel. I usually put the heart side facing up (if the wood is dry). If the wood is damp, I’ll alternate heart side and bark side on each mating board to decrease the chance the panel will distort as its moisture content comes into equilibrium with my shop.

I orient the boards so the grain direction on all the boards is running left. This ensures the No. 48 will be (likely? mostly?) working with the grain during the whole process. (As there are no left-handed No. 48s, lefties will have to use the plane right-handed.)

To be fair, a little tear-out on the edges of the tongues or the groove isn’t a big deal. The tearing will be mostly hidden. But in boards that have the grain moving steeply through the board, the tearing can show on the face of the board. Plus, working against the grain is harder work.

Now draw a giant and bold cabinetmaker’s triangle across all the boards. Decide which edges will get a tongue and which will get a groove. Mark a T or a G near that edge to remind you.

I call it the “No-no Knob.” Place your thumb behind it, pressing firmly down.
My fingers press the fence against the face of the board.

Place the first board in your face vise with the edge that will be tongued facing up. The cabinetmaker’s triangle should face you, the user. If the fence of the No. 48 runs against the triangled surface on all the boards, then the panel will end up flat with the surfaces coplanar.

Joint the board’s edge and check to make sure it is true. This is not as finicky a process as jointing an edge for glue-up. You just want to make the edge clean, straight and true enough.

Joint the edge and check it with the corner of your jointer plane – no straightedge needed.

Take the No. 48 and set its blades for a rank cut – so rank it makes a stank (I don’t know what that means, but it rhymes, and so I like it). In the photos shown here, my shaving is 0.025” thick. (That’s 12 to 25 times as thick as shaving from a smooth plane.) Basically take the thickest shaving you can manage and that leaves a clean surface behind.

Set the swinging fence of the No. 48 so it makes a tongue. The fence should be snug and not wobbly. If it wobbles, the joint will wander and the pieces won’t go together well. If the fence is a little loose, snug it up with a screwdriver. As soon as the fence doesn’t wobble, stop tightening the screw. It’s easy to over-tighten.

Snugging the fence is critical to doing this correctly. I keep a screwdriver at the bench for this.

Keep reading with a 7-day free trial

Subscribe to The American Peasant to keep reading this post and get 7 days of free access to the full post archives.

Already a paid subscriber? Sign in
Previous
Next
© 2023 Christopher Schwarz
Privacy ∙ Terms ∙ Collection notice
Start WritingGet the app
Substack is the home for great writing