
How to Finish with Dirt, Soot & Oil

During one long afternoon with hallucinogenic mushrooms, two things happened. The knots in the woodwork became alive and started to swim sluggishly through the growth rings of the pine around the doorways. And I developed the following finish recipe.
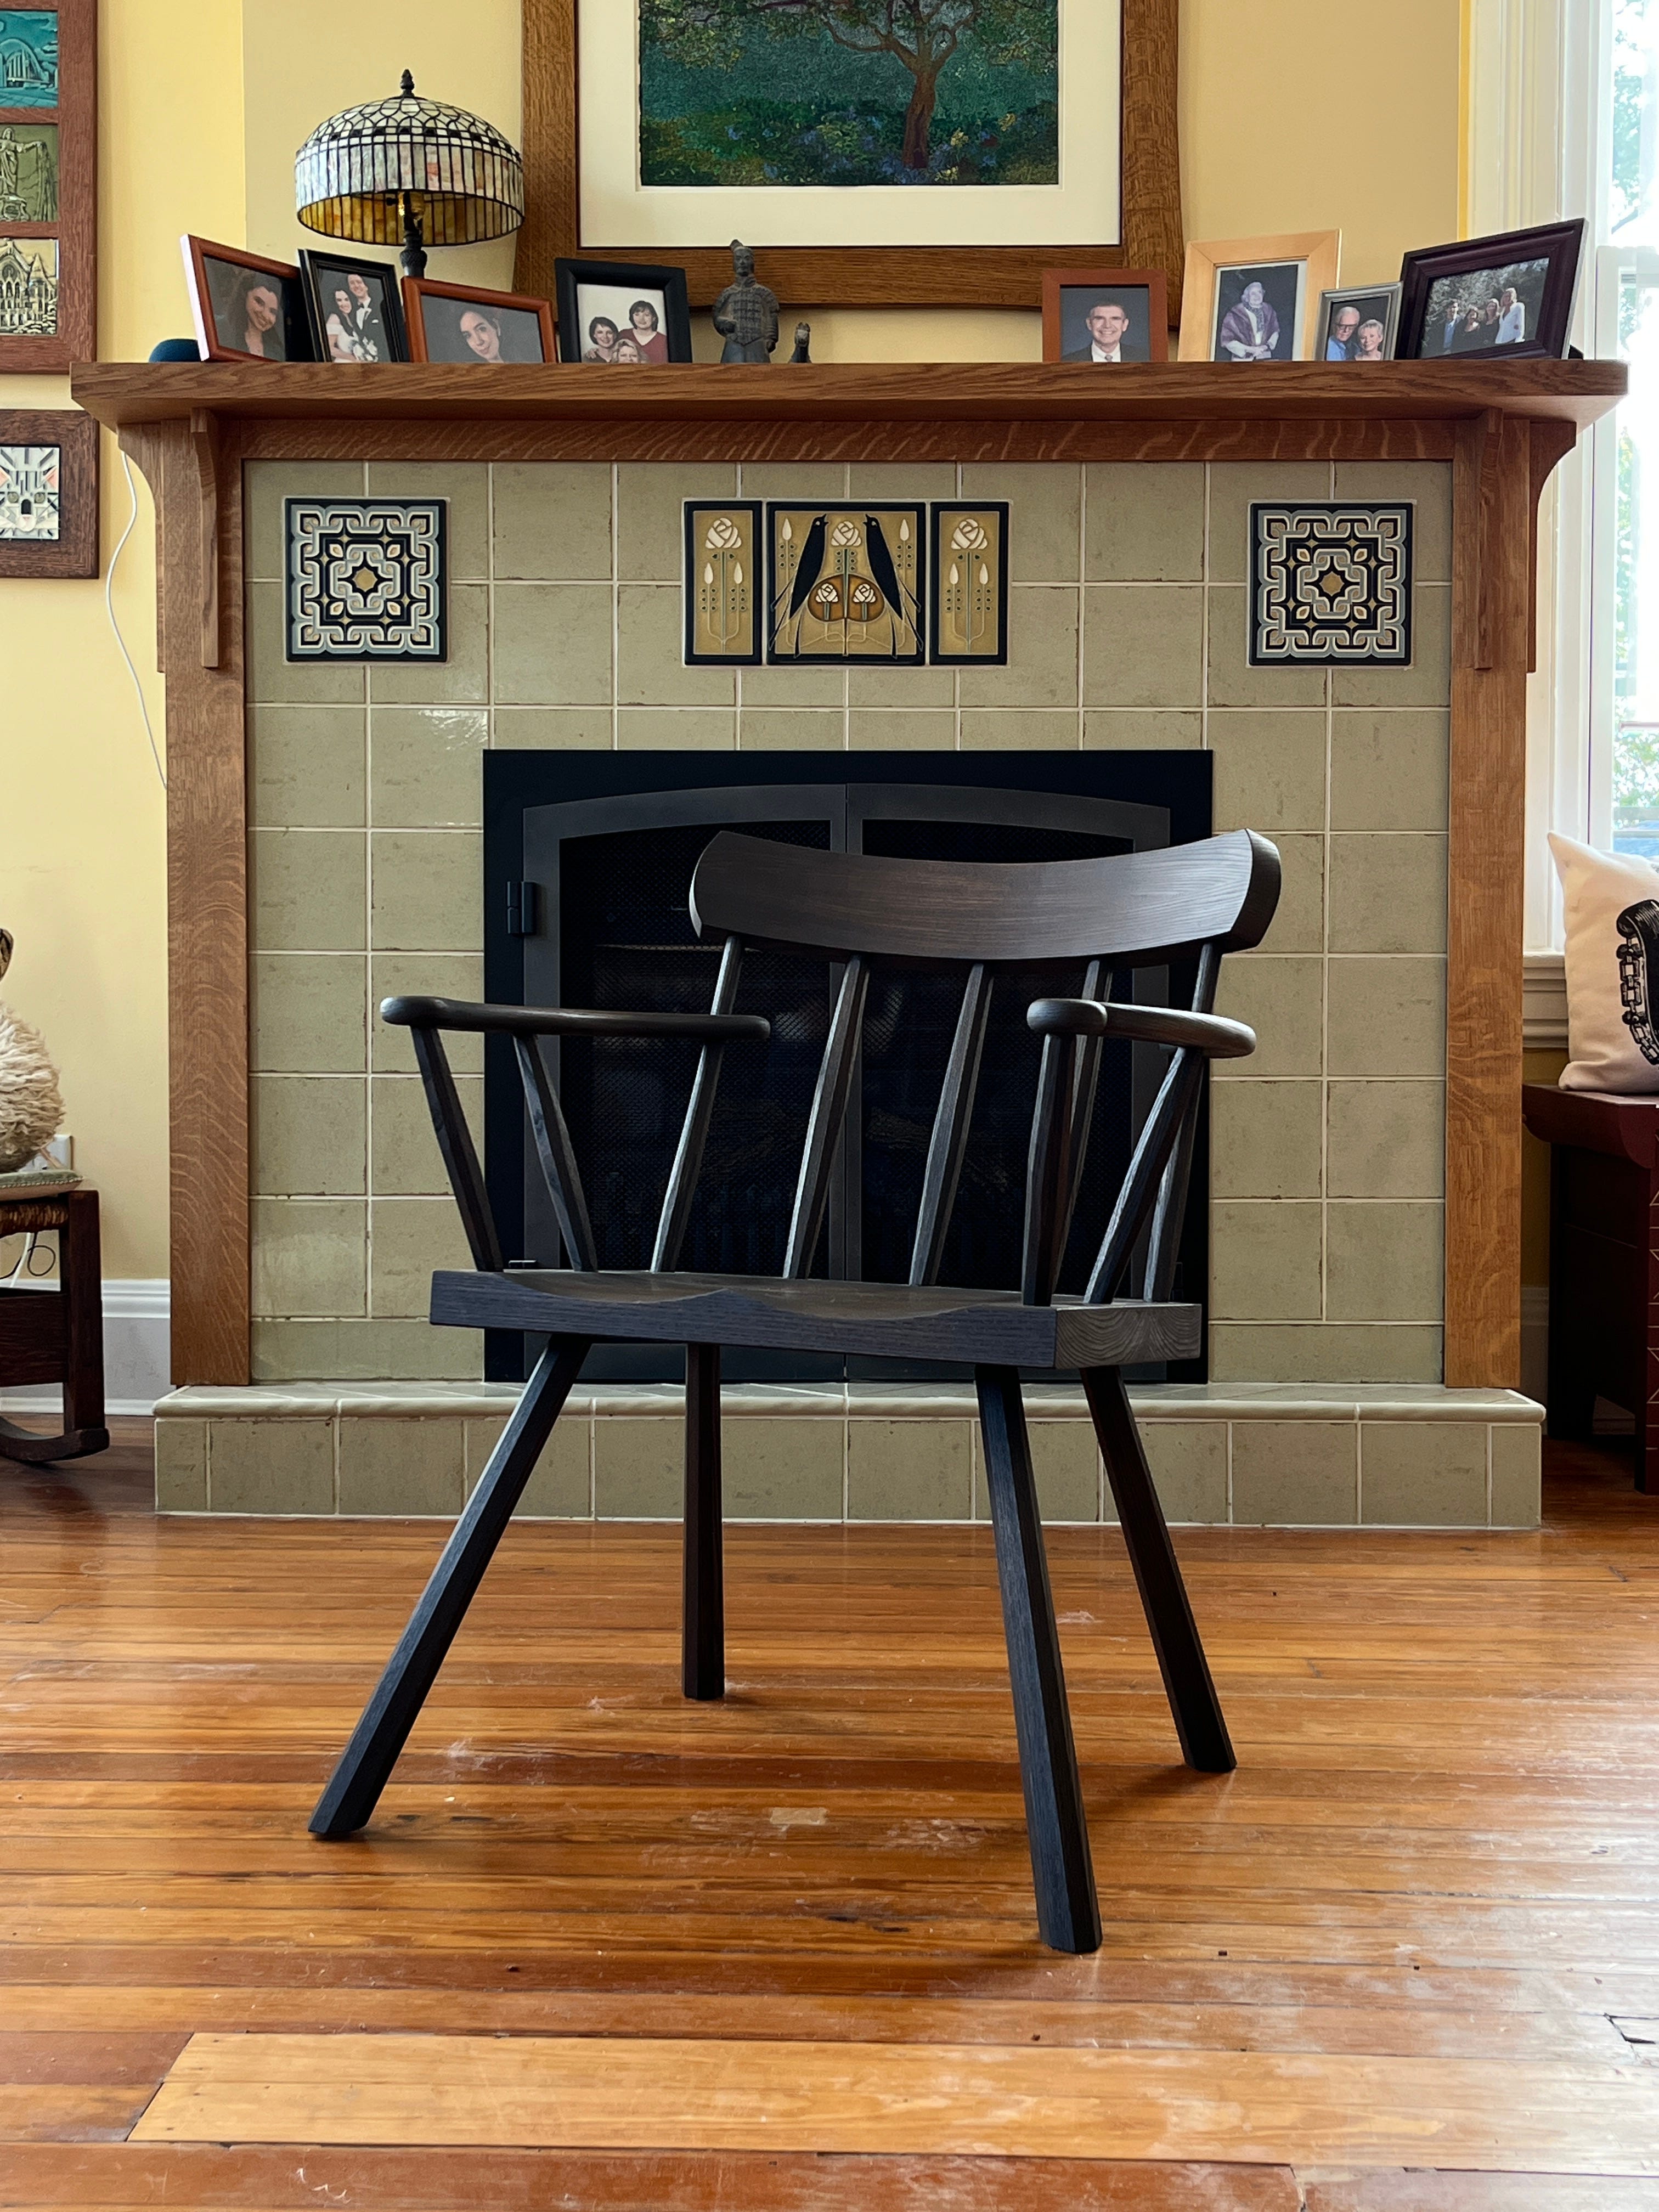
For many years I’ve sought to reproduce the brown-black-red color found on old peasant chairs. The kind of finish you can’t get in a can (sorry Minwax, your “Welsh Farts” stain doesn’t quite cut it). It’s the finish you get by putting bare wood by a fire for a decade while slathering it with sweat, dirt from your hands and sheep grease from your meals. And all the while burnishing it with coarse-spun fabrics.
It’s not the finish you get when you bury furniture in the mud or beat it with bicycle chains or torch it with propane. That shit always looks fake, and it’s about as attractive as botox, lip implants and a racoon in a teddy with the nipple parts cut out and surrounded by more fur.
I’ve read about (and tried) lots of chemical methods for aging wood. Every few years someone comes up with a two-part chemical treatment that instantly adds 100 years of age to your wood. Except it just looks like a thin wash of gray paint that has blotched your pine and is experiencing late-stage leprosy.
The only thing that has come close to my Brown Ideal is some Romanian finishes that involve leaving the entire piece of furniture in a smokehouse for a week or two.
(Whew, this introduction is getting so long it’s starting to feel like a recipe on GoodEats.com.)
Anyway, my mycelium-muddled mind asked: Why can’t you apply soot, dirt and oil directly to the wood?
The knots in the woodwork looked at me and swam away to the miters in the corners.
For the last few years, I’ve dorked around with the following idea. The soot part was easy. You can buy industrialized soot. It goes by a lot of names, including “laser printer toner.” But the easiest way to find it is to search for “carbon black.”
It is everywhere in our world, from our tires to the ink on the page. Yes, it can be dangerous if mishandled. It is essentially a campfire in a jar. Don’t breathe it in. Don’t swallow it. Treat it like a nasty powder.
I’ve used soot from a variety of sources. For this finish, don’t get too worked up about the kind of black (blue-black, red-black, Mars-black etc.). They all work fine. Go to an artists’ store and get 100 grams of lamp black or carbon black or vine black. You’ll pay about $6 to $9. Here’s one from a store you can trust.
My experiments with the black soot all ended in meh. I mixed it first with jojoba oil, because that is the oil that is chemically closest to the sebum that our skin excretes. The results were OK. Nothing exciting.
I put the project aside until we started using refined/purified linseed oil a couple years ago. If you haven’t tried the pure stuff, get a bottle of it. It’s nothing like the home-center junk. It is light and non-toxic and dries fast and looks great and I love it to pieces.
The oil also polymerizes nicely, which means it forms a nice film when it dries. And it made me want to become a better person.
So I mixed it with my carbon black and tried some experiments on test boards. Meh. I then added more pigment than I thought I should and tried again. Darker meh. It was missing something. The – I don’t know – perhaps bacon grease element?
Eventually I decided it was missing warmth. So I added some red dirt from Ercolano (the modern city by the ruin of Herculaneum). I actually added a lot of the red dirt.
And that’s when things started to work.
I tried to keep it simple. Here’s where I ended up:
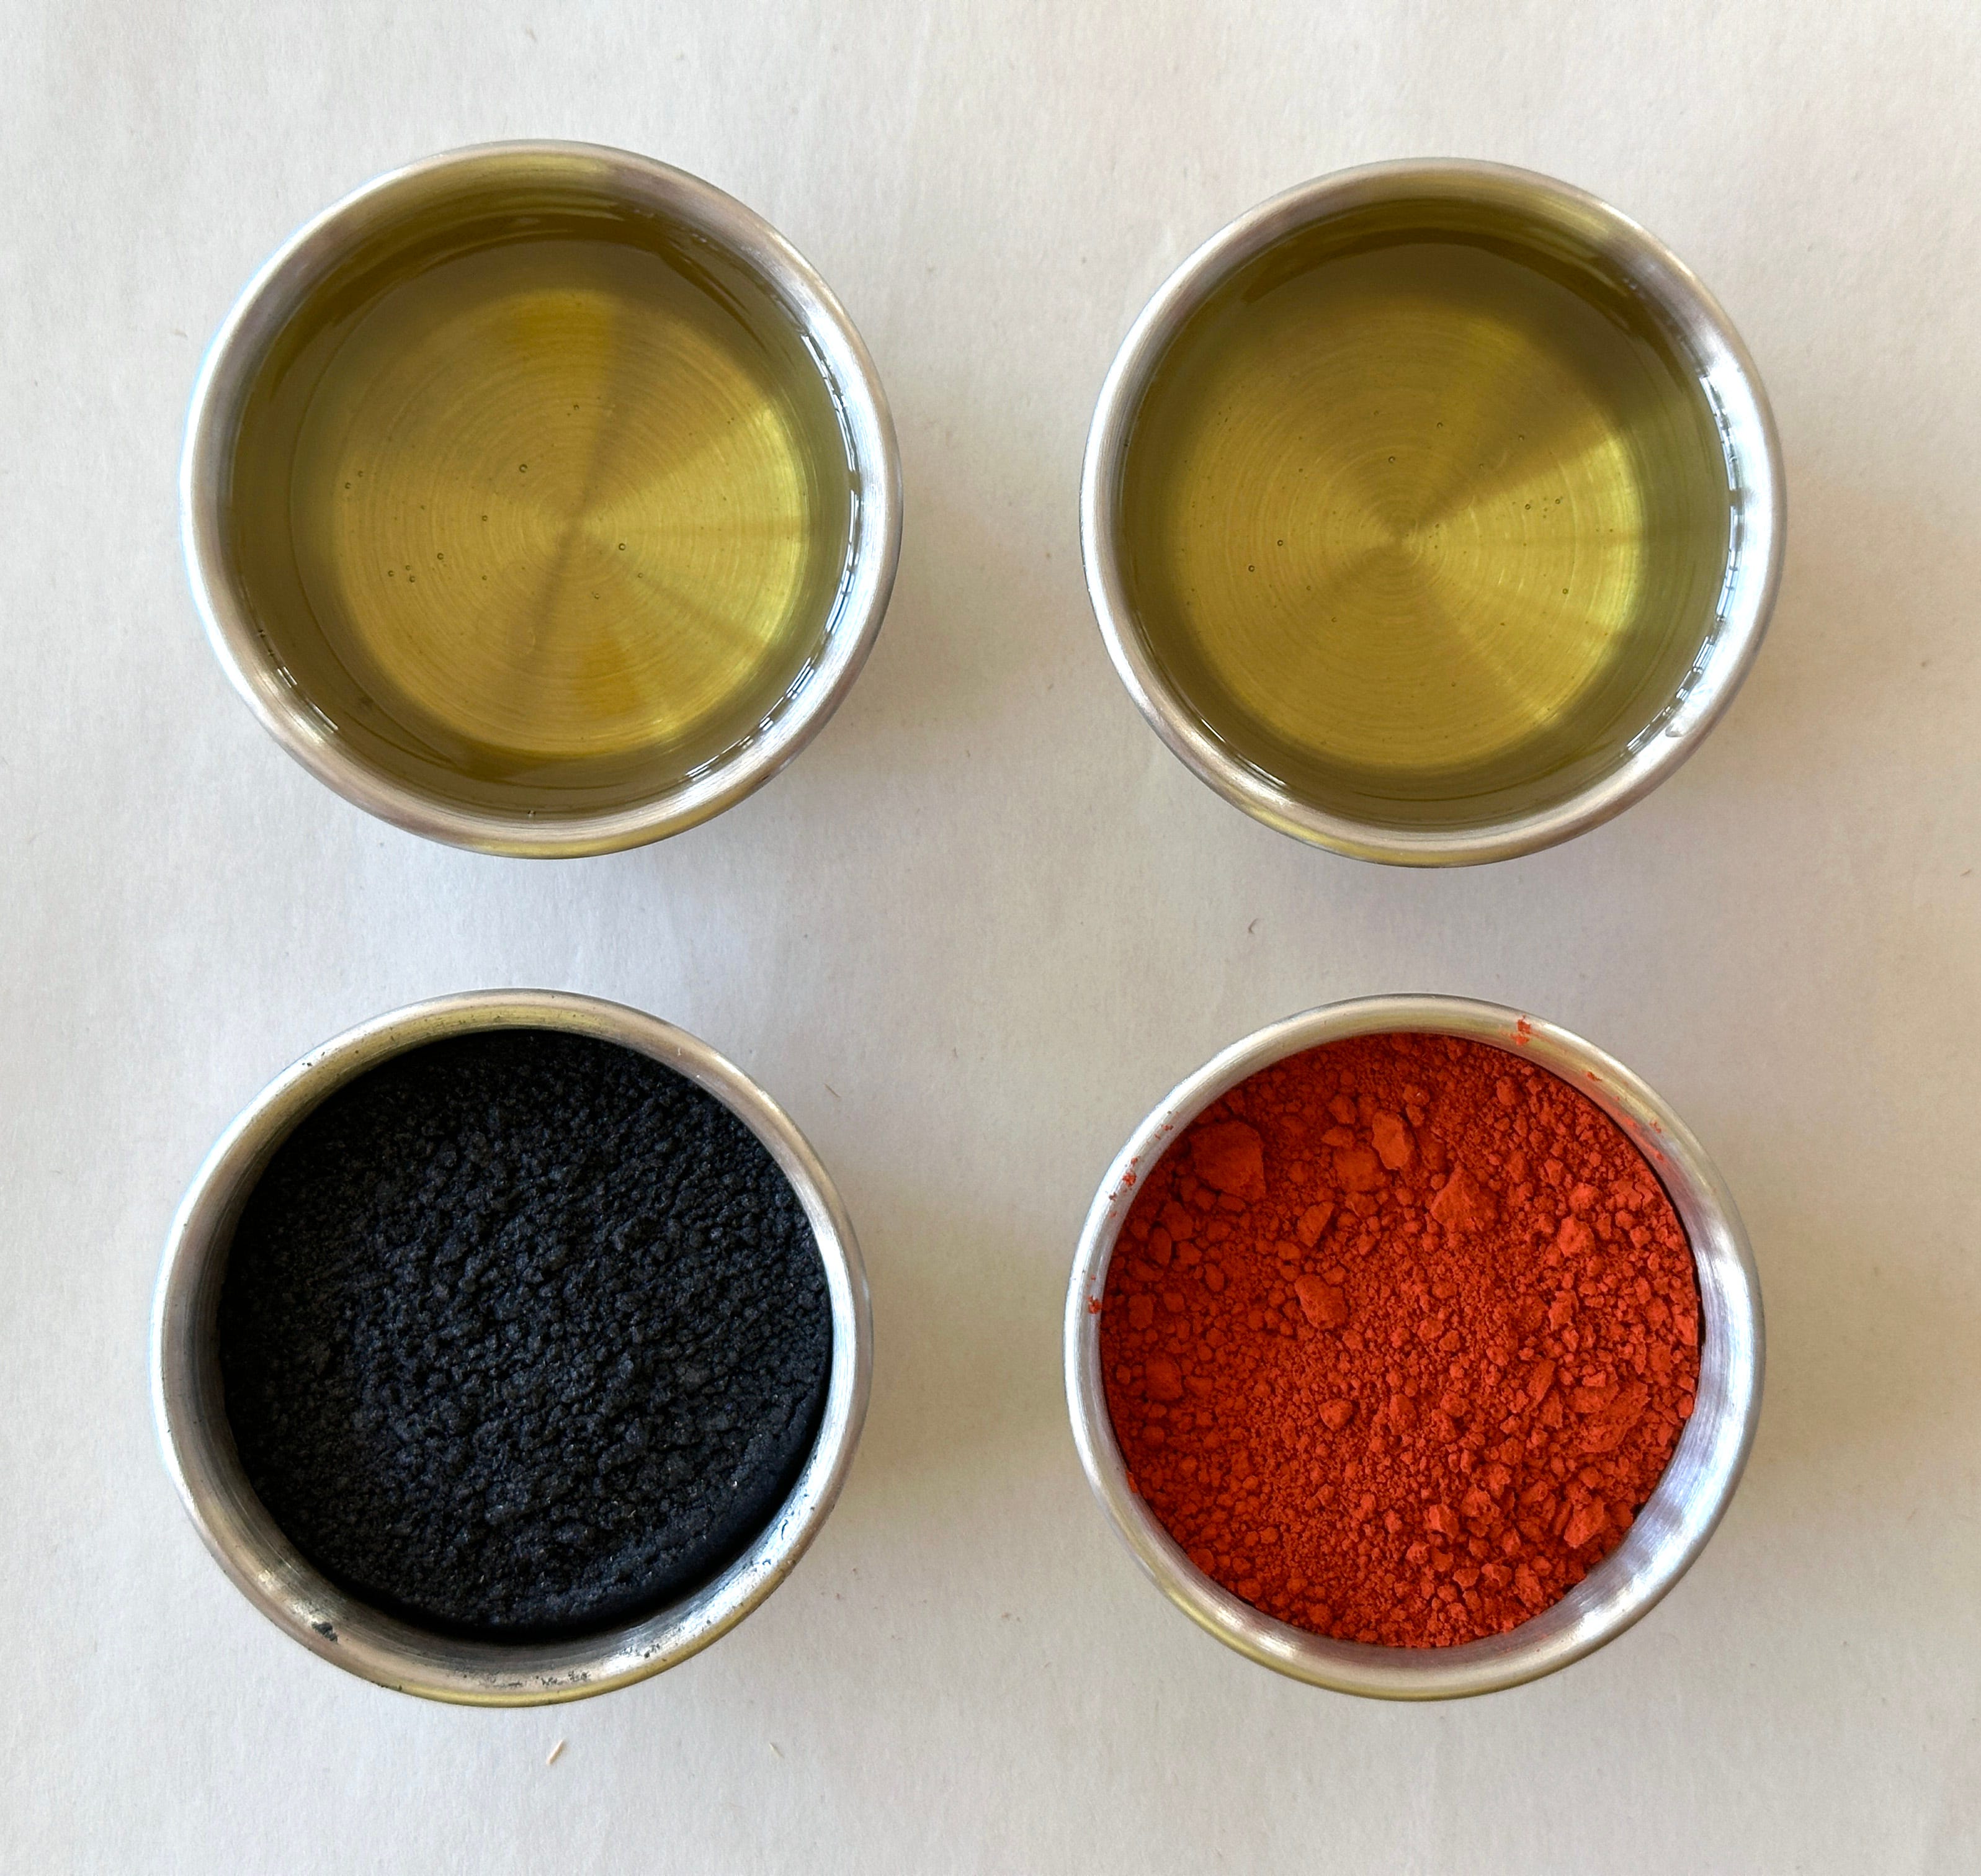
One part carbon black
One part Ercolano red
Two parts purified linseed oil.
All of these are by volume. There is no need to get too scientific. Dump the pigments into the oil (wear a mask) and stir the mixture until it becomes a sludge. It will look like an unholy brown.
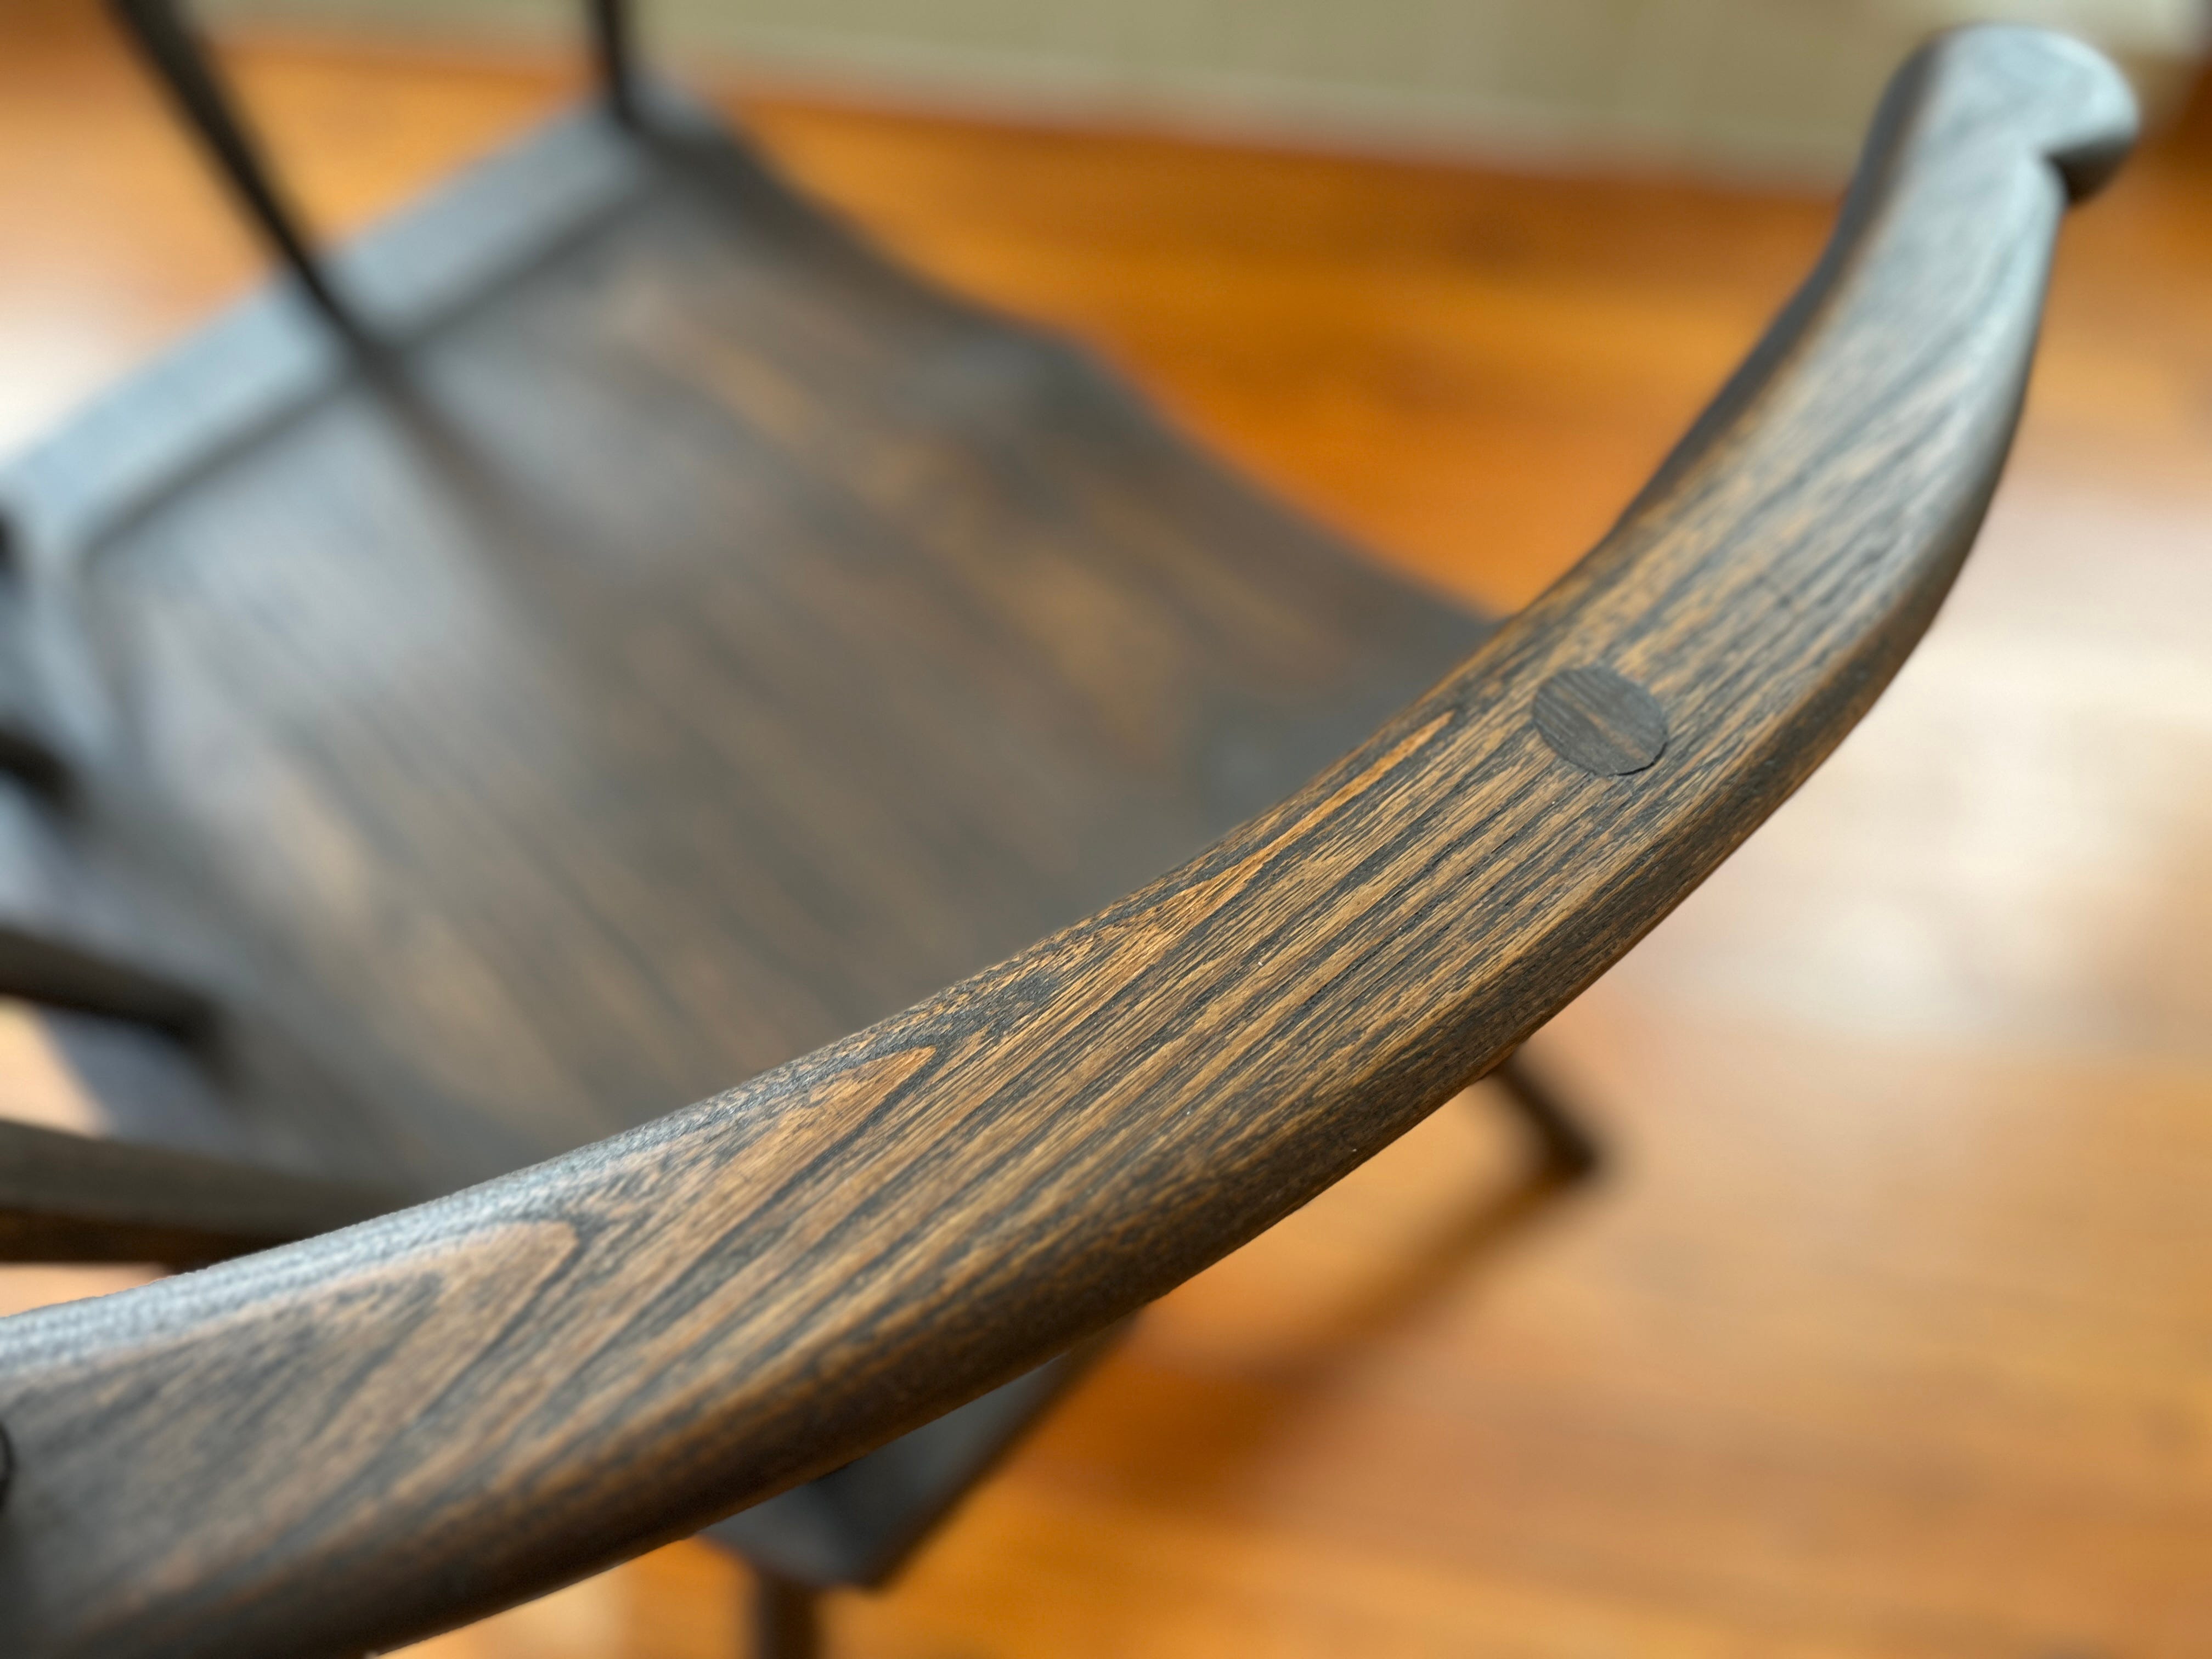
Don gloves, then wipe this sludge onto the wood with a rag. If you are using a porous species (such as oak), you’ll need to push it into the pores at times. The goal is to cover the wood entirely with the sludge. (Side note: If you have ever worked with glaze, you’ll recognize this: it is basically a glaze.)


After you have it applied to the wood, take a clean rag and start wiping it back. This part is like art. The more you rub, the lighter the color. You have literally hours to manipulate the sludge until it looks right.
Tip: After you think you have it right, take the piece into another room with a different light. You’ll see all the parts you missed. Use a brush to touch up those areas.


Get the sludge looking right. It should be darker in areas that won’t see wear. And lighter in places that people would touch. This isn’t hard to do. And there’s not a huge difference in color between the two kinds of areas. You will – I hope – be surprised by how easy it is to manipulate the finish until it looks “good.”
Then walk away for a couple days. Don’t look and don’t touch.
Keep reading with a 7-day free trial
Subscribe to The American Peasant to keep reading this post and get 7 days of free access to the full post archives.