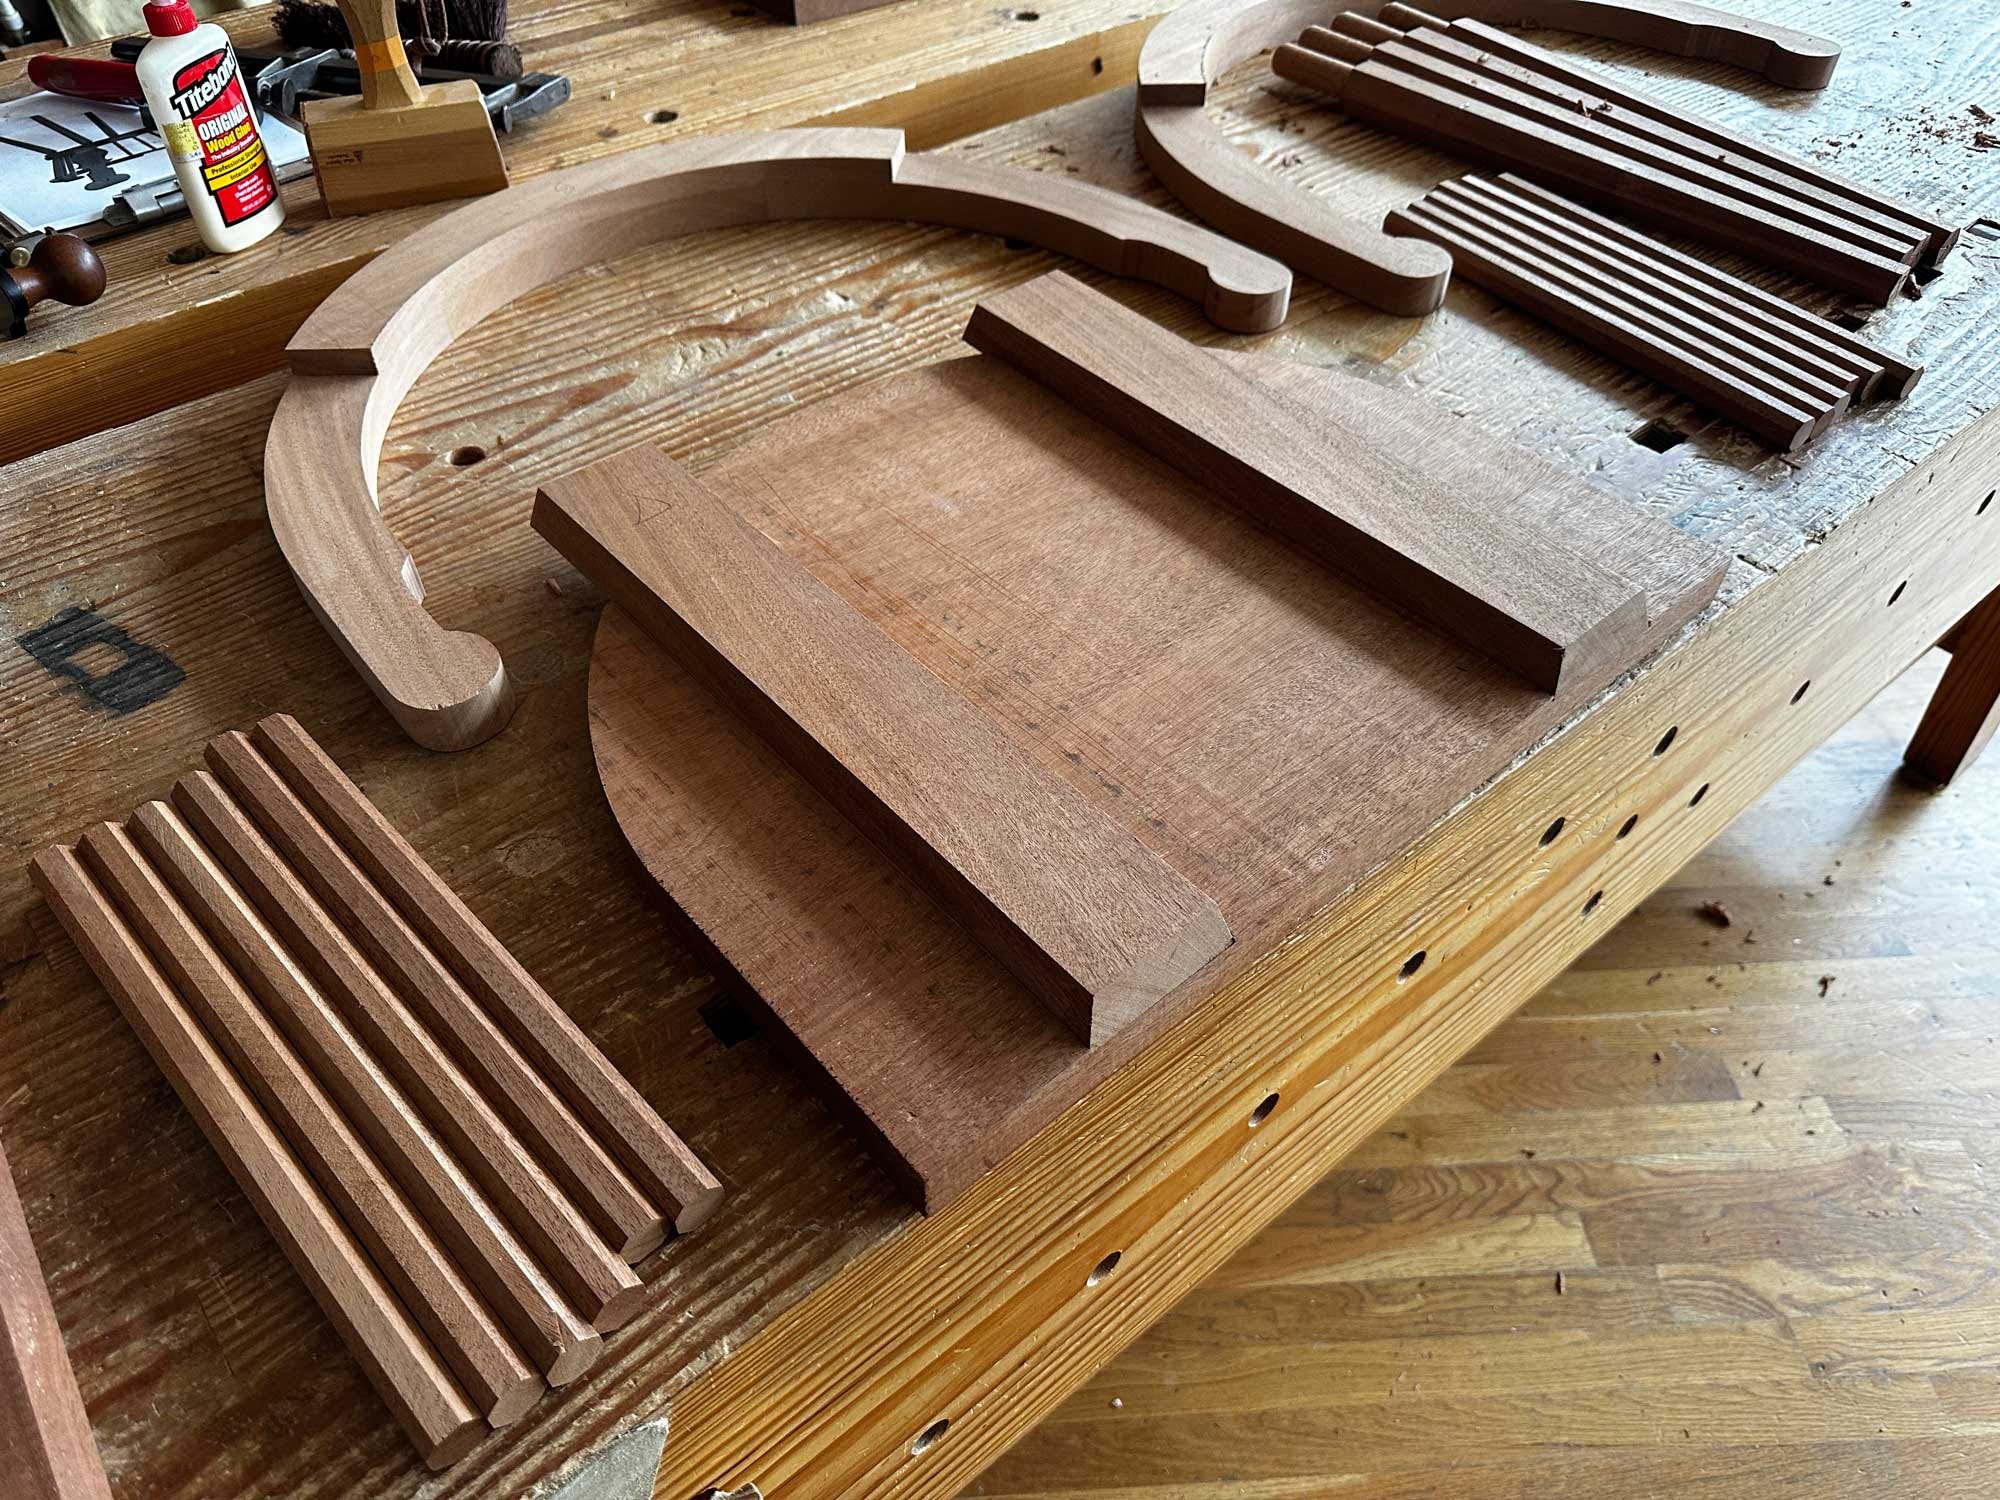
There are many ways to connect battens to a seat. I’ve seen them all.
1. A sliding, tapered dovetail made with a special plane
2. A sliding dovetail made with basic tools
3. A batten glued in a dado (the parts were plywood)
4. Nailed-on or screwed-on battens
5. Battens that were not attached to the seat; they were held in place only by the tenon shoulder in the leg and a wedge through the seat
All the methods work. You can choose any of these and expect the chair to survive a long time. When I make a chair with battens, I use method No. 2: a sliding dovetail made with basic tools.
It suits my head. The joint is made with a saw, a router plane and a smooth plane. No special tools or skills are required, just an awareness of which side of a pencil line you should saw.
Overview
First saw or plane the long edges of the batten to 16°. Clamp the batten in place on the seat and use its long edge to guide your saw for the first cut. Then use a scrap from the batten to lay out the position of your second line. Reposition the batten so you saw inside this second line, and again use the batten to guide your saw.
Remove the batten and plow out the waste with a router plane. Finally, knock the batten in place and glue the front 2" of the joint.
Layout & the First Line
The battens are positioned 3" from each end of the seat. Draw lines on the seat for the first cut. Then score the baseline for the dovetailed socket on the front and back edges of the seat with a cutting gauge. For this chair, I used 1/8". Clamp a batten next to the pencil line.
Use the batten as a guide to saw the first wall of the socket. Unclamp the batten.
Lay Out the Second Line
Use a scrap that you cut off the end of your batten to lay out the remainder of the socket on the front edge of the seat. The scrap should cover the saw kerf. Hold the scrap in place and pencil in the second wall of the socket. Now carry that pencil line across the underside of the seat.
Clamp the batten to the seat. This time clamp the batten inside the line for the socket, and leave some allowance for the saw kerf (usually 1/16" is about right).
Saw the second wall of the socket down to the baseline.
Finish the Socket
With a wide and shallow socket, I use just the router plane to remove the waste. It’s too easy to over-do it with a chisel. Plow out the waste.
When you reach your baseline, finish smoothing the floor of the socket with a piece of #100-grit sandpaper adhered to a flat scrap. This improves the fit of the final joint.
Assembly
Plane the long edges of the batten until the batten fits in the socket with mild mallet taps. I glue only the front 2" of the joint. This keeps the front edge looking nice and tight and pushes any wood movement to the rear of the seat.
Next up: Drilling a lot of holes.
Apologies, abusing this sub stack: is there anyway with Mailchimp emails to add or view comments?
Thanks, Paul
I saw there was a plane made to aide cutting the sockets but it is only 10 degrees. Not that I would buy it but wondered what you think minimum degrees for dovetail should be?