


A Better Way to Level Chair Legs


I now use a simpler way to tweak a chair’s feet to make it sit with all four feet on the ground.
After cutting the legs to rough length, I round over the freshly sawn edges with some #80-grit sandpaper to protect them from splintering. Then I check my sawing work by showing the chair’s four legs to the glass window in our front door. (Modern glass is dead flat.)
If the legs rock, I mark the two over-long legs and head to the bench. I place the chair’s four feet flat on the benchtop and fetch a ryboa. Using the ryoba’s blade, I probe around the too-long legs, looking for a stray bump on the underside of the feet.
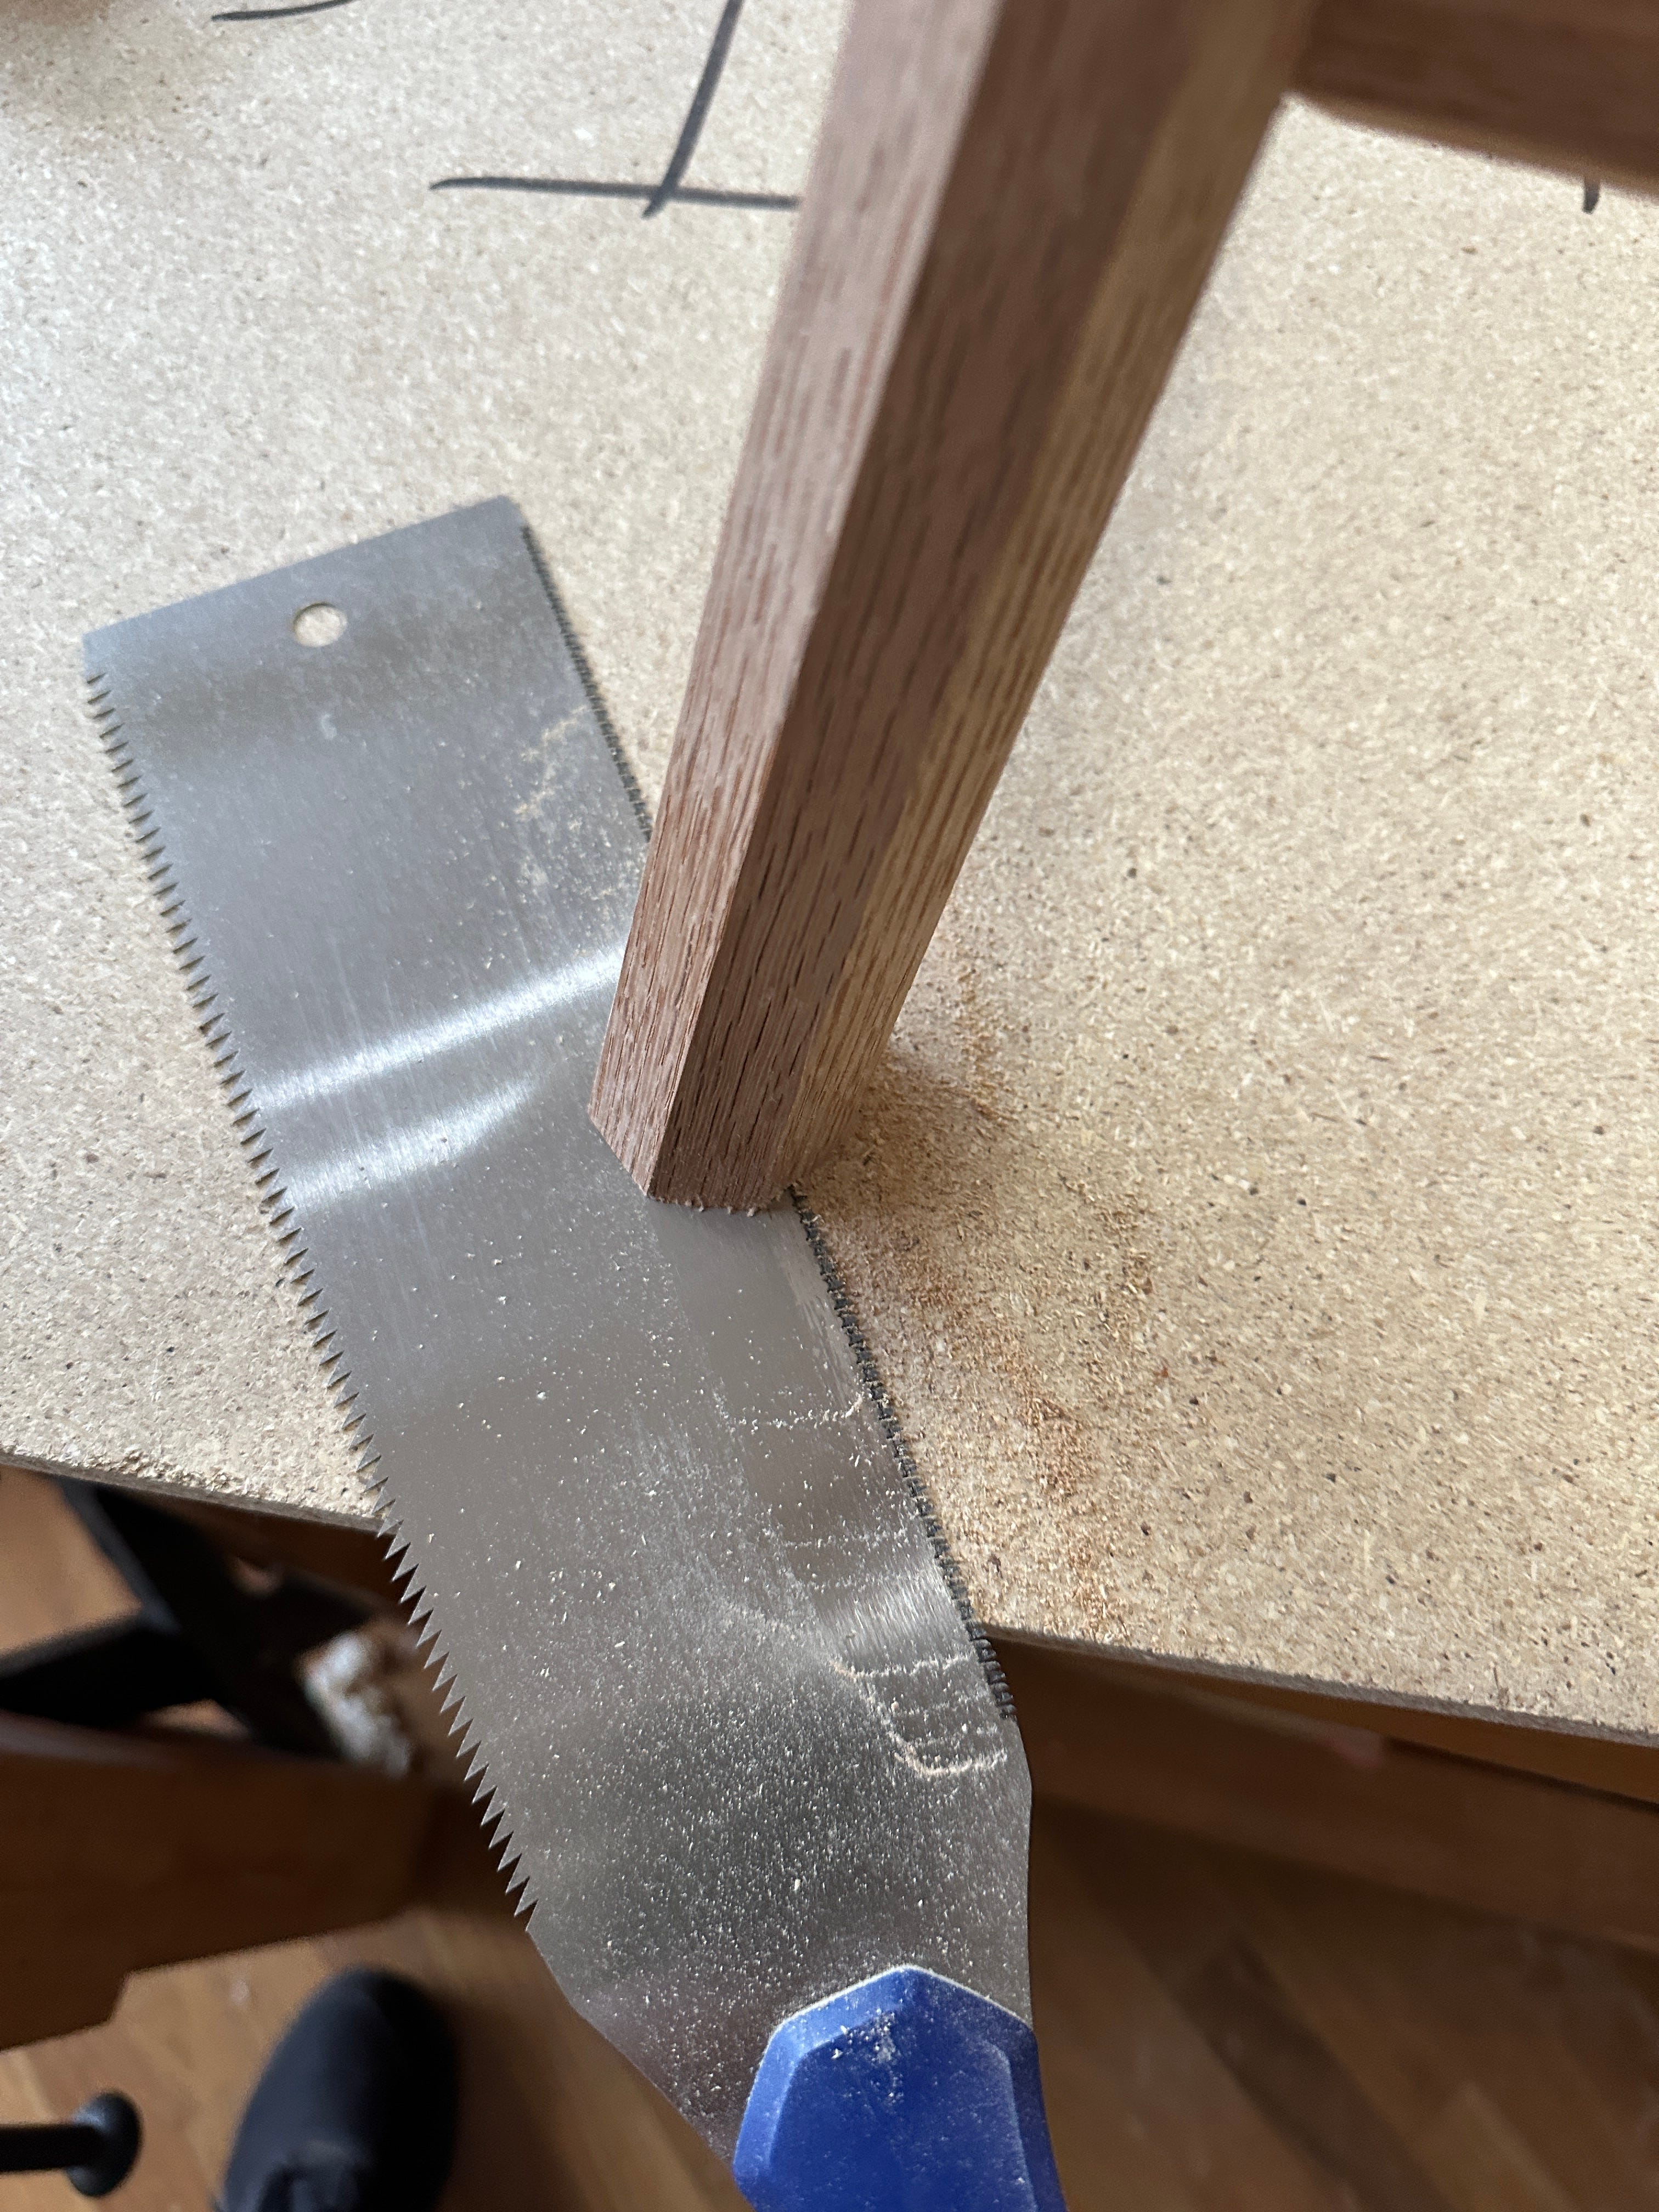
If I find a bump, I hold that leg against the bench and pass the saw between the benchtop and foot. (The rounding over you did with the sandpaper prevents the foot from splintering.)
Then I try the chair’s feet against the glass again. I repeat the above process if necessary (it usually isn’t).
If I don’t find a bump, I simply pick one of the too-long legs and saw between the foot and the benchtop. Then I check the feet against the glass.
I’ve tried about a dozen ways of doing this process using belt sander paper, a block plane, chisel, rasp and spinning table saw blade (yikes).
The process above has proven to be the easiest and fastest.
The Revision Continues
For the last couple months, I’ve spent my free evenings revising “The Stick Chair Book” for its third printing. All my revisions so far (such as the one above) simplify the chairmaking process. When return from my European tour July 25, I’ll begin revising the chair projects at the end of the book.
After weeks of pondering the projects, here’s what I plan to have in the third printing:
1. The Irish-y Chair as-is. Pretty much unchanged.
2. Gibson Chair. I now have a much easier way to deal with the back of the Gibson and fitting the posts into the arms. So I decided to add the Gibson chair to this book.
3. The Curved-back Armchair (also Irish) has already been revised and photographed. Like the Gibson chair, I have some new techniques that make the back sticks a cakewalk (instead of a cream horn stumble). Also, my revisions will make the chair much more like the chair I built for Fine Woodworking.
4. The Lowback Chair. Pretty much unchanged aside from a tweak or two.
5. The Six-stick Comb-back will be replaced with the Seven-stick Comb-back with a mitered armbow. My Seven-stick Comb-back is the chair we build in classes and I have refined it to the point where I think it’s done.
6. The Curved-arm Comb-back. This chair will be pretty much unchanged.
As always, the revised book will be a free pdf download for everyone in the world – whether you bought the book before or not. I hope to have the “The Stick Chair Book: Third Revised Edition” out before Christmas.
I used to really obsess about the legs being flat, and I do still try to get it as close as possible. However, I’ve found that my floor is very uneven. So I get my legs close, and then I put it in three different spots (randomly chosen) within my house and if it doesn’t rock when I sit in the chair then it’s good to go.
I use my table saw as my flat reference. I put some carbon paper under the high spots, and the high contacts are marked with the ink, which I then relieve. Sort of like the inked paper a dentist uses to check your bite. Flattening a board, leveling a chair or table legs, the ink mark shows exactly where the high spots are, and where to plane, sand, or saw.