Note: I updated the full-size patterns because I neglected to include the mortise for the backsplat. The new file can be downloaded below the paywall.
Gluing the legs into the seat is straightforward. But here’s my No. 1 caution: If the joint is even a little tight, I think you should compress it1 before assembly. If the tenon isn’t compressed, the joint could lock up when the water in your glue2 makes everything swell.
After compressing and kerfing the tenons, it’s time to glue up.
![](https://substackcdn.com/image/fetch/w_720,c_limit,f_auto,q_auto:good,fl_progressive:steep/https%3A%2F%2Fsubstack-post-media.s3.amazonaws.com%2Fpublic%2Fimages%2F906a0096-0ea5-4412-8014-b04c55d51a95_3024x4032.jpeg)
![](https://substackcdn.com/image/fetch/w_720,c_limit,f_auto,q_auto:good,fl_progressive:steep/https%3A%2F%2Fsubstack-post-media.s3.amazonaws.com%2Fpublic%2Fimages%2Fdef2659b-ccce-4056-8e39-7598c210cc47_3024x4032.jpeg)
![](https://substackcdn.com/image/fetch/w_720,c_limit,f_auto,q_auto:good,fl_progressive:steep/https%3A%2F%2Fsubstack-post-media.s3.amazonaws.com%2Fpublic%2Fimages%2F0d1b93df-f74d-438e-b8bc-e2c669e4127f_3024x4032.jpeg)
![](https://substackcdn.com/image/fetch/w_720,c_limit,f_auto,q_auto:good,fl_progressive:steep/https%3A%2F%2Fsubstack-post-media.s3.amazonaws.com%2Fpublic%2Fimages%2F4c54fa73-1f91-4b48-bf45-76111df678a4_3024x4032.jpeg)
Because there are no stretchers, you can glue each leg individually. Paint glue in the mortise. Paint a thin coat of glue on the tenon. Drive the leg in. Rotate it so the tenon’s shoulders land squarely on the batten.
After gluing all four legs, look for glue drips before you turn the chair over and wedge the tenons. Glue likes to drip.
![](https://substackcdn.com/image/fetch/w_720,c_limit,f_auto,q_auto:good,fl_progressive:steep/https%3A%2F%2Fsubstack-post-media.s3.amazonaws.com%2Fpublic%2Fimages%2F8860510d-9f1e-4d02-a1e7-7f7539d895e3_3024x4032.jpeg)
![](https://substackcdn.com/image/fetch/w_720,c_limit,f_auto,q_auto:good,fl_progressive:steep/https%3A%2F%2Fsubstack-post-media.s3.amazonaws.com%2Fpublic%2Fimages%2F20fcb05d-be05-4a23-adab-201eded0f01a_3024x4032.jpeg)
Wedge the tenons and clean off the squeeze-out using a toothbrush and hot water.
After the glue cures, saw the tenons as close to the seat as you can, then use a scorp or shallow-sweep gouge to level the proud tenons. Scrape or sand the seat to its finished state.
![](https://substackcdn.com/image/fetch/w_720,c_limit,f_auto,q_auto:good,fl_progressive:steep/https%3A%2F%2Fsubstack-post-media.s3.amazonaws.com%2Fpublic%2Fimages%2F1dd41b8c-522b-4a09-b7c0-850719a4029c_3024x4032.jpeg)
![](https://substackcdn.com/image/fetch/w_720,c_limit,f_auto,q_auto:good,fl_progressive:steep/https%3A%2F%2Fsubstack-post-media.s3.amazonaws.com%2Fpublic%2Fimages%2F34ba461a-fb44-494d-a919-961e8345f7ee_3024x4032.jpeg)
![](https://substackcdn.com/image/fetch/w_720,c_limit,f_auto,q_auto:good,fl_progressive:steep/https%3A%2F%2Fsubstack-post-media.s3.amazonaws.com%2Fpublic%2Fimages%2Fcb620c23-70d3-47ee-8407-1d743af5399f_3024x4032.jpeg)
![](https://substackcdn.com/image/fetch/w_720,c_limit,f_auto,q_auto:good,fl_progressive:steep/https%3A%2F%2Fsubstack-post-media.s3.amazonaws.com%2Fpublic%2Fimages%2Fac15e74f-00c3-4389-87e9-e81b1d6500c3_3024x4032.jpeg)
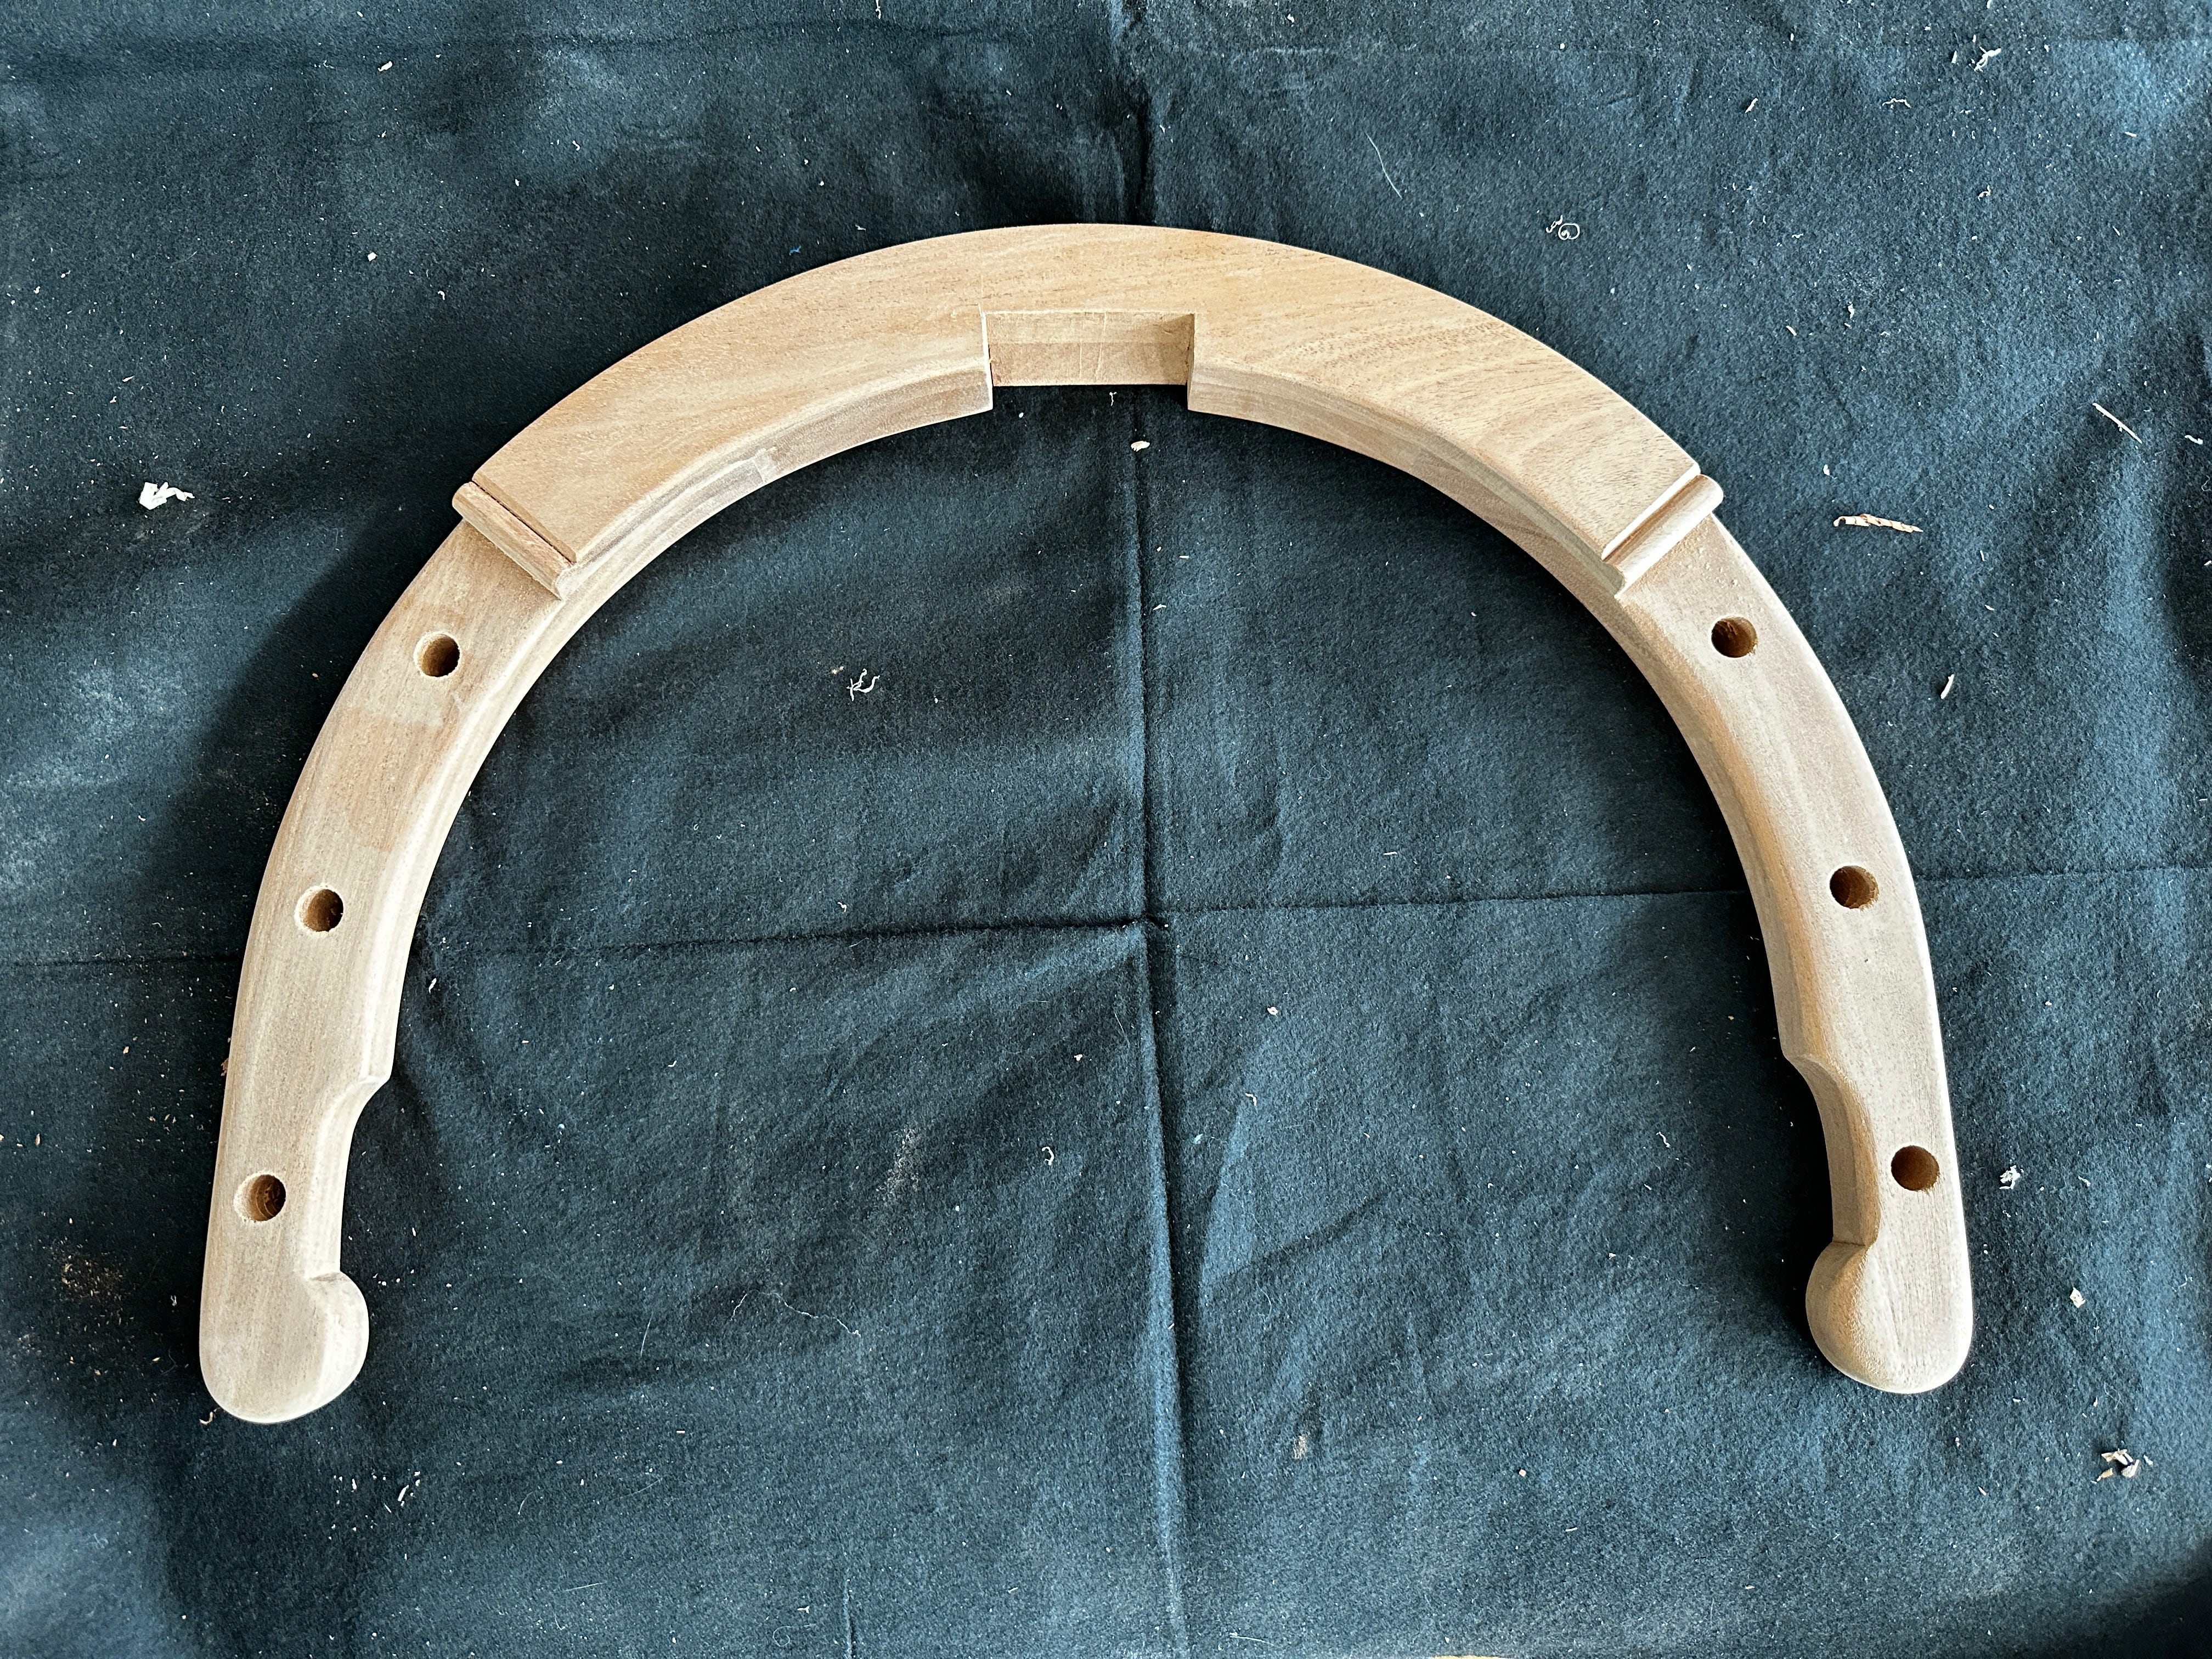
Add a Bead to the Arm
I cut a bead on each end of the shoe. The bead reflects the round hands and the “ears” of the backrest. First lay out the bead on both the inside and outside edge of the shoe. I drew a 7/16"-radius half-circle for the bead.
Then use a square to lay out the fillet on the edges and top of the shoe.
First saw the fillet down to where the kerf touches the half-circle. Shape the fillet with a chisel. Shape the outside of the bead with a block plane. Blend the two surfaces using fine cuts with a chisel.
![](https://substackcdn.com/image/fetch/w_474,c_limit,f_auto,q_auto:good,fl_progressive:steep/https%3A%2F%2Fsubstack-post-media.s3.amazonaws.com%2Fpublic%2Fimages%2F0710522d-17ce-4f90-8abb-465d30ef3fb7_4032x3024.jpeg)
![](https://substackcdn.com/image/fetch/w_474,c_limit,f_auto,q_auto:good,fl_progressive:steep/https%3A%2F%2Fsubstack-post-media.s3.amazonaws.com%2Fpublic%2Fimages%2F14e74ebb-a931-469c-be84-e6050f597e4b_3024x4032.jpeg)
![](https://substackcdn.com/image/fetch/w_474,c_limit,f_auto,q_auto:good,fl_progressive:steep/https%3A%2F%2Fsubstack-post-media.s3.amazonaws.com%2Fpublic%2Fimages%2Fe8209c4b-ea9d-4b8d-8149-028daa8db7f1_4032x3024.jpeg)
Cut the Tenons on the Sticks
Each stick has a 5/8" x 2-1/2"-long tenon on both ends. I make this with a Veritas Power Tenon Cutter. Then I shape the stick to it final appearance. I make a double-taper and leave the facets. Feel free to round over the arrises to make the sticks round.
After shaping the sticks, cut all the tenons to 1-1/4" long. Kerf the tenons that will go into the arm. Compress the tenons that will go into the seat.
![](https://substackcdn.com/image/fetch/w_474,c_limit,f_auto,q_auto:good,fl_progressive:steep/https%3A%2F%2Fsubstack-post-media.s3.amazonaws.com%2Fpublic%2Fimages%2F0c9f0b8b-f803-43fa-9c59-deefe66dcfc8_3024x4032.jpeg)
![](https://substackcdn.com/image/fetch/w_474,c_limit,f_auto,q_auto:good,fl_progressive:steep/https%3A%2F%2Fsubstack-post-media.s3.amazonaws.com%2Fpublic%2Fimages%2F127a07be-87e1-417e-9bae-be6911915f0b_3024x4032.jpeg)
![](https://substackcdn.com/image/fetch/w_474,c_limit,f_auto,q_auto:good,fl_progressive:steep/https%3A%2F%2Fsubstack-post-media.s3.amazonaws.com%2Fpublic%2Fimages%2F034b03cc-f38d-43a1-9932-d4b532276553_3024x4032.jpeg)
Finish the Backsplat
The pierced carving in the backsplat is easy to make and adds a lot to the chair. Lay out the shape on both faces of the backsplat using the pattern provided. Or draw it with a compass. Each of the four arcs is a 2" radius.
Drill a 3/4" hole through the middle of the piercing. Use a coping saw to saw out most of the waste. Then clean up the piercing with chisels and needle files.
Next up is the final assembly. So clean up all surfaces as best you can.
You can download the updated full-size patterns here.
![](https://substackcdn.com/image/fetch/w_1456,c_limit,f_auto,q_auto:good,fl_progressive:steep/https%3A%2F%2Fsubstack-post-media.s3.amazonaws.com%2Fpublic%2Fimages%2Fc880cd91-44d8-4d1a-ac4c-a98b8f44bf7f_4032x3024.jpeg)
I compress my tenons with this tool. When hot, wet glue hits the tenon, it expands back to its original size – locking the joint.
Water-based glues (PVA and hide) are both about 40 percent water. Polyurethane glues are waterless and are activated by moisture.
Do you have a measurement for how far the backsplat mortise is set in from the back of the seat at the centerline? I’d gotten the plans printed prior to the mortise location being added, but with that one measurement I can figure the rest out
Any reason to not paint the leg tenon checks with glue?