

Free Plans & Patterns: 7-stick Comb-back Chair
Free Plans & Patterns: 7-stick Comb-back Chair

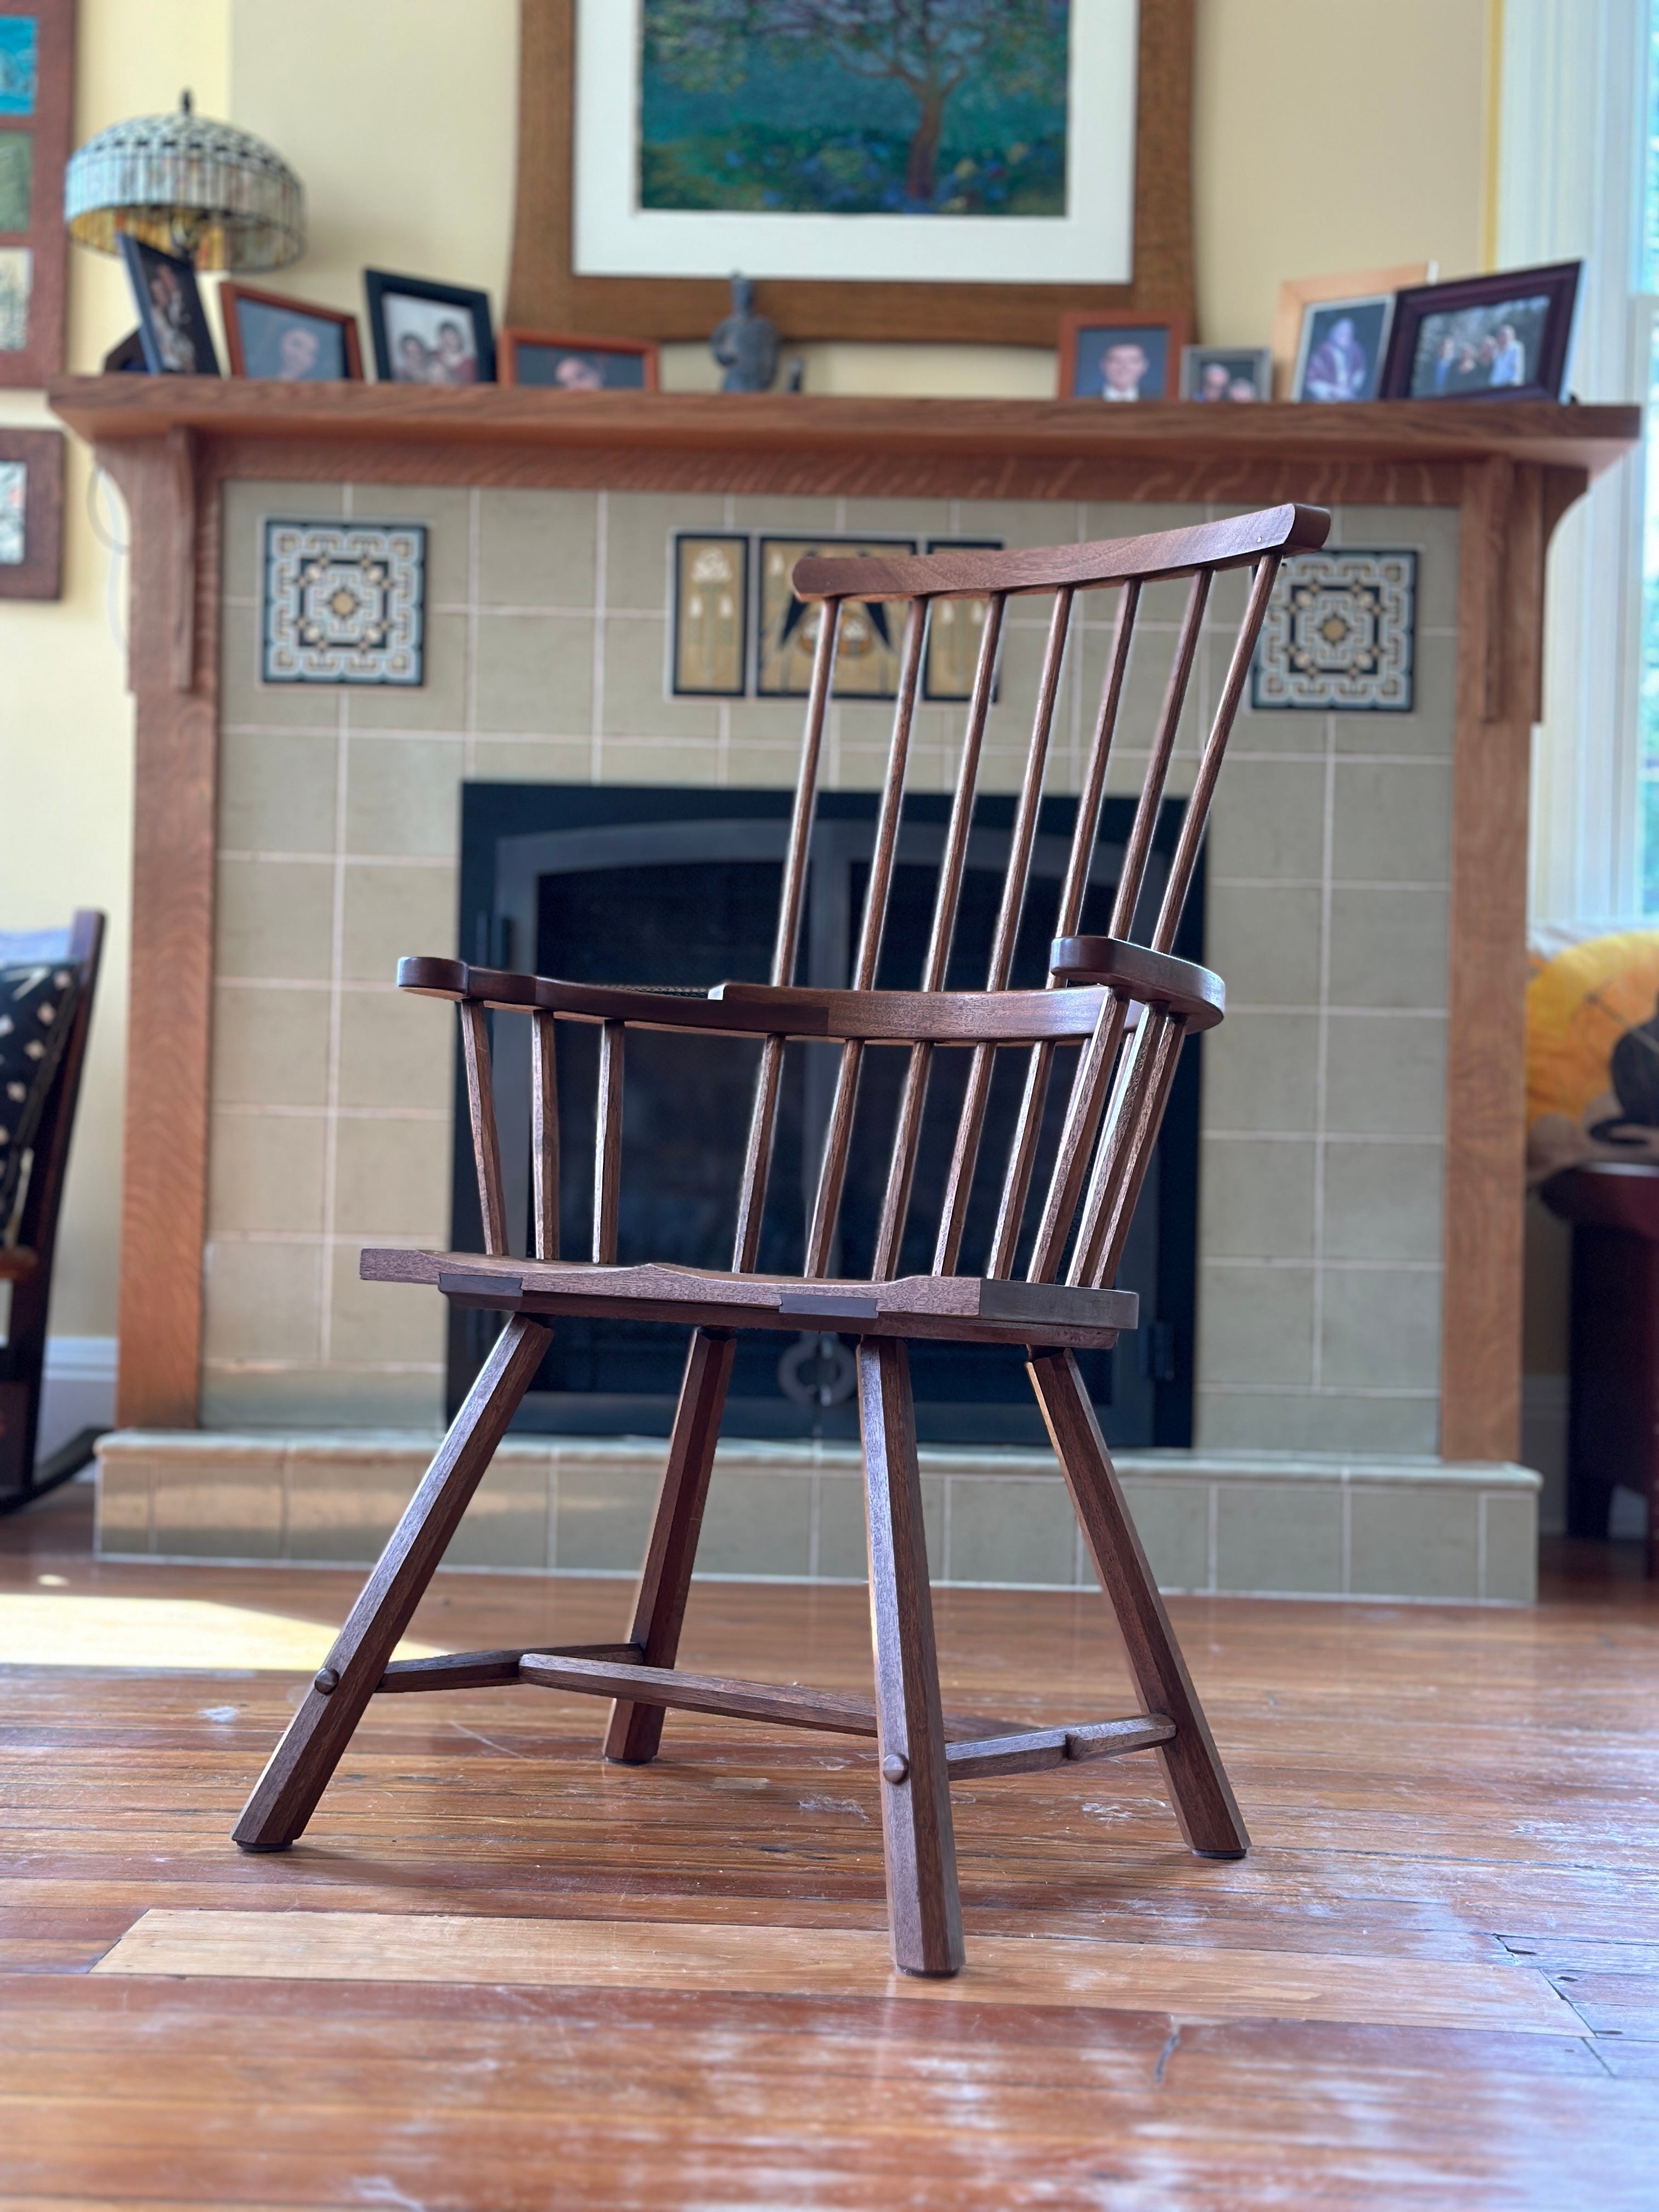
The chair shown above is the typical comb-back design we build in chair classes here at Lost Art Press. It’s a design that evolved during the last five years until September 2023, when I made a set of finished patterns.
Since then, I’ve built this chair more than 20 times using these patterns and can say that this design is complete. Each time I make it, I vary the decorative details on the comb, shoe and hands. But the chair’s angles, the stance and the way it sits make me (and I rarely write this) not unhappy.
We’ll continue to make this chair in class, but I want to turn my eye to an 11-stick comb-back design that I’ve been thinking about in the shower (middle age is weird, I tell you).
So this entry is me handing over the plans for the seven-stick comb-back to everyone out there. You are welcome to make this chair for yourself or for sale. You don’t have to credit me (though hat tips are always appreciated). The only thing I ask that you don’t be a butthole and sell these plans to other people. They are free.

About the Chair
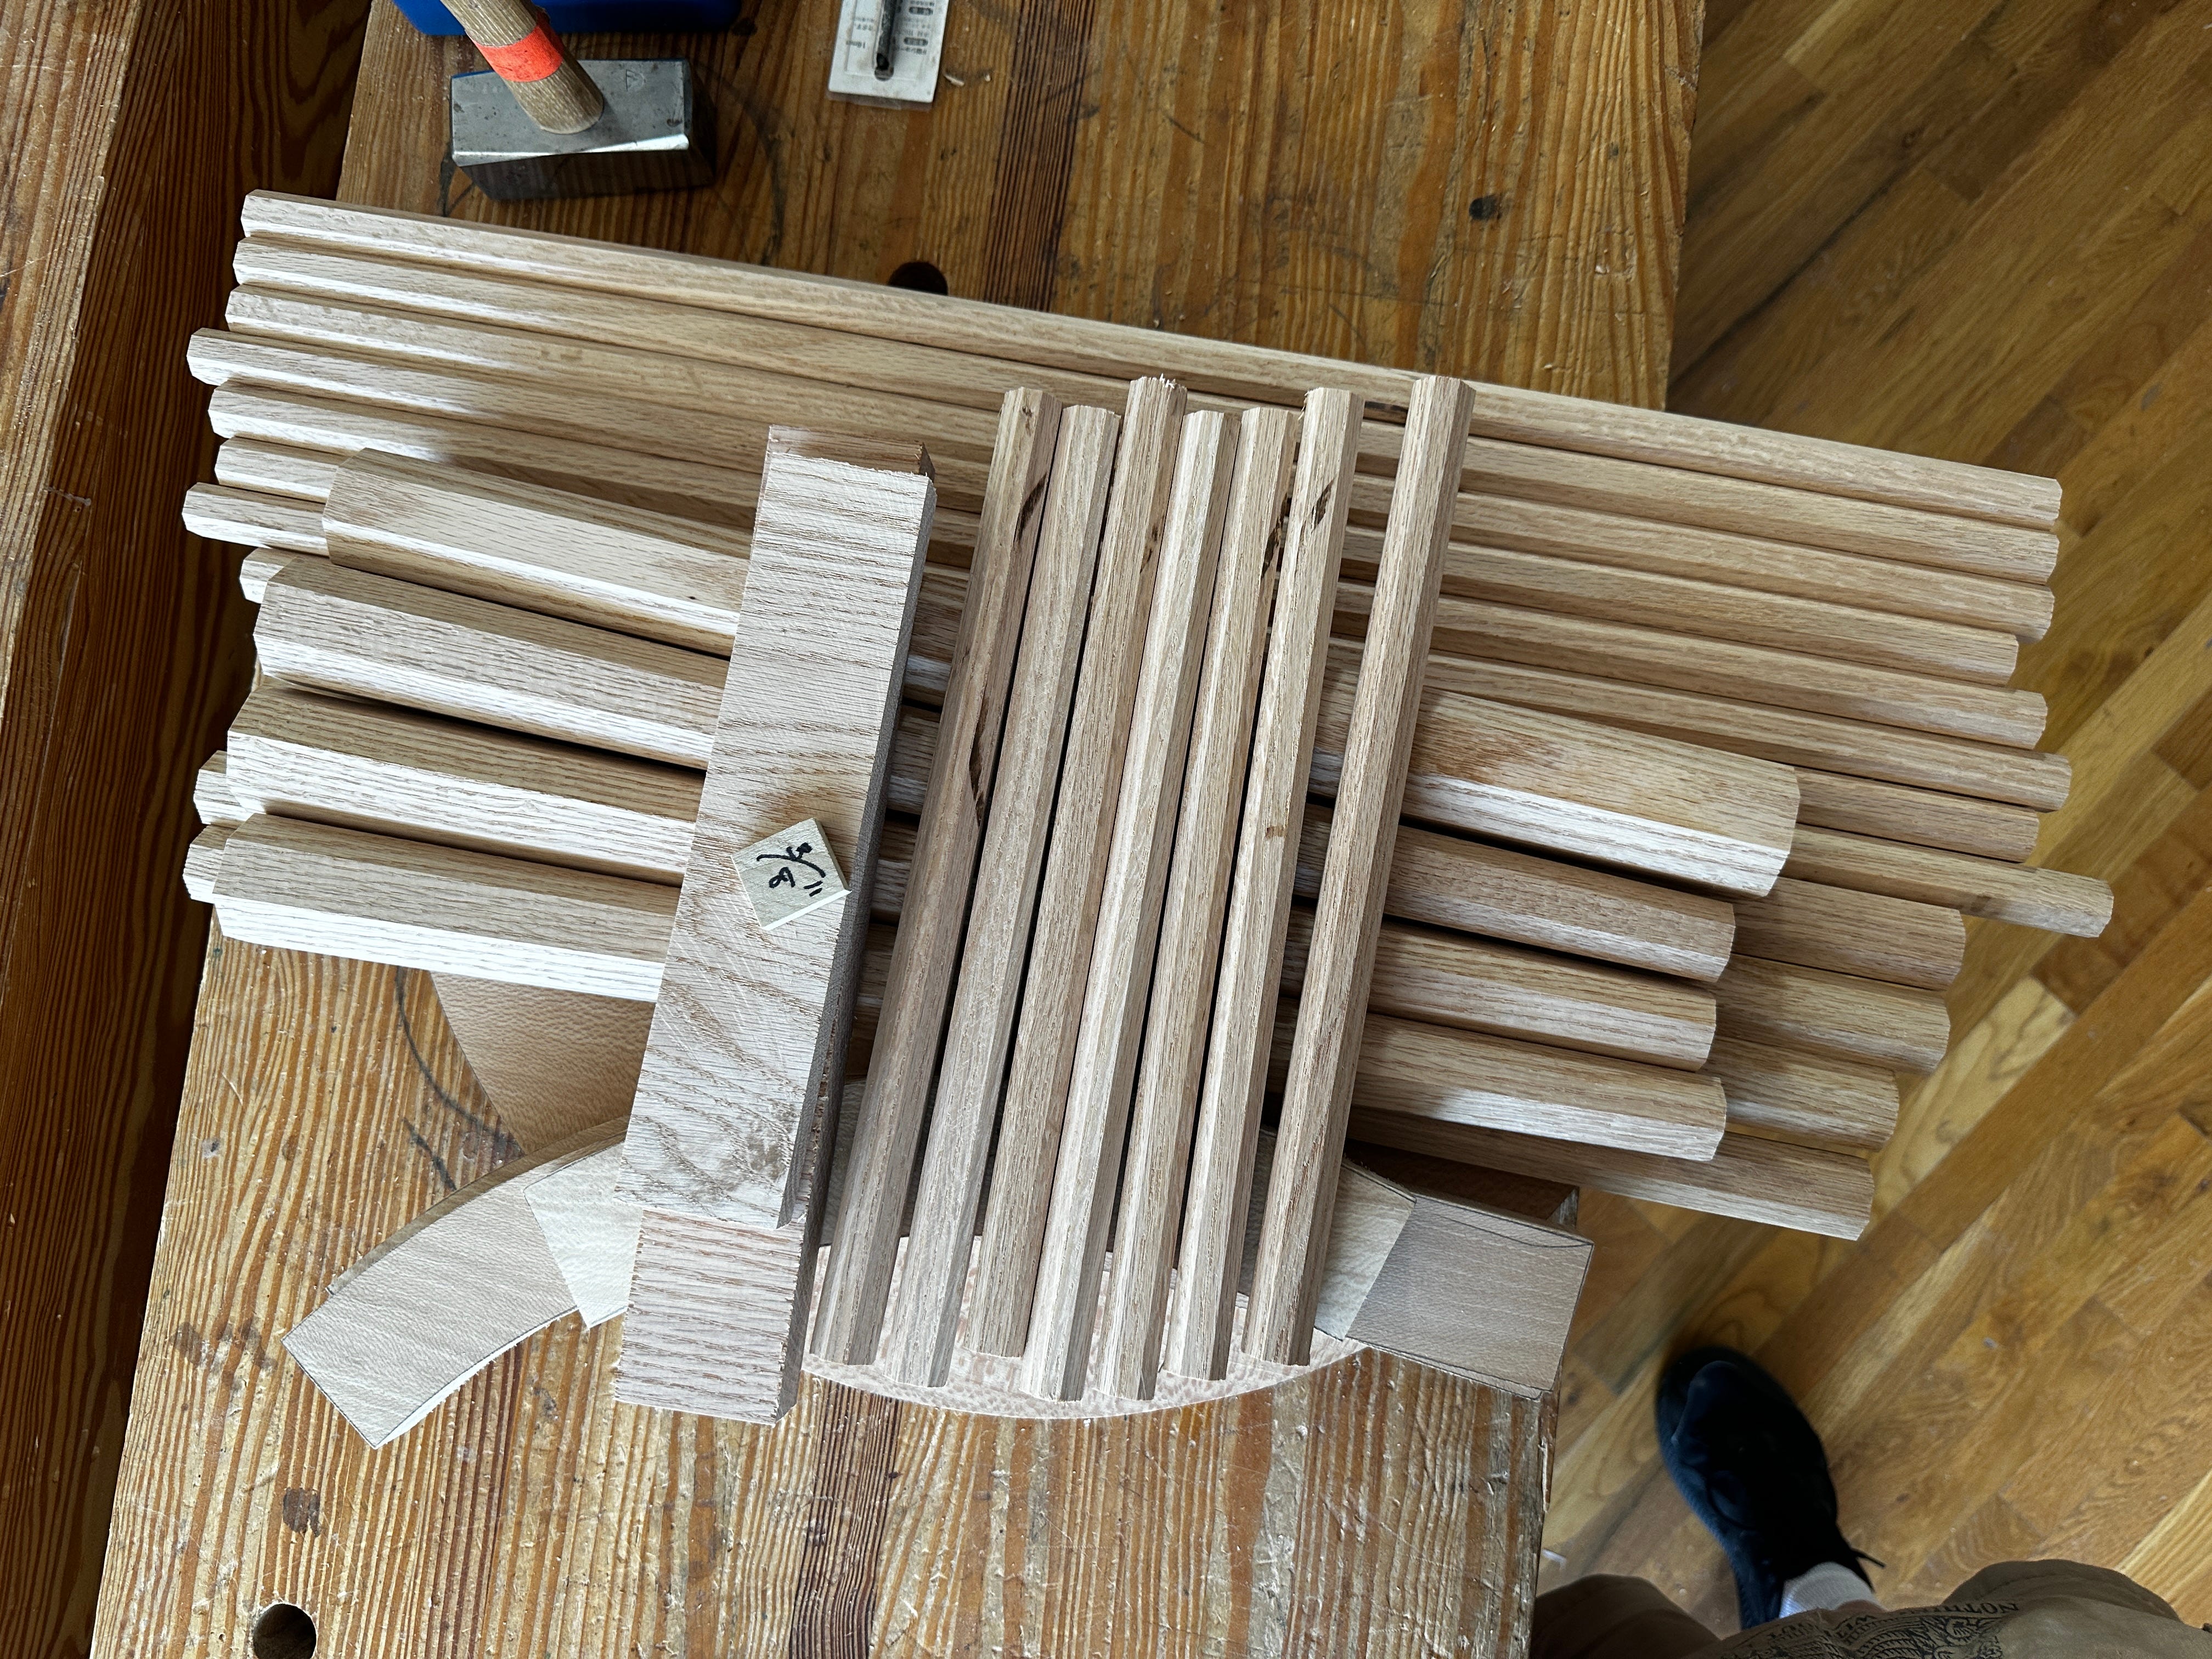
Everything you need to know to build this chair is in the “The Stick Chair Book,” which is a free pdf download. Below are the full-size patterns on a 24" x 34" sheet you can get printed at any reprographics firm or office supply store. There also is a pdf of the cutting list and photos of the parts as they look before I begin construction. Here is what else you need to know:

I like to make this chair with oak for the legs, sticks and stretchers, and elm or sycamore for the seat, arms and comb. But as I’ve written before (ad nauseam), use whatever you can get. That is the stick chair tradition.
Legs: The legs taper from 1-3/4" at the floor to 1" at the top. The legs each have a 1"-diameter x 3"-long tenon, made with a block plane or tenon cutter. The mortises for the legs are drilled using the sightlines on the pattern and a resultant angle of 23° for all four legs.
Stretchers: The side stretchers have 5/8"-diameter x 2-1/4"-long tenons on both ends. The medial stretcher has 1/2"-diameter x 2-1/4"-long tenons on both ends. The mortises for the tenons are all through-mortises. The height of the stretchers is up to you. With most chairs I make, I put the stretchers about 10" off the seat. Make them lower for an older-looking chair, higher for a more contemporary one. I taper the stretchers down with a jack plane so they have double-tapers and remain octagons.
Seat: All the mortises for the sticks are 5/8" in diameter. The spindle deck is 2" wide and is shown on the patterns. I cut a 3/4" x 3/4" bevel on the underside of the seat.
Arms & Mid-arm: These three pieces are joined with glue and pocket screws. After the glue dries, I remove the pocket screws. Where you position the assembled arm in space above the seat determines if the chair is for dining or relaxing. I position the arm 1/8" behind the seat for a dining chair. And up to 3/4" behind for a relaxing chair. I don’t recommend more than 3/4" or the mortises in the arm will burst out the front edge of your arm.
Shoe: Don’t use the shoe pattern to cut out your shoe. Instead, trace the shape of your assembled arm on your stock to create the shoe. Then cut it out and use the pattern to mark the mortise locations. The ends of the shoe have a simple roundover detail that I make with a block plane.
Sticks: All the sticks begin as 3/4" x 3/4" octagons and have 5/8"-diameter x 2-1/4"-long tenons on them. I’ll cut down the tenons to match the depth of my mortises. For the short sticks, I taper the facets down to the tenons and leave them octagonal. For the long sticks, I make that same double-taper for the portion below the arm. Above the arm, the long sticks are planed round.
Comb: The mortises in the comb are angled. The angle matches the lean of your back sticks. The comb’s decorative details are up to you. I glue and pin the comb to the long sticks. The height of the comb is completely up to you. Experiment. Decide.
Questions? I suspect that 99.43 percent of your questions can be answered by “The Stick Chair Book.” Yes, you can make the chair in walnut. Yes, you can make the seat out of three boards. No the middle stick doesn’t hit your back. And yes, I suggest you dye your underwear and learn to live within your limitations.
Download the cutting list and notes
I live in New Zealand where measurements and sizes are metric and ISO paper sizes are the norm. I have’s looked at various tables offering conversions from US to metric paper sizes and cannot identify a standard size with 24” x 34” dimensions.
I’m guessing that I’m probably being a little (much) pedantic and that minor scale changes wouldn’t matter very much but should that be 24”x 36” ??
https://blacksmithbolt.com/
True to USA standard size wood screws- with correct slot width and depth